


by Tim Holtz
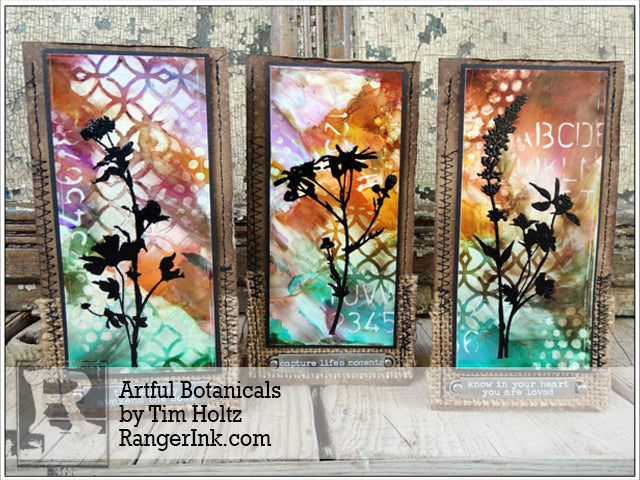
Artful Botanicals by Tim Holtz
- Materials
- Instructions
- Tim Holtz® Distress Ink Pads: Ground Espresso
- Tim Holtz Distress® Sprayer
- Ranger Adhesive Strips
- Ranger Mini Blending Tool
- Ranger Heat it™ Craft Tool
- Embossing Powders: Black
- Archival Ink™ #0 Pads: Jet Black
- Ranger Non-Stick Craft Sheet™
- Tim Holtz® Alcohol Ink Yupo: White
- Tim Holtz® Alcohol Blending Solution
- Tim Holtz® Alcohol Inks: Mountain Rose, Red Pepper, Sunset Orange, Honeycomb, Lettuce, Meadow, Sail Boat Blue, Mermaid, Wild Plum
- Tim Holtz® Stampers Anonymous Stamps: CMS253 Wildflowers
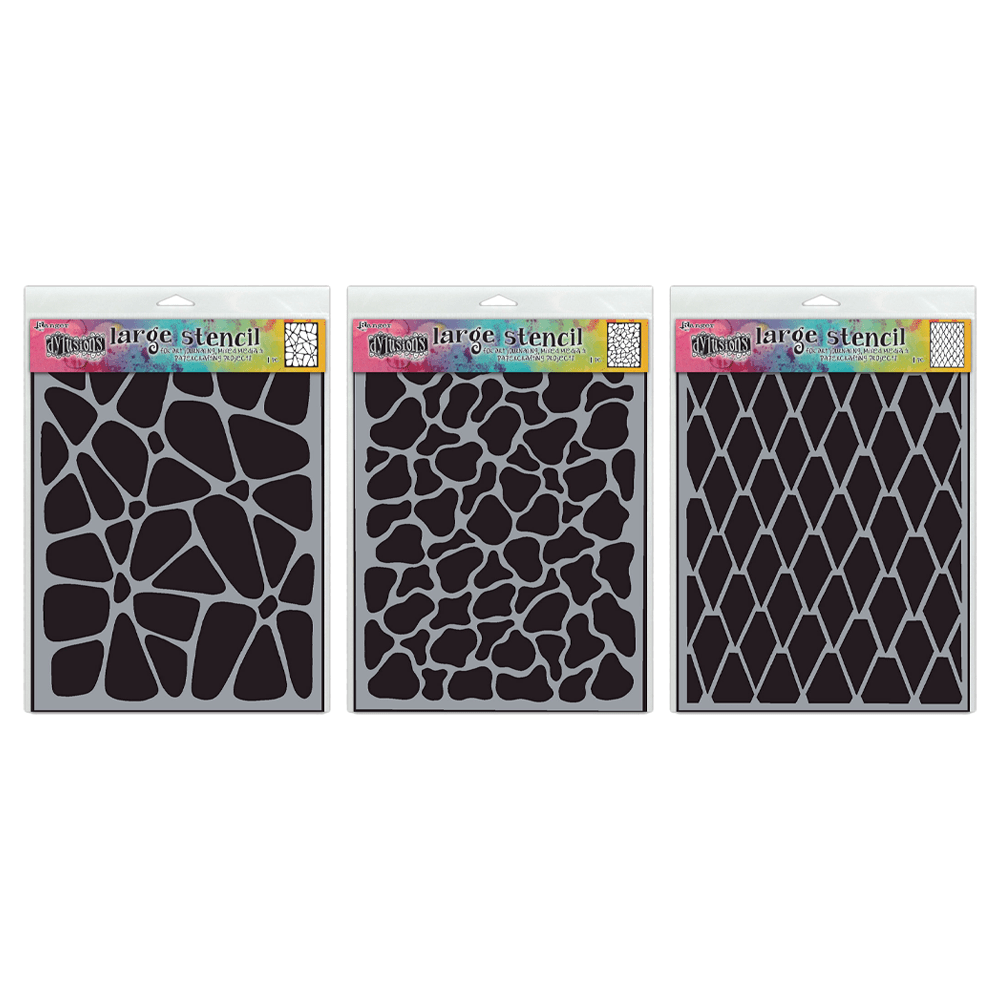
- Tim Holtz® Stampers Anonymous Layering Stencils: THMST004, THMST005, THMST008
- Tim Holtz® idea-ology™ Word Bands
- Tim Holtz® idea-ology™ Long Fasteners
- Tim Holtz® idea-ology™ Textured Surfaces
Instructions

Thanks for stopping by the Ranger blog today for a cool tutorial from Ranger’s Creative Director Tim Holtz using Alcohol Inks and the new Yupo.

Step 1: Yupo is a versatile surface especially suited for mixed media techniques using Alcohol Inks. Available in White or Translucent, this smooth synthetic heavyweight 86lb surface resist buckling and dries quickly. Unlike Alcohol Ink Cardstock (aka Glossy Cardstock) which is very porous, Yupo has completely different properties allowing you to layer and remove Alcohol Inks to create amazing backgrounds. For this tutorial we are creating three cards using a single sheet of White Yupo.

Step 2: Before we start, gather several colors of Alcohol Inks to use, a single Metallic Mixative color, and your bottle of Alcohol Blending Solution. Also make sure you’re working in a well ventilated area as these products all contain solvents.

Step 3: Since Alcohol Inks have a fast drying time (approx. 7-10 seconds) I’m grouping the step-out photos so it’s easier to see the process since once you start, you will need to work quickly. Begin by shaking the Mixative allowing the mixing ball to rattle and apply a scribble to your Craft Sheet. Apply various colors of Alcohol Inks over the Mixative in drips, dashes, etc. (you can use as many colors as you wish, but we will be adding more later so don’t overthink the ink). Next shake on Alcohol Blending Solution over inks (about 3-5 shakes is plenty). Now swipe the Yupo through the mixture in a sweeping motion – not a swirling one.

Step 4: I’ll be honest that the first swipe usually doesn’t look the greatest, but one thing that makes Yupo so cool is the ability to layer color with ease since this is synthetic and not porous. Add any additional ink colors and a dash of Blending Solution to the same area of your Craft Sheet and swipe again. You’ll notice the new ink color actually replaces what was there so you literally cannot make mud! Continue adding more colors until your desired look is achieved.

Step 5: *Note: Before we start this part I have a few words of advice – BE PATIENT. You will need to perform these steps several times and if you’re in a rush and use too much Blending Solution, it will seep under the stencil and blur your design. If that happens, you’ll need to start from the very beginning layering your inks again – you can use the same piece of Yupo.
Our background is going to take on a whole new level of depth by adding patterned imagery using stencils. Start by adding a few drops of Blending Solution to the Craft Sheet and pick up the solution using a clean piece of Blending Foam on the tool. Immediately place your stencil on the background, and with a light circular motion, rub the foam through the stencil lifting the color. Once you feel the foam “squeaking” on the surface you will need to add a few more drops of Blending Solution to the Craft Sheet, pick it up with the foam again, and repeat the process. Continue with various stencil designs in different areas, but be sure to leave some of the colorful background alone.
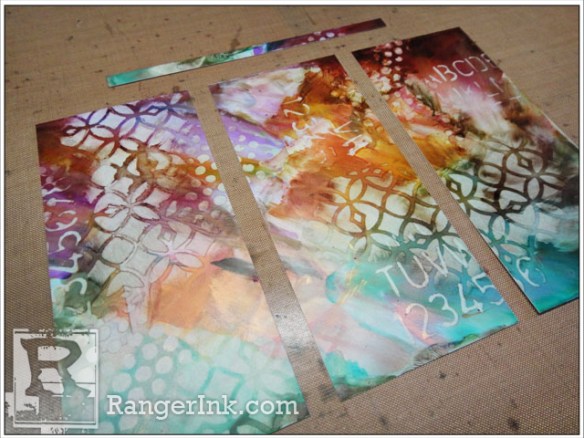
Step 6: So now we have an awesome, colorful, mixed media background ready to use for our cards. The reason I like to create by backgrounds on a single sheet and then cut it up is that I find it to be less planned and more random. Yupo is 5” x 7” so cut the sheet to three 5” x 2 1/4” sections leaving a 1/4” strip to toss.

Step 7: Stamp the Wildflower using Archival Ink and immediately cover with Black Embossing Powder. I prefer Archival Ink to stamp on Yupo vs. Embossing Ink since we are stamping on a slick and synthetic surface and I find the Archival doesn’t slide as much.
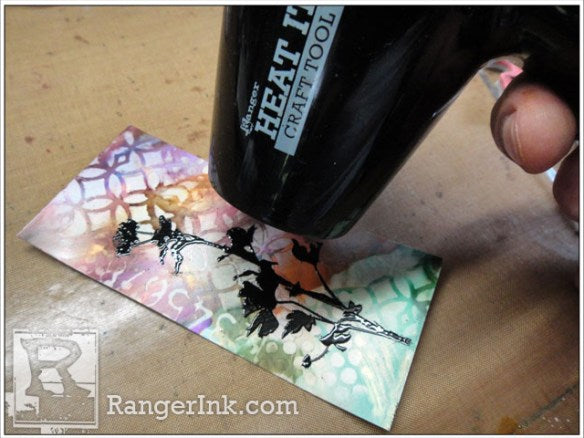
Step 8: Heat emboss the image making sure to keep the heat tool moving. Yupo is a plastic so if you stay too long in one area you could risk melting or warping the surface. I’ve found it to be fairly heat stable though and have never had a problem embossing on it.

Step 9: I like to matte my backgrounds on a black piece of cardstock leaving a thin border which makes the image pop more. Adhesive strips or any double sided tape works best when adhering Yupo vs. liquid adhesives.

Step 10: Cut three 6” x 6” pieces of Kraft Cardstock and fold each one in half to create a 3” x 6” card. Ink the edges of the cards with Distress Ink using a new piece of Blending Foam. Splatter some water droplets on the inked areas and dry with a heat tool for a cool effect.
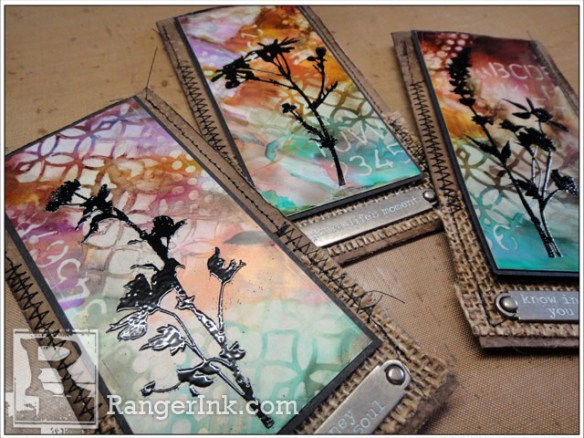
Step 11: Finish the cards by layering over a piece of Textured Surface Burlap, adding some sticking along the edges, and attaching a Word Band as a simple embellishment. Pretty great creating three stunning, colorful, and layered cards from a single sheet of Yupo. I hope you’re inspired to play and give this fun technique a try. The possibilities are only limited to your imagination…
Related Posts

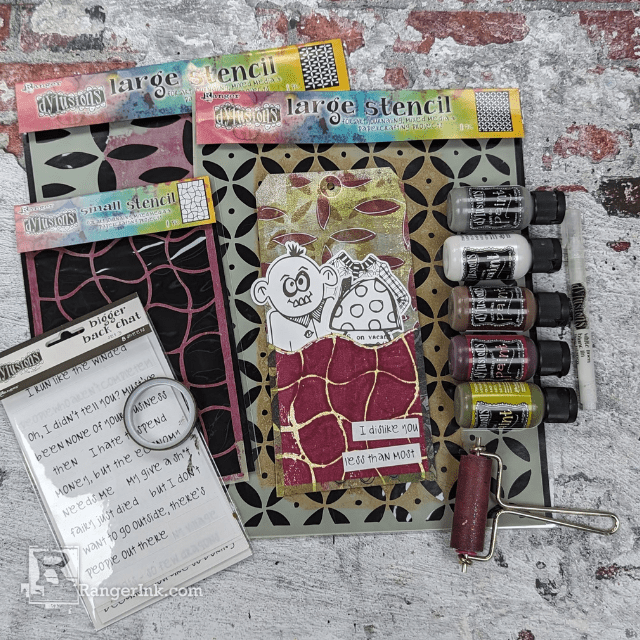
Dylusions Brayered Background Tag by Denise Lush
Check out Denise Lush's tutorial on crafting this cool, grunge-inspired Dylusions Brayered Background Tag! Follow along as she uses the...
Read More
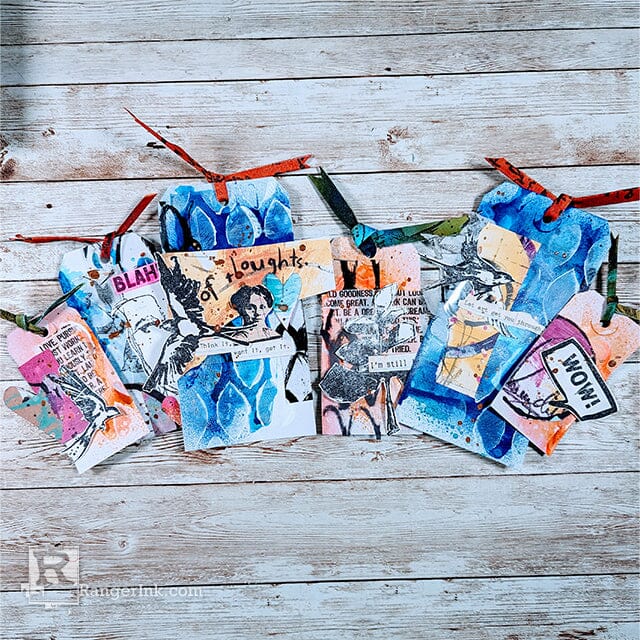
Dina Wakley MEdia Colorful Collage Tags by Laura Dame
Follow along with Laura Dame as she transforms these tags into vibrant works of art using Dina Wakley's latest...
Read More