


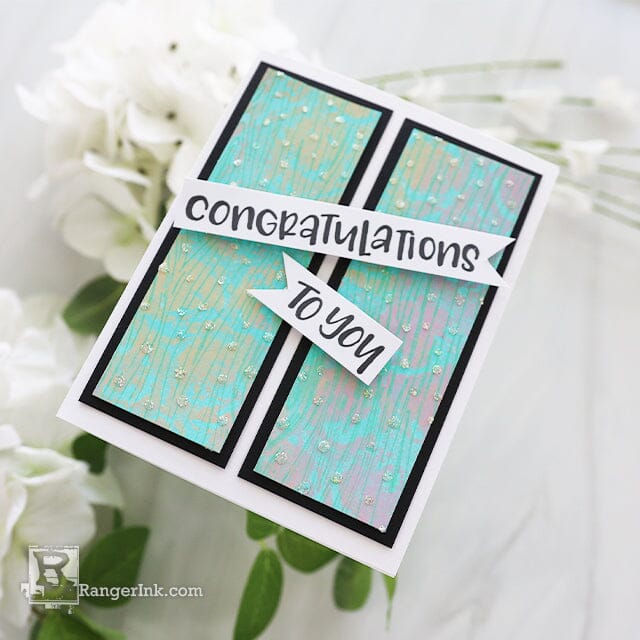
Follow along with Joy Baldwin as she shows you how to make a special congratulations card for your favorite graduate, using Stickles Glitter Glue, Letter It products, and Distress Paint in this tutorial.
Instructions
It’s that time of year, graduations are happening everywhere! Lets create a unique background for the graduate in your life.
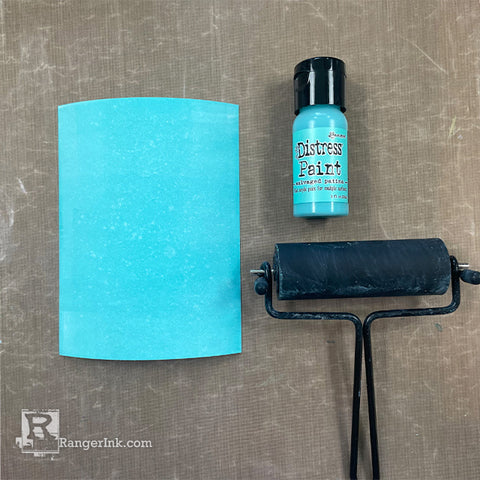
Step 1: Use the brayer to roll the Salvaged Patina Distress Paint onto a white A2 piece of cardstock. Start by rolling the paint onto the work surface until the brayer is loaded with paint, then roll it onto the cardstock. Let it dry.

Step 2: Now add the Kitsch Flamingo and Dried Marigold to the work surface, use the brayer to spread the paint. Place the Polka Dotting Stencil down, lay the painted cardstock on top and gently press down. Lift the cardstock, remove the stencil and lay down the cardstock again onto the paint. Make sure to line up the cardstock, so the circles are in about the same spot. Press down gently, rubbing the entire back of the cardstock to pick up the paint. Remove the card panel. Now the background has a fun design.

Step 3: After the panel is dry, load the brayer with Cracked Pistachio Distress Paint and gently roll it across the Splinter Background stamp, lay the painted cardstock (paint side down) onto the stamp and gently rub the back of the cardstock to pick up the paint design from the stamp.

Step 4: Trim down the painted panels into two pieces, then place the dancing dots stencil on top and using a palette knife, spread the Stickles Glitter Gel across the stencil. Carefully remove the stencil to reveal the beautiful glitter accents.

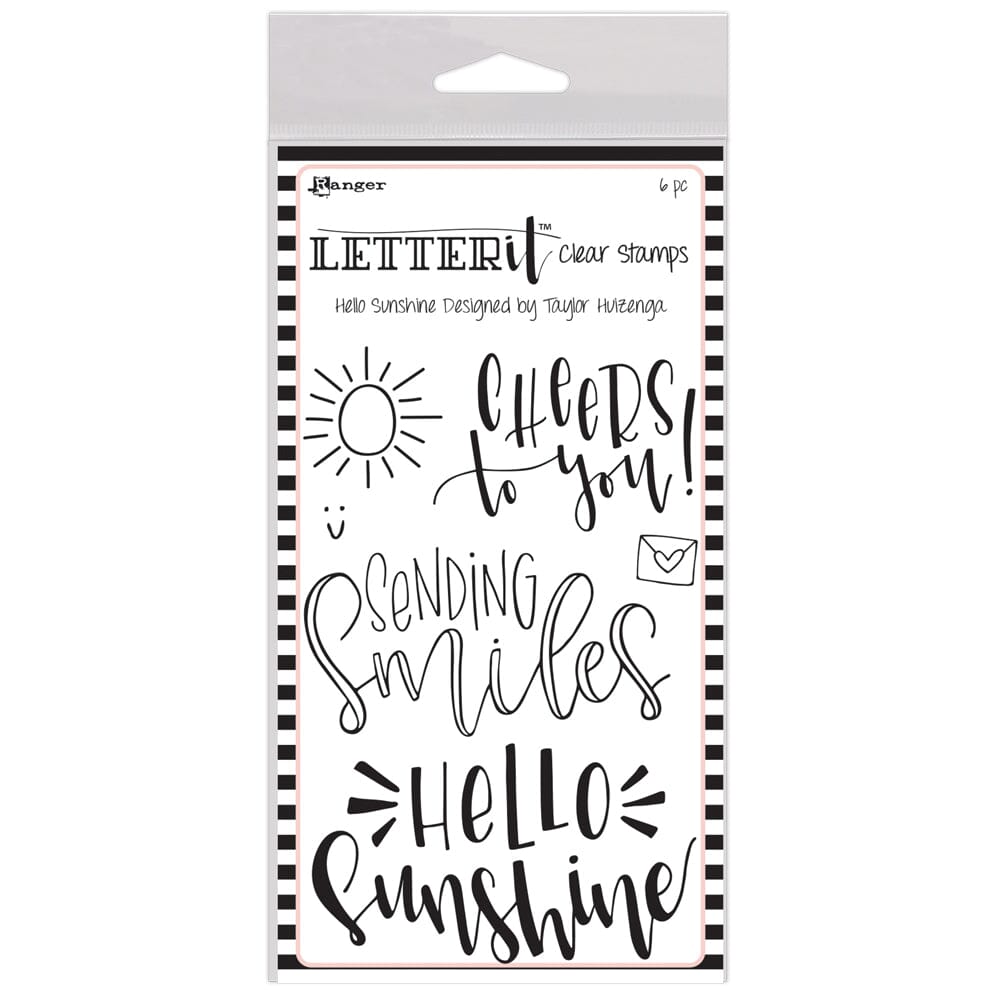
Step 5: Add black mats behind the panels then adhere them to a white card base, stamp the sentiment from the Wedding stamp set on white cardstock with Archival Jet Black ink, trim out the sentiments and cut flag ends with scissors. Adhere those to the card front.
 Hi! My name is Joy Baldwin, AKA, Create it with Joy. I am a wife and a mother to 3 kids and 3 crazy animals. I homeschool my 2 youngest kids (maybe I'm crazy) and am a part-time Nail Tech. I absolutely LOVE the creative process of making cards and the tutorials that go along with them. Also, the community of wonderful crafters and the friendships that follow. Find me at www.createitwithjoy.com.
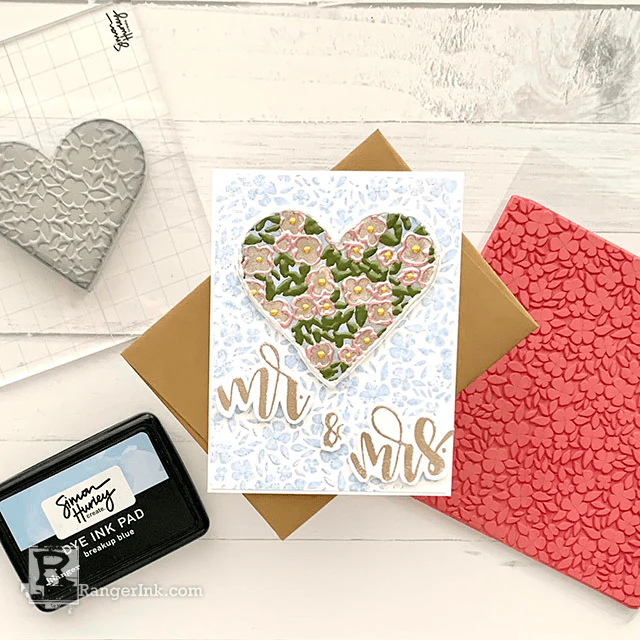
From heart to hand, a special touch for newlyweds! Follow along as Lieschen Harshbarger creates this enchanting wedding...
Read More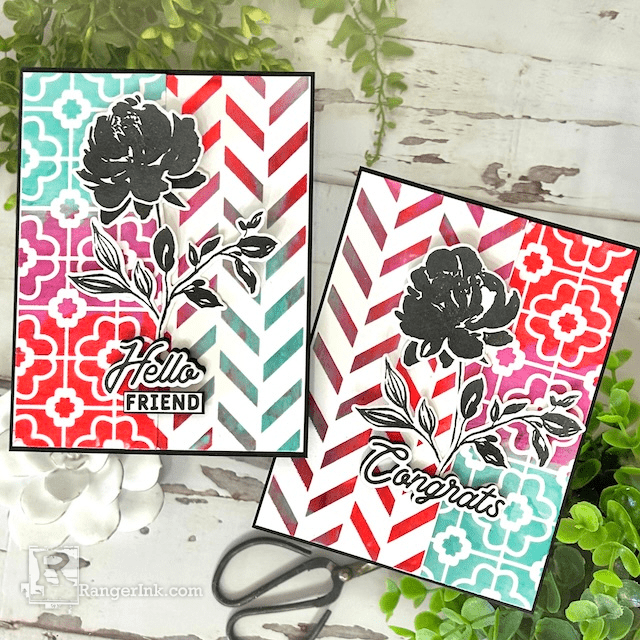
Immerse yourself in a world of color and textured bliss with these stunning cards by Kimberly Boliver! Using the...
Read More

