


by Anna-Karin Evaldsson
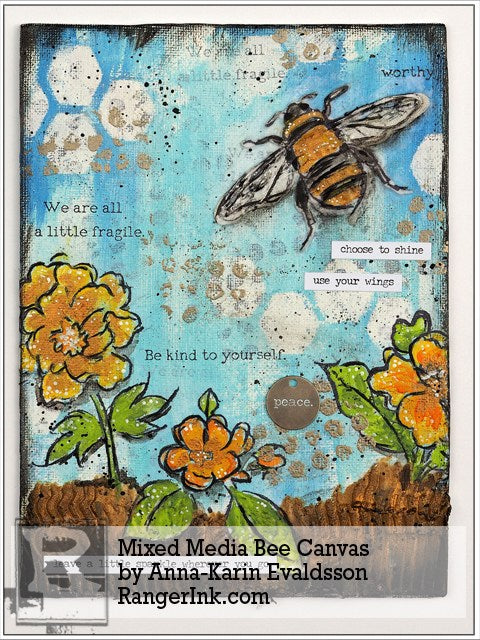
Mixed Media Bee Canvas by Anna-Karin Evaldsson
- Materials
- Instructions
- Dina Wakley Media Stamps: Scribbly Flowers, Scribbly Insects, Positive Women, All the Gals, Face in the Crowd
- Dina Wakley Media Stencils & Masks: Essentials, Insects
- Dina Wakley Media Heavy Body Acrylic Paints: Lemon, Tangerine, Sky, Lapis, White, Black, Lime, Gilt, Sterling, Umber
- Tim Holtz Distress Ink Pads: Embossing
- Archival Ink: Jet Black
- Ranger Multi-Medium: Gloss
- Ranger Texture Paste
- Embossing Powders: Liquid Platinum
- Dina Wakley Media Palette Knife
- Ranger Texture Tools
- Canvas Board 6 x 8 in
- Tim Holtz idea-ology: Typed Tokens, Small Talk
Instructions
 Hi everyone! It is Anna-Karin here with you today and I am so happy to be back on the Ranger blog. This time I made a mixed media canvas, using Dina Wakley’s wonderful Media Acrylic Paint, and her stamps and stencils. I am also going to show a technique with Ranger’s Texture Tools.
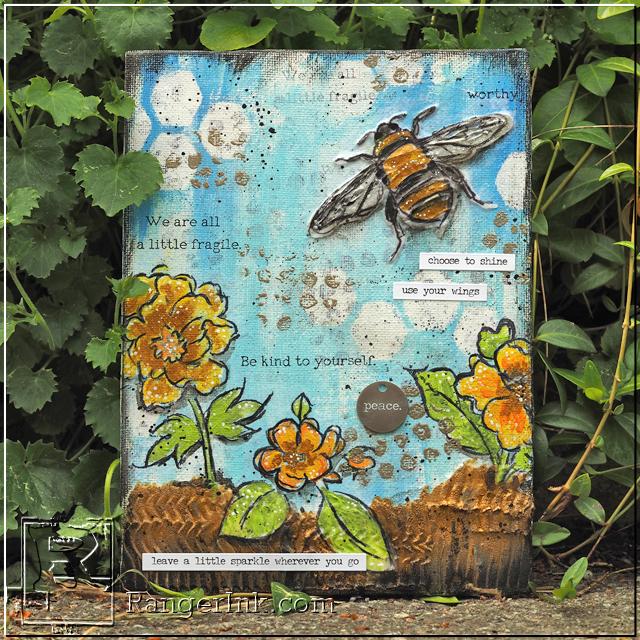
 This is the finished projects, a happy summer canvas with an important message. I worked on a 6 x 8 in canvas board, but you can do the same techniques in your art journal, on a card, or a 3-D project and more. We’ll be building up layers with stamps, paint, stencils and paste. Let’s start.
 Start by coating your surface with gesso, using a palette knife.
 When the gesso is dry, stamp the background repeatedly with a dot and a sentiment stamp. Don’t worry about the placement, just stamp.
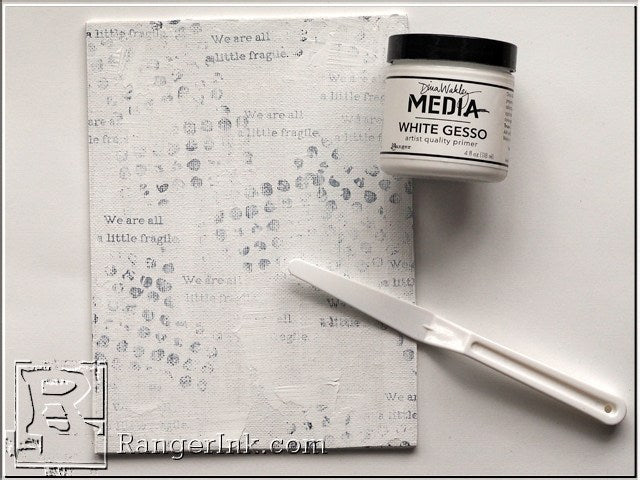 Coat the stamped surface with another thin layer of gesso. Don’t cover up all the stamping; we are aiming for a white-washed look.

Make a little puddle of Sky and White paint, one with only Sky, and one with Lapis. Add a little Glazing Medium to each puddle. The Glazing Medium gives you more time before the paint dries, and also makes the paint more transparent. Paint the canvas with a paint brush, dragging in the darker paint from the top and making it lighter at the bottom.
 Use the Essentials stencil and rub some of the paint off with a moist cloth.
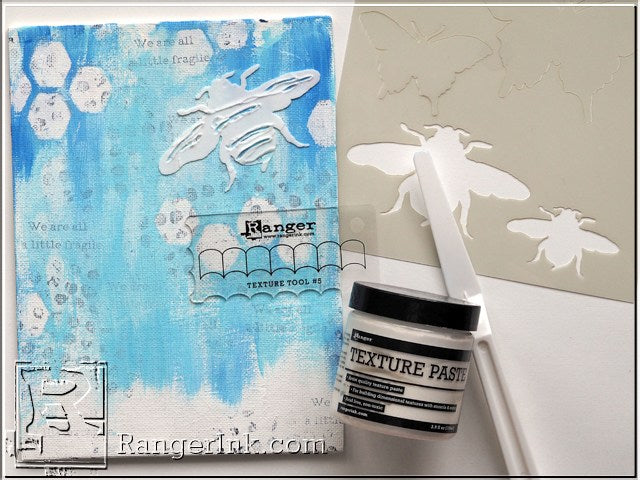 Smear Texture Paste through the larger bee from the Insects stencil with a palette knife. Make marks in the bee’s body with the edge of a Texture Tool.
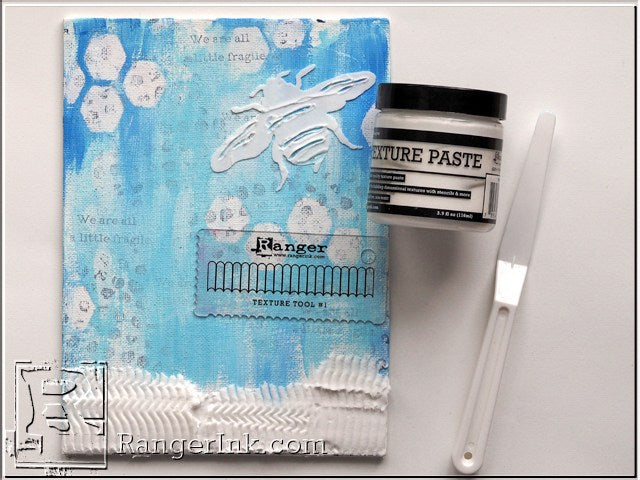 Smear Texture Paste at the bottom of the canvas, in a relatively thick layer. Drag Texture Tool 1 through the paste. Try not to make totally straight lines. Leave to dry.
 Stamp three scribbly flowers and a bee on tissue paper with Archival Ink Jet Black. Our background is textured because of the paste, and with this technique we’ll be able to get perfectly crisp stamped images even on the paste. Tear the edges around the images since that makes them disappear better into the background.
 Working on one image at a time, apply Gloss Multi Medium to the canvas, carefully place the image onto the medium. Add another layer of multi medium on top. The bee fits almost perfectly on top of the paste bee. I was in a bit of a hurry and the paste wasn’t completely dry, which is why some of the textured disappeared underneath the leaves of the middle flower.
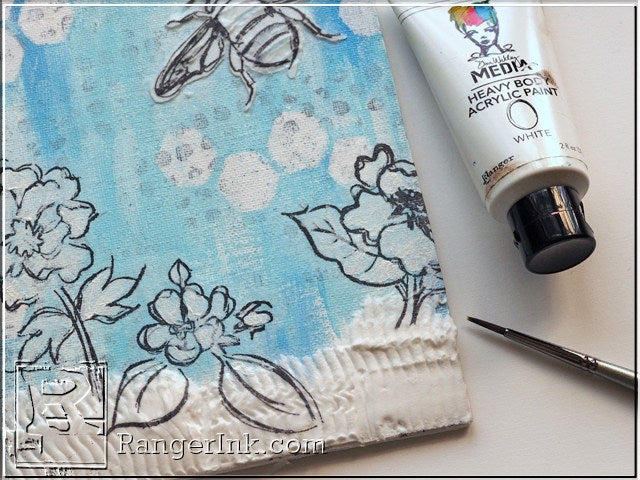 When dry, paint the flowers with white paint. The purpose is to give a lighter base for the brighter paints that will come later.
 Paint the flowers with Lemon, Tangerine and Gilt. Paint the leaves with a mix of Lime and Lapis. The bee was painted with Gilt, Black, Sterling and a tiny bit of Lemon. Don’t worry about covering up some of the stamped lines.
 Paint the soil with Umber and Gilt.
 Use a fine paint brush and black paint to add back some of the stamped lines that you painted over. Also mix a little water into black paint and give the flowers, leaves and bee shadows. Dry brush black paint around the edges.
 Stamp sentiments with Jet Black Archival Ink.
 Add white dots for highlights on the flowers, leaves and bee. This step helps to bring them even more to life.
 Stamp random dots in a few places with Embossing Ink and emboss with Liquid Platinum embossing powder.
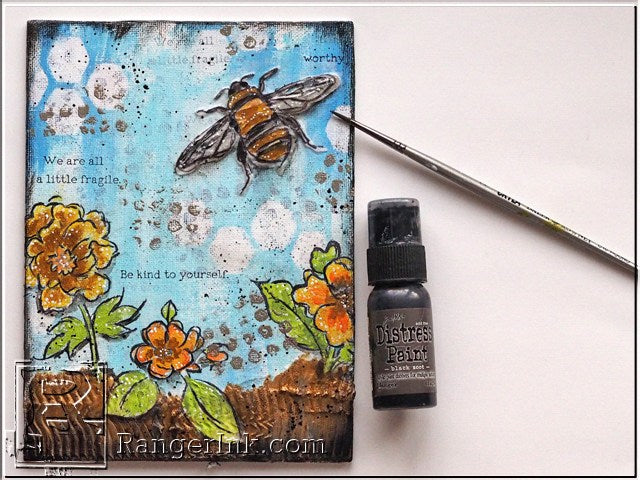 Finally, for a little more texture, splatter Black Soot Distress Paint on the canvas. Pick up with a paint brush and tap the handle to create splatters. You might need to add a little water to the paint.
 The bee is my favourite part of this project. It has a great raised look and feel to it because of the Texture Paste. The Stirling paint gives the wing the appearance of being translucent. I used Small Talk stickers to add more sentiments to my canvas.
 The metallic paints are gorgeous, and you only need a tiny bit to get a great effect. You might see how they shine a little better on this photo.
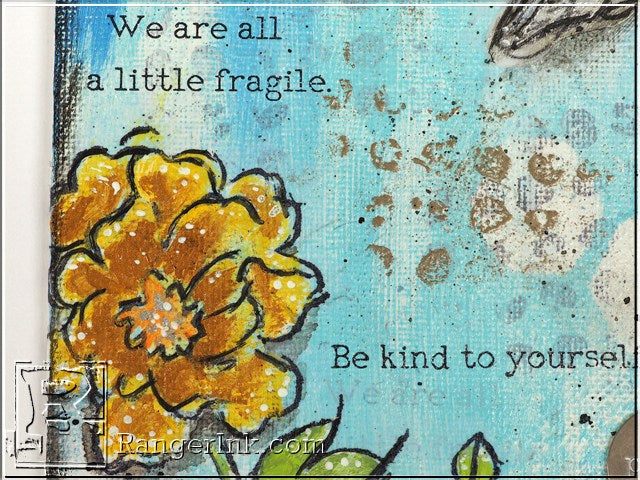
I like how you can spot the initially stamped dots and words through the paint here and there. Dina Wakley’s paints are such fun to use. Remember that you can mix the colours to get a large variety of different colours.
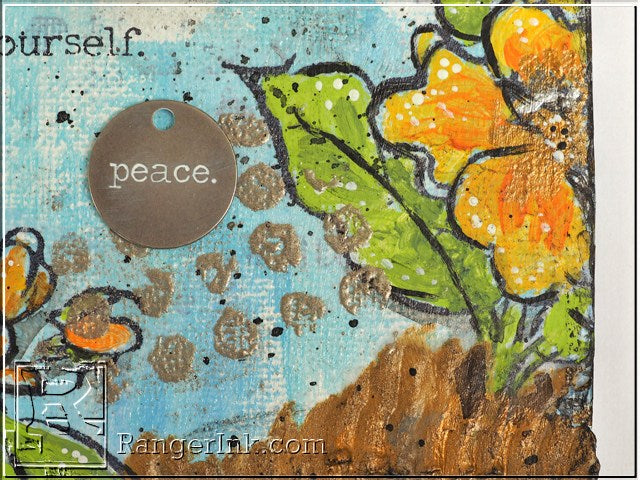 Rub Picket Fence Distress Paint into the word on the Typed Token. The platinum dots and black splatters add great texture to the piece.
 I really like the texture created by the Texture Tool in the paste. You can do so many different techniques with the six different patterns in the Texture Tool kit.
I hope you enjoyed this project and that it inspired you to do some mixed media layers in your next project.
Happy crafting!

Related Posts

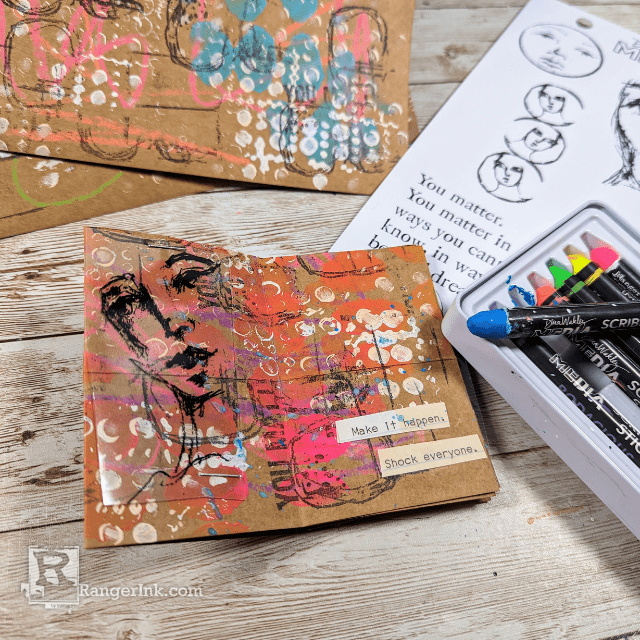
Dina Wakley Media Mini Zine by Laura Dame
Prepare to get messy in the most magnificent way! Laura Dame spills her secrets on creating a mini...
Read More
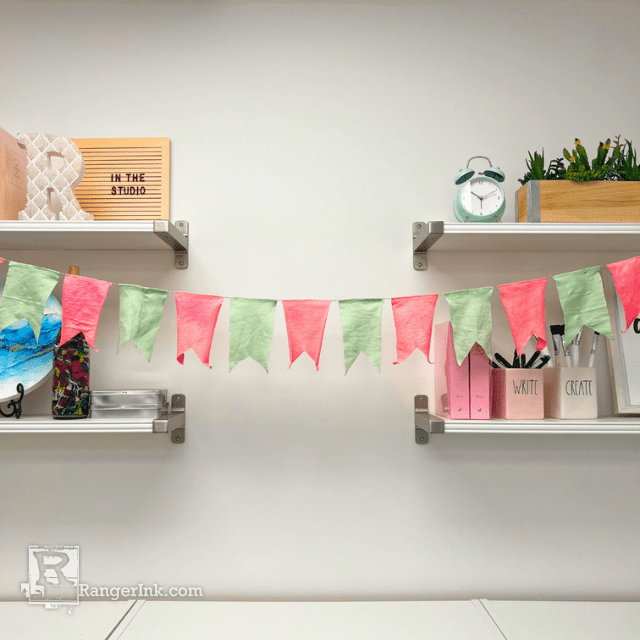
Earth Day Spring Bunting by Teresa Natividad
Celebrating Earth Day with creativity and sustainability! In this tutorial, Teresa Natividad creates a spring bunting made from old...
Read More