


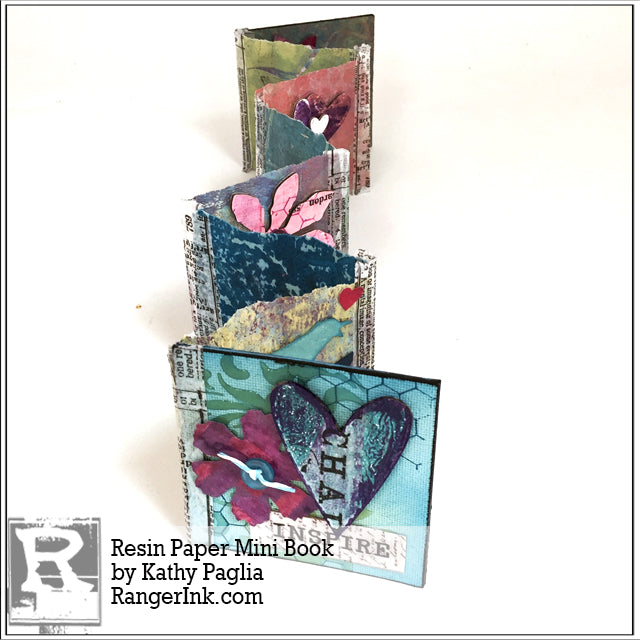
Resin Paper Mini Book by Kathy Paglia
- Materials
- Instructions
- Ranger Multi-Medium Matte
- Dina Wakley Media Palette Knife
- Ranger Texture Paste: Transparent Gloss
- Ranger Mister
- Tim Holtz® Distress Spray Stains: Mermaid Lagoon, Mowed Lawn, Twisted Citron
- Ranger Heat it™ Craft Tool
- Archival Ink™ #0 Pads: Jet Black, Manganese Blue
- ICE Resin® Ephemera Image Assortment
- Dina Wakely Media Board: 2 cut 3" x 3"
- Tim Holtz by Stampers Anonymous Stamp Set –Mixed Media
- Tim Holtz Idea-ology: Tissue Tape – Symphony, Paper String
- Tim Holtz by Stampers Anonymous Layering Stencil - Flourish
- Tim Holtz Alterations by Sizzix: Bigz Dies - Tattered Florals, Heartfelt & Bird Branch Decorative Strip Dies - Tattered Flower Garden, Butterfly Frenzy & Spring Greenery Thin Dies – Holiday Words – Script
- Tim Holtz by Tonic Studio Cush Grip Snips
Instructions


 Step 1: Raid your stash and pull out your favorite 6 – 8 background papers, gelli prints and/or shaving cream prints, printed ephemera sheets or decorative papers.
 Step 2: Mix the ICE Resin by using the markings on the mixing cups, fill the cup with Part A resin to the ½ oz line. Add an equal amount of Part B hardener on top of the resin and fill to the 1 oz line. Working on a Studio Sheet, use a household sponge to apply a thin coat of resin over the back of the papers. Then flip over and coat the front. Let the papers cure overnight.
 Step 3: Spray Media Boards on the canvas side with water and then Distress Spray Stains. Dry with Craft Heat it Tool. Spray again to intensify the colors. Dry with the Heat Tool.
 Step 4: Using Manganese Blue Archival Ink, stamp the Honeycomb image randomly over the covers. Add some texture by putting Translucent Gloss Texture Paste through Flourish stencil with a Palette Knife. Let dry. Apply Jet Black Archival Ink directly to the sides of the board to create a black border.
 Step 5: Cut two pieces of 3” x 3” resin paper and use Matte Medium to glue a sheet of resin paper to the back of each Media Board to create the covers.
 Step 6: Tear six pieces of resin paper to approximately 3” x 3” each. Line up torn pages and tape them together on the front and back with Tim Holtz Tissue Tape. Note the placement of the covers – this will help when you go to fold it.
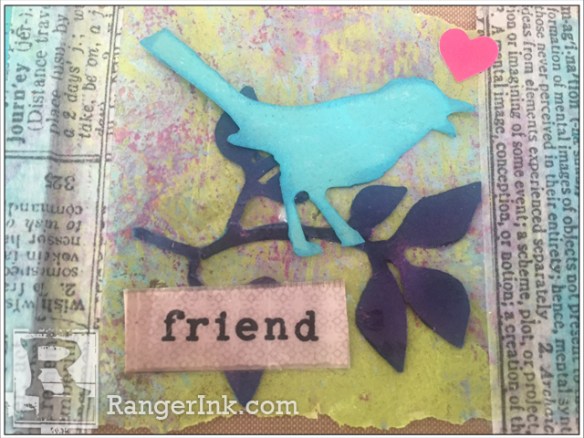
 Step 7: Pull together assorted flowers, hearts, birds, buttons and found objects.
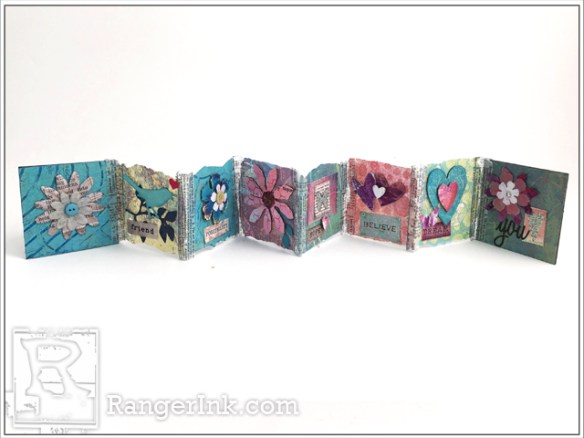
Step 8: Decorate pages using die cuts, resin coated ephemera, buttons and brads by gluing with Matte Medium. Here are close ups of all of the pages.


Related Posts


Dylusions Dual Colored Stencil Technique by Denise Lush
Follow along with Denise Lush as she guides you through this fun technique to create a dual-colored background! Using...
Read More
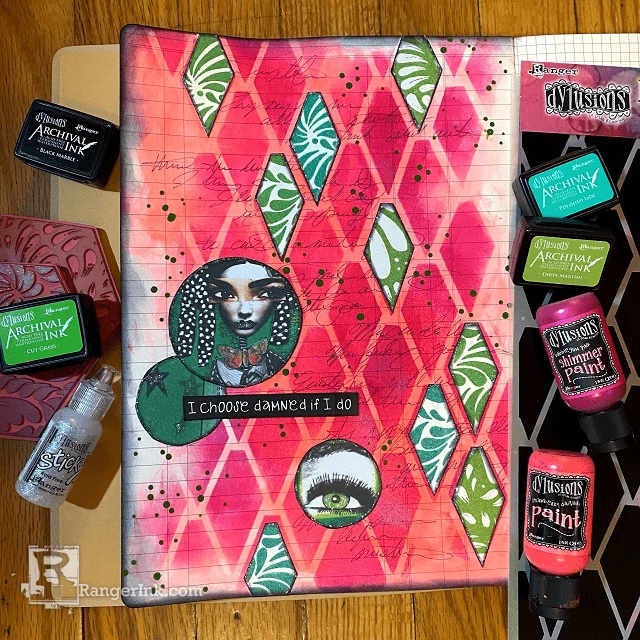
Dylusions Archival Ink Damned If I Do Journal Page by Jess Peters
Explore the latest Dylusions products in this journal page tutorial with Jess Peters! Crafted in the new Large Ledger...
Read More