


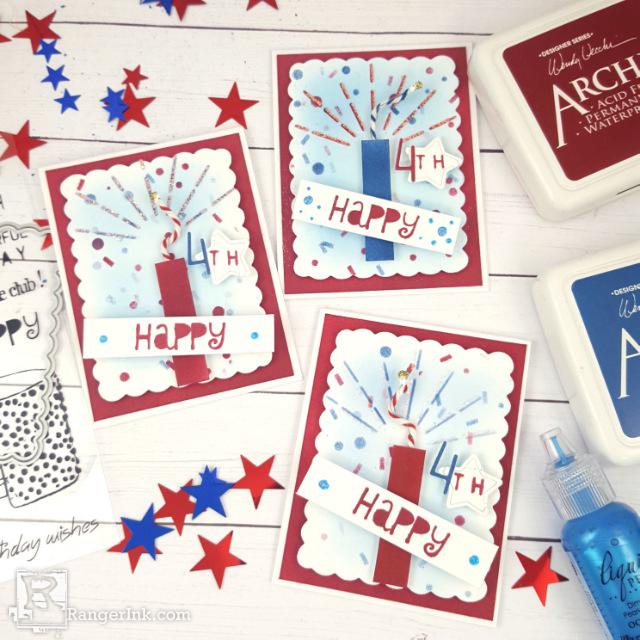
Follow along with Terri Burson as she creates these festive Wendy Vecchi Firecracker Mini Cards that can be used as placecards or goodie bag tags for your 4th of July celebration.
Wendy Vecchi Firecracker Mini Cards by Terri Burson
- Materials
- Instructions
Other:
Pencil
Wire
Twine
Pliers
Die cut machine
Scissors
Trimmer
Instructions
Terri here and today I’m sharing this set of patriotic firecracker mini cards that you can use as place cards for your festive gatherings or toss in a gift bag destined for friends or family. Stick around for a few minutes for the creative details!
Instructions:

Step1: To begin, trim a piece of white cardstock to 2x4 inches and draw a line across the lower edge of the cardstock with a pencil.

Step 2: Using the stencil from the Wendy Vecchi Award Winning stamp set, mask the area of the rectangle (pictured above) with masking tape. Place along the pencil line and blend using the Ranger Domed Applicator tips and Mini Blending Tool, along with Wendy Vecchi Archival Ink in Mulberry and/or Night Sky. Clean your stencil between each use of color. Fussy cut your inked stripes when done and apply Ranger Adhesive Foam to the back of the firecrackers, leaving at least a ½ inch gap at the top.

Step 3: To create the firecracker elements, begin by taking a 1.5-inch piece of very thin wire and loop one end near the top of a 1.5-inch piece of red/white and/or blue/white twine. Loop the wire and twist with a plier to secure. Wrap the wire closely to the twine several times, then twist and tie off on the other end of the twine. Leave at least a ¼-inch of wire. You may need to trim some of the twine from the bottom.
 Step 4: Twist the wired twine to your desired shape. Gently trim the top of your twine to just above the secured loop. Dip the tip of your twine into a drop of Dina Wakley White Acrylic Paint to seal the twine together. Dry quickly with the Ranger Heat It Craft Tool, then add Ranger Stickles Gold Glitter Glue to your tip and repeat drying process. Using the bottom end of the wired twine stem, insert it into the top of the Adhesive Foam behind the firecracker. Set aside.

Step 5: Take the scalloped die included in the Wendy Vecchi Birthday Bash MakeArt set and die cut your desired number of focal panels with your die cut machine and White Cardstock. Blend around the inner edges of your die cut with the Night Sky Archival Ink and Ink Blending Tool with Domed Replacement Foams.

Step 6: Using the confetti stencil from the Birthday Bash set, blend random patterns of confetti with the Night Sky and Mulberry Archival Inks, using the Ranger Ink Detail Blending Tool.

Step 7: Next, take the stencil from the Award Winning MAKE ART set and center the sun ray stencil near the top of the scalloped panel. Blend with your choice of Archival Ink in Mulberry or Night Sky. When finished, clean the stencil, then re-center in the same place and apply a layer of Stickles Glitter Gel in Moondust using the Tim Holtz Distress Palette Knife. When finished, gently remove stencil and clean stencil and palette knife. Dry the stenciled Glitter Gel with the Heat It Craft Tool. Apply Ranger Adhesive Foam to back of the panel and set aside.

Step 8: To create the base for the scalloped panel, trim a 2.5 x 3.5-inch piece of White Cardstock and blend all sides with the Mulberry Archival Ink.

Step 9: This next step is three-fold. Trim a 3x3 inch section of White Cardstock and blend the Mulberry and Night Sky Archival Ink along a one-inch edge. With the Tim Holtz Treat Bag dies, take the number “4” and place over the inked space. Cut the desired number of images with your die cut machine. Using the center space of the same White Cardstock, mask the birthday sentiment from the Birthday Bash Stamp Set, as pictured above with tape. Stamp and ink only the letters “th” with Mulberry Archival Ink and your MAKE ART Stay-tion and Perfect Stamp Positioner. Center the star die included with the Tim Holtz Treat Bag set over the stamped letters and cut with a die cut machine.

Step 10: To assemble this element, pop up the star with Ranger Adhesive Foam. Apply a thin strip of Wendy Vecchi Perfect Card Adhesive along the right edge of the number and adhere to the left edge of your star. Use a craft tool to hold the number in place for 10-15 seconds, to secure.

Step 11: Last, trim a piece of White Cardstock measured 2-7/8 x 7-1/2 inches, fold and score. You can yield three mini cards in this size from an 8.5 x 11- inch sheet of White Cardstock. Adhere your base to card, then scalloped panel, firecracker and remaining elements which includes the word “Happy”, stamped on a 1 x 2-½ inch piece of White Cardstock with Mulberry Archival Ink. Pop up your stamped word with double strips of adhesive on the back of each end. Place at an angle over the bottom of your firecracker. Accent with Ocean Blue Liquid Pearls.
 Hello, my name is Terri Burson. I’m a native New Yorker, transplanted in the deep South. My husband and I are parents to a 19 year old son and numerous fur babies. I’m an avid card make but love dabbling in many forms of art and mediums. You can find me on most social media platforms @wavingmywand and on my blog at wavingmywand.blogspot.com.
 Related Posts

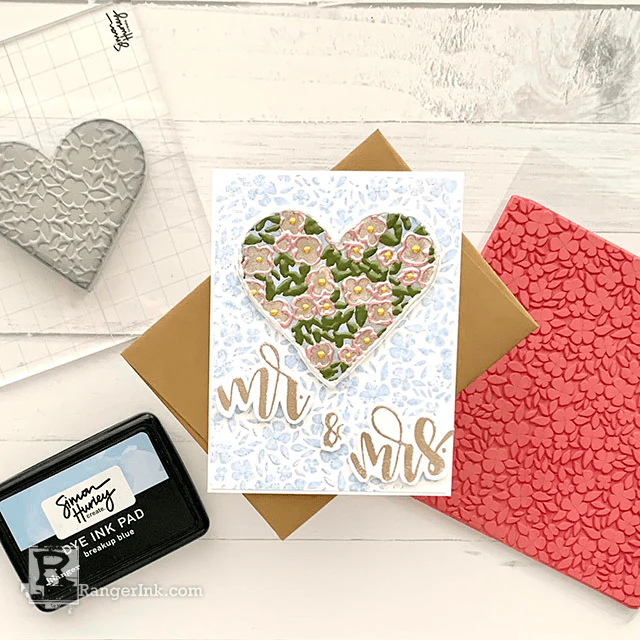
Simon Hurley create. Wedding Card by Lieschen Harshbarger
From heart to hand, a special touch for newlyweds! Follow along as Lieschen Harshbarger creates this enchanting wedding...
Read More
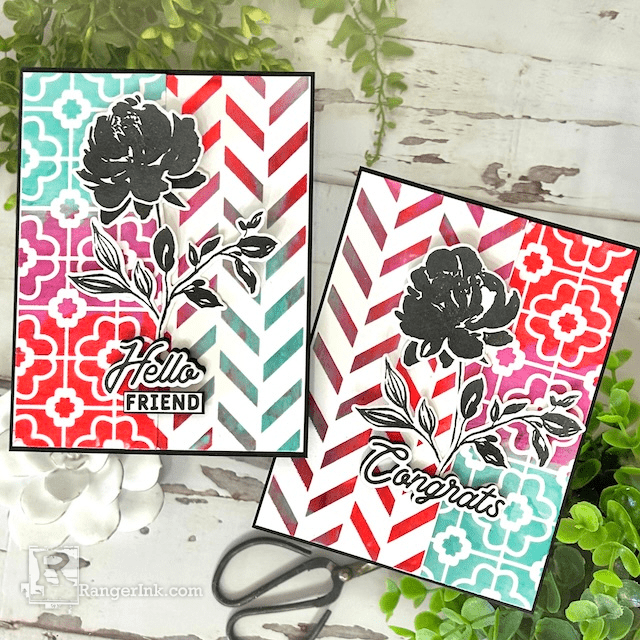
Archival Ink™ and Texture Paste Cards by Kimberly Boliver
Immerse yourself in a world of color and textured bliss with these stunning cards by Kimberly Boliver! Using the...
Read More