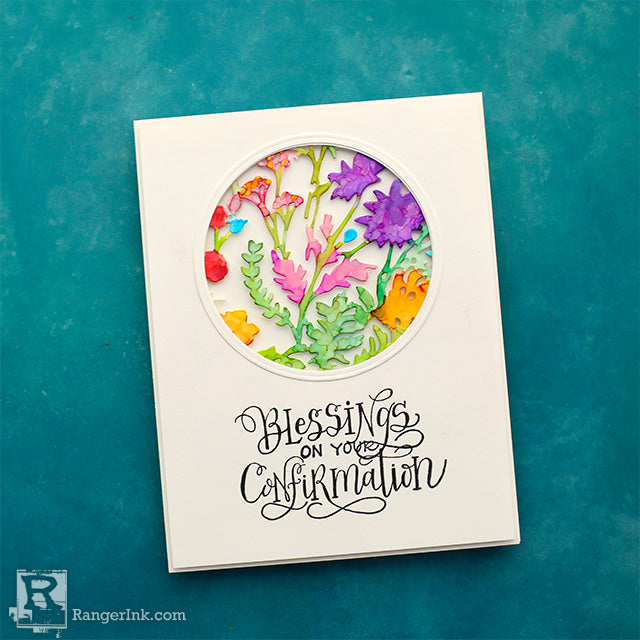
Create a beautifully simple and colorful Confirmation card using Tim Holtz® Alcohol Inks and Alcohol Pearls by following along this tutorial by Cheiron Brandon.

Alcohol Pearl Confirmation Card by Cheiron Brandon
- Materials
- Instructions
Instructions
Hi there crafty friends, it’s Cheiron here and today I am going to show you how to make this super easy and elegant Confirmation card using sentiments from the Letter It collection paired with a floral die cut (cut from Yupo® paper) painted with Alcohol Ink Pearls. If you haven’t tried painting on Yupo® with your Alcohol Inks or Pearls yet, you are going to love it!

Step 1: I’ll walk you through this quick and easy card. First, gather your supplies. You will need the Letter It Faith stamps, Alcohol Inks and Pearls in your favorite colors, Yupo® paper (I used the regular weight), Jet Black Archival Ink™ and the Tim Holtz Sizzix Organic die.

Step 2: Cut the die out of Yupo® and punch out the negative spaces with a die pick. Then begin painting your flowers using Alcohol Pearls and Alcohol Inks™ and let this panel dry.

Step 3: Stamp your sentiment on a white cardstock panel. Mine is cut to 4 1/8 x 5 3/8 to go on a standard A2 card base.

Step 4: Once you have stamped your sentiment, use a circle die to cut an opening above the sentiment. I also cut a “circle frame” by taking the circle die I used to cut the opening and the next larger size to create a circle frame that I will use later on the card.

Step 5: Align your colored Yupo® piece under the circle cut out to determine which area you would like to show through your card. Trim the Yupo® to fit behind the circle and adhere behind the circle with Wonder Tape.

Step 6: Use White Foam Tape on the back of your front panel to adhere it to the card base. Add the circle frame to the front of the cut out to frame the flowers.

Step 7: Use White Foam Tape on the back of your front panel to adhere it to the card base. Add the circle frame to the front of the cut out to frame the flowers.


