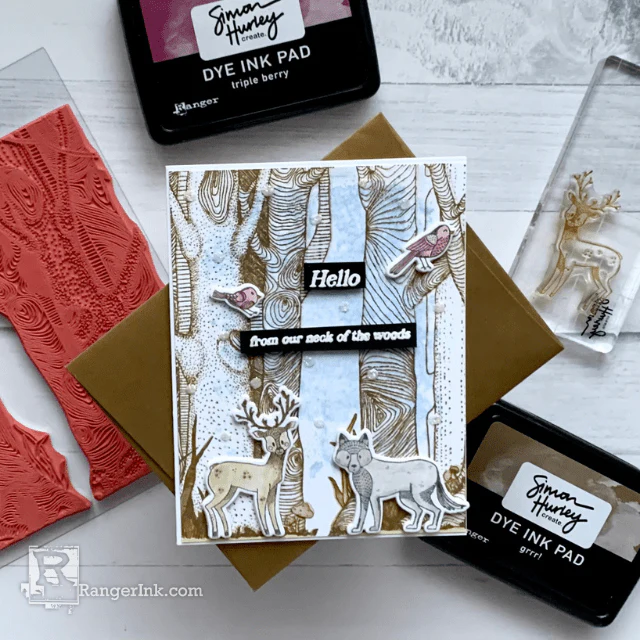
Make a wispy and whimsical card using Adirondack Acrylic Dabber Paints and Adirondack Dye Ink Pads in coordinating colors.

Autumn Leaves Adirondack® Coordinating Colors Card By Patti Behan
- Materials
- Instructions
- White cardstock
- Basic Grey Nook and Pantry Chocolate Mouse Paper (pink side), www.basicgrey.com
- Bazzill Java Cardstock, www.bazzillbasics.com
- Magenta Flourish stamp 14597-H and Leaf stamp K0452, www.magentastyle.com
- Serendipity Stamps “Autumn Leaves” stamp, www.serendipitystamps.com
- Scissors
- Adhesive
Instructions
(1) Cut a piece of white cardstock to 4″ x 6″ and another to 4″ x 3″.
(2) Working on the Non-Stick Craft Sheet, dab Red Pepper, Mountain Rose, and Salmon paints randomly onto 4″ x 6″ piece of white cardstock until entire piece is colored, leaving a little white space showing between dabs of paint. Dry with Heatit Craft Too.
(3) Tap the ink blending tool into the Salmon pad and fill in the white spots with ink using the tool in a circular motion.
(4) Stamp two leaves onto dabbered background using Espresso dabber paint. Remember to clean the paint off your stamp before it dries onto the rubber. Let dry.
(5) Cut out leaves with scissors and set aside.
(6) On a 4″ x 3″ piece of white cardstock, stamp a leaf using Espresso dabber paint. Let dry.
(7) Color leaf using ink blending tool and Salmon, Mountain Rose and Red Pepper ink. Start with the light color on the outside of the leaf, and work your way toward the middle with the bright and then the earthtone.
(8) Cut out leaf and set aside.
(9) Cut two pieces of 2″ by ¾” of white cardstock.
(10) Stamp “Autumn” with Espresso dabber onto one piece and “Leaves” with Espresso on the other. Let dry.
(11) Lightly ink the edges of each of those with Salmon ink and then dry brush with Espresso dabber. Let dry.
(12) Back “Autumn” and “Leaves” each with a piece of 2¼” x 1″ of java cardstock. Set aside.
(13) Score and fold a piece of 8″ x 9¼” white cardstock vertically in half so you have a finished card of 4″ x 9¼”.
(14) Use the ink blending tool and Salmon ink pad to lightly ink all four sides of the front of the card.
(15) Use the Espresso Dabber to dry brush the four sides of the card by flicking the top of the dabber on the edge of the card. Set aside to dry.
(16) Cut a piece of Chocolate Mousse paper to 3½” x 8¾”.
(17) Stamp scroll stamp randomly on edges of Chocolate Mousse paper with Mountain Rose ink.
(18) Use the ink blending tool and Salmon ink pad to lightly ink all four sides of the Chocolate Mousse paper. And then dry brush with Espresso dabber. Let dry.
(19) Cut a piece of Java cardstock to 3¾” x 9″.
(20) Glue Chocolate Mousse paper centered onto Java cardstock.
(21) Glue Java cardstock center onto the front of the white card.
(22) Glue leaves down as shown.
(23) Attach “Autumn” and “Leaves” with Pop It shapes.
(24) Use fingertip to apply a thin layer of Copper Stickles over each of the scrolls.


