


Hello! I’m Samantha, known as Scarlyton in the art community and it’s good to be with you again. Today I’m demonstrating a quick card tutorial using both Dina Wakley Media and Ranger’s Letter It line.

Hello Friend by Samantha “Scarlyton” Carlton
- Materials
- Instructions
- Letter It™ Surfaces: Grey Cardstock
- Letter It™ Metallic Markers
- Letter It™ Embossing Ink Pad
- Letter It™ Embossing Powders: Navy
- Letter It™ Stamp Sets: Greetings, Baby
- Letter It™ Acrylic Stamp Block
- Ranger Non-Stick Craft Sheet™
- Ranger Collage Glue Stick
- Ranger Heat it™ Craft Tool
- Archival Ink™ #0 Pads: Jet Black
- Dina Wakley Media Collage Papers
- Dina Wakley Media Washi Tape
- Dina Wakley Media Brushes
- Dina Wakley Media Stencils & Masks: Wallpaper
- Dina Wakley Media Scribble Sticks: Peacock
- Dina Wakley Media Stamps: Abstract Figures
- Dina Wakley Media Acrylic Paints: Olive
- Tim Holtz Distress® Sprayer
- Baby Wipes
Instructions

Step 1: Using a dry flat brush, I applied Olive paint across the center of the card. I laid the Wallpaper stencil over the wet paint and removed a layer of the paint with a baby wipe. For best results, use a dabbing motion.

Step 2: Once the paint dried, I applied 3 of the Abstract Figures stamps using a Jet Black inkpad. You might notice the stamped figures to the left and right are much lighter than the center figure; this was intentional and accomplished by inking the stamp and then applying the stamp to scrap paper (I’ll use these later!) to remove some of the pigment. I also added washi tape across the center to give more texture and color to the card.

Step 3: Next, I used the Distress Sprayer to spritz water onto my Craft Sheet. I rolled the Peacock Scribble Stick in the water to color it and create a sort of watercolor. Using a flat brush, I loaded the brush with pigment and carefully applied it to the blank Collage Paper. (Go easy on this application so you don’t tear the thin paper!)

Step 4: After the Scribble Stick dried on the Collage Paper, I delicately tore the paper to my desired size and added “There” and “Friend” from the Greetings collection. The stamps cling perfectly to an acrylic block and make applying them to substrates a breeze! I covered the stamps in Jet Black Ink and stamped them on my torn Collage Paper. Then I created a collage using my painted and stamped Collage Paper and a pre-printed sheet from the collection. I chose the heart prints to mimic the washi tape.

Step 5: Stamping sometimes makes me nervous because the stamp placement is sometimes imperfect. While I’m all about embracing imperfection, I wanted my stamps in just the right spot. After placing the cling stamp in a few different places, I selected a spot. I mounted the “Hello” stamp to the acrylic block, loaded it with embossing ink, and stamped it on the card.

Step 6: Moving quickly, I applied the Embossing Ink in Navy to the wet ink, and poured off the excess powder. I used a Heat Tool to set the embossing powder. After the powder was set, I poured the excess powder back into the container.

Step 7: Finally, I used the Letter It bullet-tipped metallic marker in Green to add small cross doodles to the card. The metallic glare tied in nicely with the embossed “Hello”.
This simple card can be adjusted to feature your favorite colors and sentiments. Ranger’s Letter It line has several different phrases in their stamp collection to meet nearly any occasion. Share your work with me by tagging me on Instagram @scarlyton! Happy creating, friend!

Related Posts
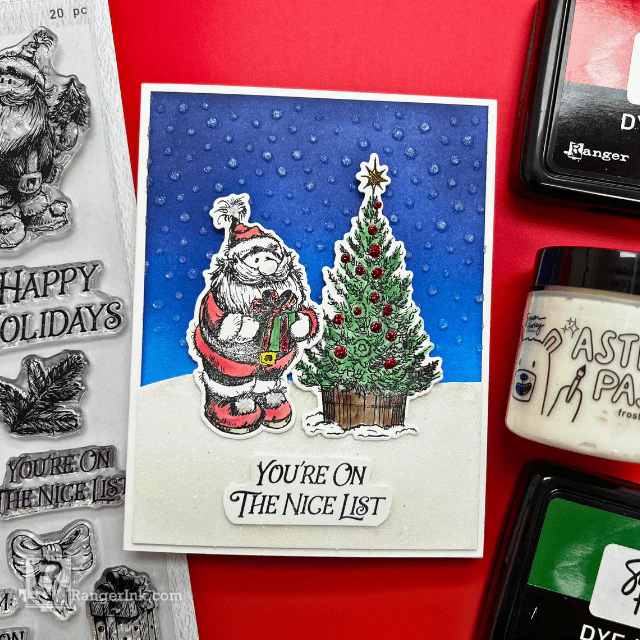
Simon Hurley create. Nice List Christmas Card by Asia Alberto
Santa’s checking his list, and this adorable card is a winner! Create festive fun with the latest Simon Hurley...
Read More
Simon Hurley create. Woodland Hello Card by Lieschen Harshbarger
Step into the woods with this enchanting card tutorial by Lieschen Harshbarger! Crafted using the Simon Hurley create...
Read More