By Anette van den Berg Matla

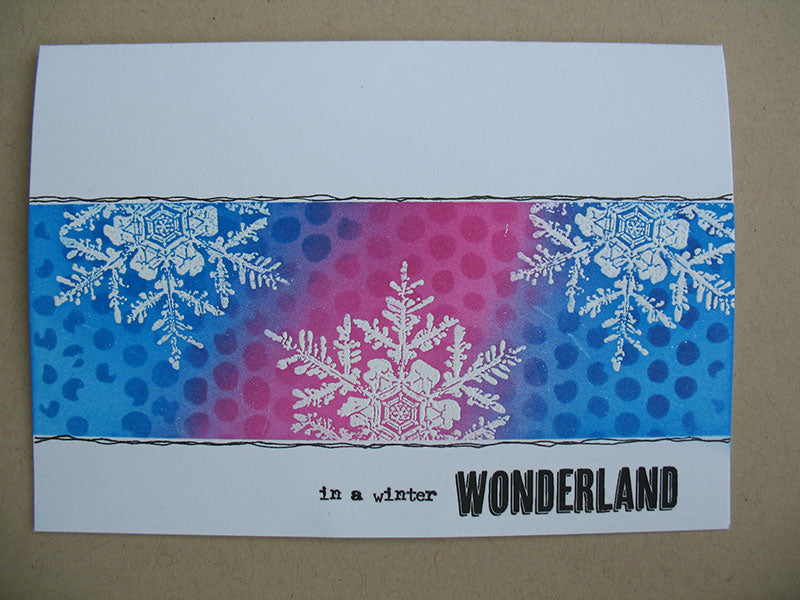
Masked Winter Wonderland Card
- Materials
- Instructions
- Ranger Non-Stick Craft Sheet™
- Ranger Ink Blending Tool & Foam
- Ranger Mister
- Tim Holtz® Distress Ink Pads: Picked Raspberry, Salty Ocean
- Tim Holtz® Distress™ Markers: Black Soot
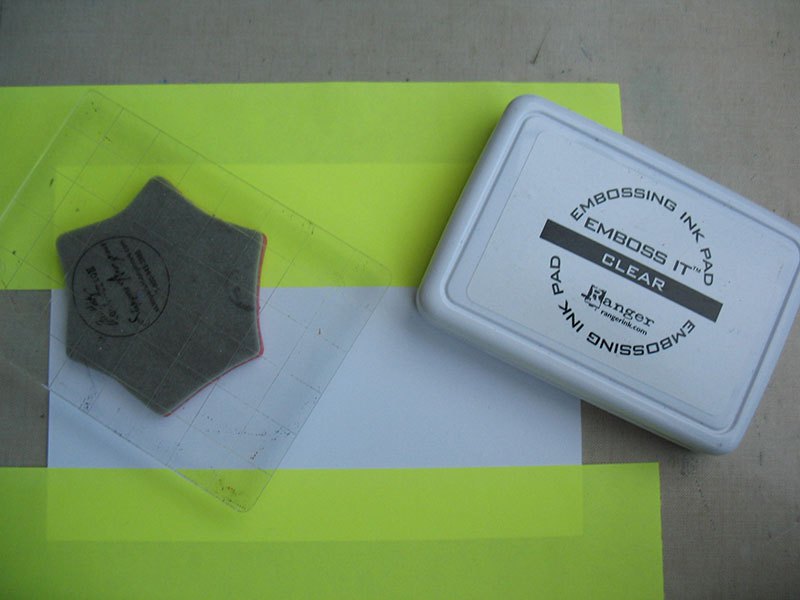
- Ranger Emboss It™ Ink Pad
- Tim Holtz idea-ology Remnant Rubs: Christmas Time
- White Cardstock
- Masking Paper/ post-it notes
Instructions
Take a double sided white card, the fold facing up and tape bottom and top with masking paper.
About 0.75 inches from the bottom and 1.5 inches from the top.
Stamp a large Flake with Clear Embossing Ink. Three times.
Take off the masking paper and emboss with Seafoam White Embossing powder using the Heat-it Tool.
Stick the masking paper back on.
Start in the middle and ink over the embossed area with Picked Raspberry. Use little pressure and add your color in layers. Ink the two sides with Salty Ocean.
Be sure to blend the colors at the point where they touch.
Lay the stencil on top of your card and sponge the same colors you used over the stencil. So, Picked Raspberry over Picked Raspberry and Salty Ocean over Salty Ocean.
Use some pressure but make sure not to move the stencil.
Remove the stencil. Use your mister to dampen a piece of tissue and wipe some ink off the embossed flakes.
Remove the masking paper. You might use it again. Clean your craft sheet with some water.
Scribble a thin double line with a Black Soot Marker on both sides of the picture.
Use Remnant Rubs to further decorate your card.
Once you’ve got the hang of this, you can go on and on and on! Use different colors, or different stamps, different masks or different mediums. Have FUN!
Your Cart
- Choosing a selection results in a full page refresh.


