


Learn how to create texturized diecuts using Metallic Ultra Thick Embossing Enamel and make this debonair card.

Metallic UTEE Dare to Dream Card
- Materials
- Instructions
- Ranger Emboss It™ Dabber
- Ranger Heat it™ Craft Tool
- Ranger Non-Stick Craft Sheet™
- Ranger Paper Creasers
- Tim Holtz® Distress™ Markers: Walnut Stain, Faded Jeans, Bard Door and Picket Fence • Archival Ink Pad- Jet Black and Coffee
- Tim Holtz® Distress Ink Pads: Bundled Sage and Vintage Photo
- Ranger Ink Blending Tool & Foam
- Ranger Wonder Tape™
- Tim Holtz Core’dinations Kraft Core- Brown, Red and Blue
- Tim Holtz idea-ology-Grungeboard and Lost and Found Paper Stash
- Tim Holtz Alterations by Sizzix -Vagabond Machine and Gadget Gears Bigz Die
Instructions
1. Cut Brown Kraft Core to 8.5” x 9” with a paper trimmer. Score down the middle with a bone folder and fold in half to create a 9” x 4.5” card.
2. Cut a piece of Red Kraft Core cardstock to 8.25” x 4.25” and glue to center of card front with Collage Glue Stick. Set aside.
3. Cut a piece of Green paper from the Lost and Found Paper Stash to 8” x 4” with a paper trimmer. Stamp circles from the Mixed Media stamp set with Bundled Sage Ink randomly all over the background.
4. Working on the Non-Stick Craft Sheet, use an Ink Blending Tool with Foam and Vintage Photo ink to distress the edges. Glue to the center of the card front with the Collage Glue Stick.
5. Cut gears out of Grungeboard with the Vagabond Machine and Gadget Gear Die.
6. Working on one at a time, ink a gear with the Embossing Dabber until it is fully covered. Place the gear on a piece of scrap paper and pour one of the Metallic UTEE colors over top. Remove the excess UTEE onto the scrap paper and place the excess back in the jar. Move the gear onto the Craft Sheet and heat with the Craft Tool until the UTEE is melted. Let cool.
7. Repeat with a second layer of ink and UTEE. Heat until the UTEE is melted, and while still hot, press one of the stamps from the mixed media set into the UTEE. Leave the stamp on the gear until the UTEE is cooled. Remove the stamp and remelt the UTEE in random portions so some parts are textured and other parts are somewhat smooth.
8. Repeat steps 4 and 5 for all the gears using the various Metallic UTEE Colors.
9. Attach the gears to the card with Wonder Tape as shown.
10. Stamp label with Coffee Ink onto Manila Cardstock. Then stamp “dare to dream” with Jet Black Archival Ink in the center of the label. Cut out label with scissors. Mat the label with red and blue cardstock. Attach to card front with Pop it Shapes.
11. Stamp Time Traveler onto Manila cardstock with Jet Black Archival Ink. Color in image with Distress Markers. Cut out image with scissors, leaving a thin border of manila. Attach to the card with Pop it Shapes.
Related Posts

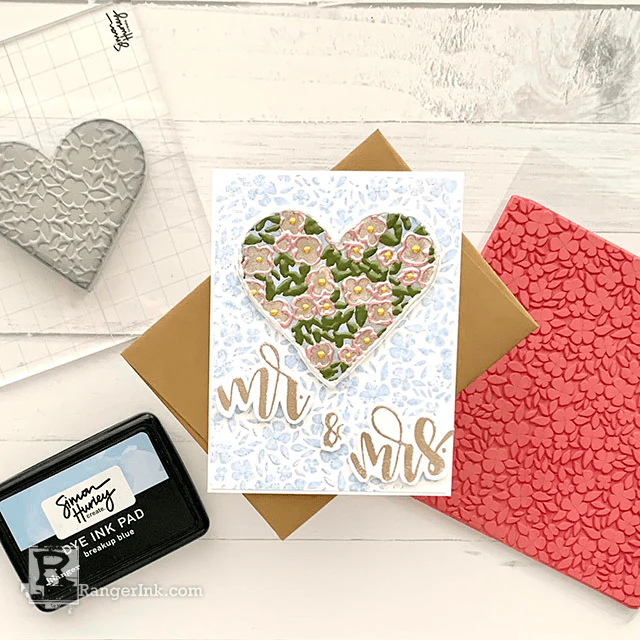
Simon Hurley create. Wedding Card by Lieschen Harshbarger
From heart to hand, a special touch for newlyweds! Follow along as Lieschen Harshbarger creates this enchanting wedding...
Read More
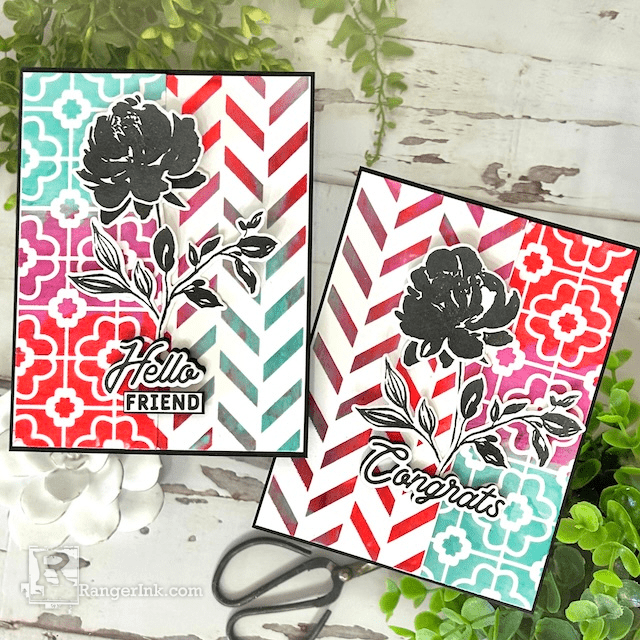
Archival Ink™ and Texture Paste Cards by Kimberly Boliver
Immerse yourself in a world of color and textured bliss with these stunning cards by Kimberly Boliver! Using the...
Read More