


Follow along as Joy Baldwin shows you how to paint with Perfect Pearls to create this charming card full of shimmering delight.
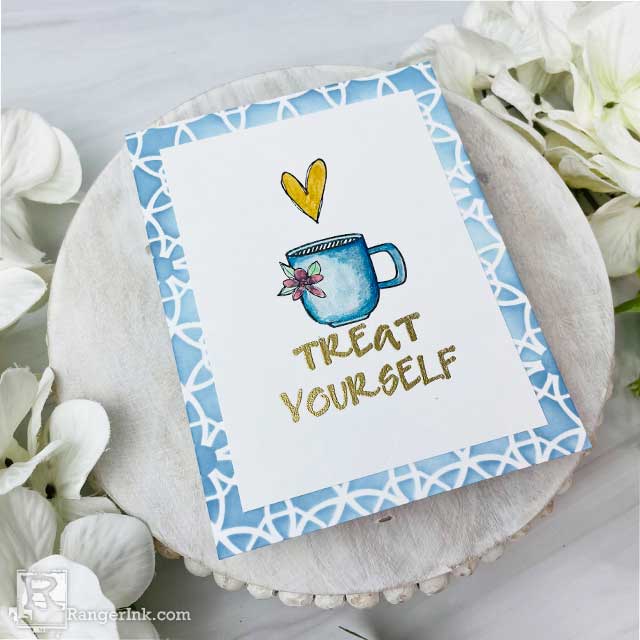
Painting with Perfect Pearls Treat Yourself Card by Joy Baldwin
- Materials
- Instructions
Archival Ink™ Pad Jet Black Ink
Emboss It™ Ink Pad Grey
Embossing Powder Princess Gold
Perfect Pearls™: Blue Hydrangea, Forever Blue, Forever Violet, Poppy, Zinnia, Perfect Gold
Wendy Vecchi MAKE ART Photopolymer Stamp Set: Doodle Celebration
Wendy Vecchi MAKE ART Stamp, Die & Stencil Set: Let’s Shop
Simon Hurley create. Stencil: Backsplash
Simon Hurley create. Stark White Cardstock
Tim Holtz Distress® Oxide Ink Pad: Stormy Sky
Instructions
Hi crafty friends, I have a great technique for you today. I will show you how I painted my images with Perfect Pearls. It is easy and absolutely stunning! I hope you enjoy!

Step 1: Here are the stamps that I will be using for this project. I used the mug, heart, flower, and “treat yourself” sentiment.

Step 2: Stamp the heart, mug, and flower with Jet Black ink. Stamp the flower on the card front and then make a mask of the flower by stamping it on a full-stick note and cutting it out. Lay the mask over the flower and then stamp the mug. Peel the mask off, and now the flower looks like it’s part of the mug. Stamp the sentiment with Emboss It Ink, pour Princess Gold embossing powder over top, remove the excess, and heat it until it melts.

Step 3: Now comes the fun! Add a little water to your work surface, then add a little bit of the Perfect Pearls to that. Mix it with a very small paintbrush. It will be pretty thin. Then paint the images. I used Perfect Gold for the heart. The mug is a mix of Blue Hydrangea and Forever Blue. Paint the Blue Hydrangea first, then add the Forever Blue for darker shadow areas. The flower is Forever Violet and Poppy. The leaves are Zinnia.

Step 4: Stencil a separate piece of White Cardstock with the Backsplash Stencil and Stormy Sky ink.

Step 5: Add the painted panel to the stenciled background and then add that to an A2 card base.
 Hi! My name is Joy Baldwin, AKA, Create it with Joy. I am a wife and a mother to 3 kids and 3 crazy animals. I homeschool my 2 youngest kids (maybe I'm crazy) and am a part-time Nail Tech. I absolutely LOVE the creative process of making cards and the tutorials that go along with them. Also, the community of wonderful crafters and the friendships that follow. Find me at www.createitwithjoy.com.
Related Posts
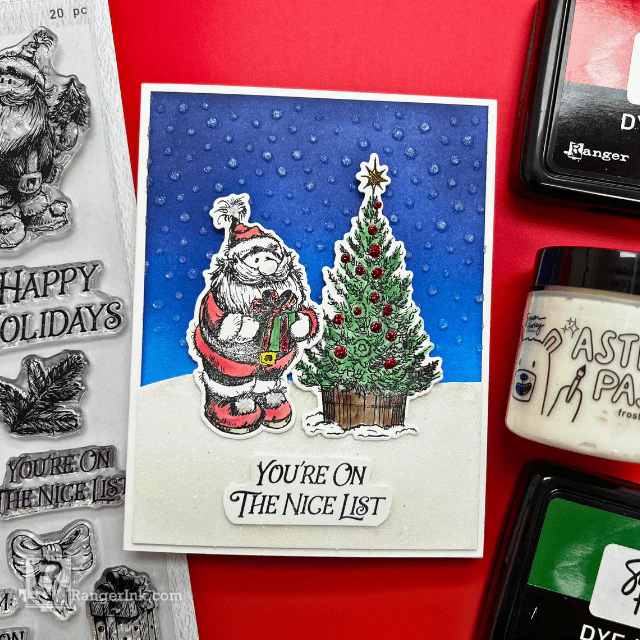
Simon Hurley create. Nice List Christmas Card by Asia Alberto
Santa’s checking his list, and this adorable card is a winner! Create festive fun with the latest Simon Hurley...
Read More
Simon Hurley create. Woodland Hello Card by Lieschen Harshbarger
Step into the woods with this enchanting card tutorial by Lieschen Harshbarger! Crafted using the Simon Hurley create...
Read More