We are so excited to share a tutorial with you today from the very talented and colorful Ronda Palazzari. Ronda is a mixed media artist with a very free and colorful style. She is a master at techniques using products to create texture and dimension!

Peace Art Tag by Ronda Palazzari
- Materials
- Instructions
- Ranger Ink Blending Tool & Foam
- Ranger Mister
- Ranger Heat it™ Craft Tool
- Ranger Non-Stick Craft Sheet™
- Stickles™ Glitter Glue Diamond
- Embossing Powder Weathered White
- Archival Ink™ Designer Series: Wendy Vecchi - Watering Can
- Tim Holtz® Distress Ink: Clear Embossing, Salty Ocean, Evergreen Bough, Tumbled Glass, Walnut Stain, Festive Berries
- Dina Wakley Acrylic Paint: Lapis, Turquoise, Ruby, Magenta, Lemon, Tangerine
- Tim Holtz Lost & Found Paper Stash
- Embossing Folder: Tim Holtz Woodgrain
- Tim Holtz Mini Poinsettia Movers & Shapers
- Embellishments: Tim Holtz Alpha Parts- Newsprint
- Vagabond or die cutting machine
- Baker’s Twine
- Sequins
Instructions
Take a #8 manilla tag and using a paint brush add a random layer of gesso .
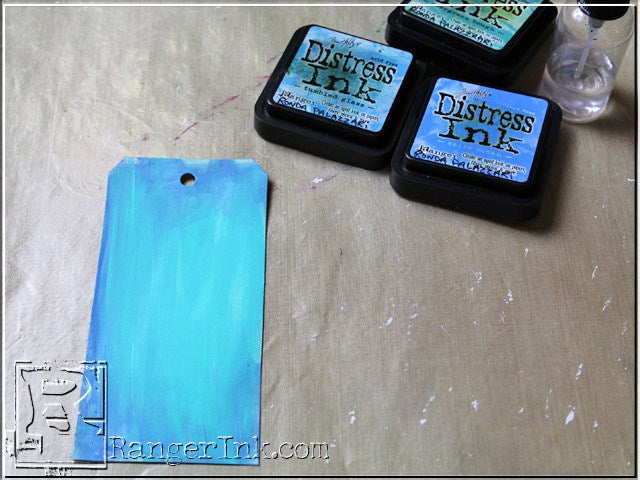
 Next paint layers of blues onto the gesso layer. It’s okay if the gesso isn’t dry as the white streaks add to the layers.
 Next take Salty Ocean, Evergreen Bough, Tumbled Glass distress inks and make random marks on the non stick craft mat. Using the mister bottle, add water to the distress inks. Drag the dried painted tag through the puddles of colors and let the tag dry.
 Using a Woodgrain Texture fade, emboss the tag using a Vagabond die cute machine. Tip: Make a slit in the crease of the Woodgrain Texture Fade embossing folder so that the top of the tag can slide through the opening and poke about ½” out the top of the folder.
 Pounce a distress embossing pad over the top of the raise portions of the tag. and add weathered white embossing powder. Use a paintbrush to wipe off excess embossing powder. Using the Heat – it tool, heat the embossing powder until it changes.
 Ink the edges of the tag using a combination of Walnut Stain Distress Ink and Watering Can Archival Ink using a blending tool.
 Die Cut three mini poinsettias out of Lost & Found Paperie using the Vagabond Die Cutting machine. Using a blending tool, add Festive Berries distress ink to the poinsettias.
 Deeper the color of the poinsettias and give them depth by adding magenta and ruby paints to the center of the petals.
 Using lemon & tangerine paints, add the “berries” to the center of the petals using a round brush. Once they are dry add a light layer of diamond stickles over the top.
 Dab gold metallic paint on “Peace” Newsprint Alpha Parts using a pouncing motion to give the pieces texture.
 Cut a topper for the tag out of the same Lost & Found paper, ripping the edge to add more texture. Adhere the piece to the top. For an extra touch, you can machine stitch on the tag and topper. Adhere all the rest of the pieces on the tag scattering the poinsettia die-cuts and adding the “Peace” in the center. A final touch of gold sequins and baker’s twine completes this tag.

Your Cart
- Choosing a selection results in a full page refresh.


