


Lieschen Harshbarger shows you how to create this joyful friendship card that features Stamping Foam and some of the newest Simon Hurley create. products.

Simon Hurley Joyful Flowers Card by Lieschen Harshbarger
- Materials
- Instructions
Simon Hurley create. Stark White Cardstock
Simon Hurley create. Acrylic Stamping Block 5X6
Simon Hurley create. Acrylic Stamping Block
Simon Hurley create. Stamping Foam Circle Cut 4pc
Simon Hurley create. Background Stamp Stippled Circles
Simon Hurley create. Photopolymer Stamp Pretty Peonies
Simon Hurley create. Stencil 6x6 Grand Greenery
Simon Hurley create. Dye Ink Pads: Cookie Dough, Weeping Willow, Overzealous, Slippery When Wet, Rosy Cheeks, Triple Berry, Clear Skies
Tim Holtz Distress® Archival Ink™ 4-pack
Ranger Mini Ink Blending Tool
Ranger Mini Ink Blending Tool Domed Replacement Foams
Simon Hurley create. Paste Tool Set
Simon Hurley create. Lunar Paste Later Gator
Liquid Pearls™ Bahama Bay
Stickles™ Glitter Glue Salt Water
Emboss It™ Ink Pad Clear
Ranger Embossing Powder Super Fine White
Ranger Glossy Accents
Ranger Silicone Mat
Ranger Artist Brushes
Tim Holtz® Alcohol Ink Cardstock Black Matte
Wendy Vecchi Make Art Stay-tion
Wendy Vecchi Perfect Card Adhesive
Ranger Heat It™ Craft Tool
Other:
Foam tape
Scissors
Paper trimmer
Scoring board
Envelope
Low tack tape
Masking paper
Instructions
Hello crafty friends! I’m so excited to share with you today’s project where I use new supplies from the most recent Simon Hurley’s release combined with some I’ve had for a while. I hope you enjoy this tutorial and that it inspires you to do something fun and creative today!

Step 1: Create an A2 card base out of Stark White Cardstock. Cut the 8½ x 11 cardstock down to 4¼ x 11. Then score at 5½. Cut another piece measuring about 4 x 5¼ to be your front panel.

Step 2: With the Heat It Craft Tool, heat the stamping foam. Once heated, press the stamping foam against the Stippled Circles background stamp to get an impression.

Step 3: Use any of Simon Hurley’s ink pads to ink the entire stamp foam onto a piece of masking paper.

Step 4: After cleaning the round part of the stamping foam, cover half of it with low tack tape and ink the other half using the Weeping Willow and Cookie Dough inks. Use a Blending Tool to remove any harsh lines from the ink pads. Then stamp it onto the front panel cardstock.
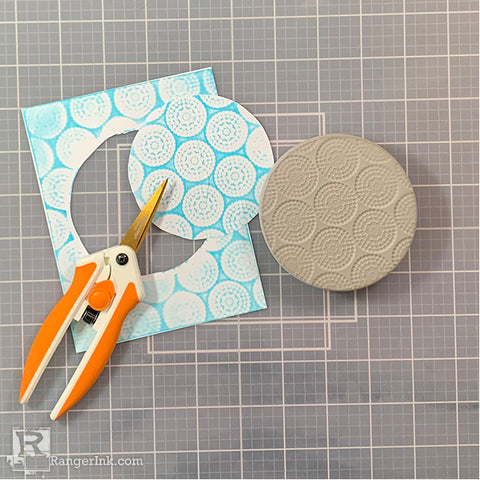
Step 5: Cut out the circle stamped image from the masking paper. Put the remaining piece away to use for any future project.

Step 6: Using the circle masking paper, cover the circle image that was stamped in step 4. Then use the Overzealous ink with the Grand Greenery stencil to ink the background of the front panel piece.

Step 7: Next, flip the Grand Greenery stencil to add more to the background using the Later Gator Lunar Paste and the palette knife from Simon Hurley create. Paste Tool Set.

Step 8: On a separate piece of Stark White Cardstock, stamp the flower and leaves images from the Pretty Peonies stamp set using Black Soot Archival Ink for the outline images. To ink the layers, use Slippery When Wet, Rosy Cheeks, Triple Berry, Overzealous, and Clear Skies ink pads.

Step 9: Cut out the images from the Pretty Peonies stamp set.

Step 10: Using the Make Art Stay-tion, assemble the cut out images on front panel and glue flowers on inked half circle using Wendy Vecchi Perfect Card Adhesive and foam tape. Then glue front panel on card base.

Step 11: On Tim Holtz Alcohol Ink Cardstock Black Matte, stamp one of the sentiments from the Pretty Peonies stamp set with the Emboss it Clear Pad. Then heat emboss it using Super Fine White Embossing Powder.

Step 12: Trim sentiment and use Wendy Vecchi Perfect Card Adhesive and foam tape to glue sentiment on part of the flower images.

Step 13: Use Glossy Accents on the flowers and leaves stamped images. Use Stickles Glitter Glue Salt Water to add accents to the background.

Step 14: Pair the card with your favorite-colored envelope and it is ready to be mailed to a loved one!
 Hi! My name is Lieschen Harshbarger. I’m married to my best friend and even though we don’t have children yet, our dog Sophie fills our hearts with lots of love and joy. By day, I work for the State of Texas, but during my evenings and weekends you’ll find me in my craft room – making cards and trying out new techniques with my crafty supplies. I enjoy being creative, but mostly I have enjoyed getting to know others and learning fun new things in this wonderful crafty industry! You can see more of my crafty projects on my blog Harshgurl and Instagram at @harshgurl.
Related Posts
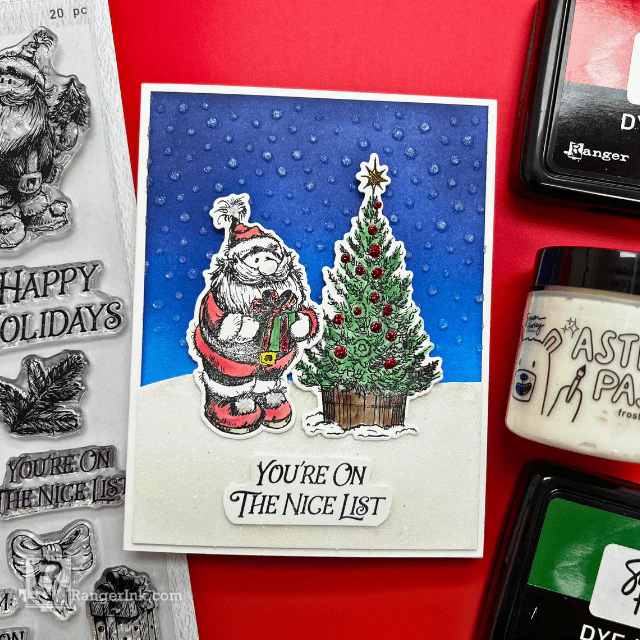
Simon Hurley create. Nice List Christmas Card by Asia Alberto
Santa’s checking his list, and this adorable card is a winner! Create festive fun with the latest Simon Hurley...
Read More
Simon Hurley create. Woodland Hello Card by Lieschen Harshbarger
Step into the woods with this enchanting card tutorial by Lieschen Harshbarger! Crafted using the Simon Hurley create...
Read More