by Aida Haron

Textured Hope Canvas by Aida Haron
- Materials
- Instructions
- Tim Holtz Distress Glitter: Antique Linen
- Ranger Glossy Accents™
- Fude Ball Pen
- Ranger Texture Paste
- Ranger Multi-Medium
- Ranger Mister
- Ranger Non-Stick Craft Sheet™
- Ranger Heat it™ Craft Tool
- Flat Back Canvas 6”x8”
- Tim Holtz Stampers Anonymous: CMS106 Papillon
- Tim Holtz Sizzix Alterations: Bird Silhouette, Bird Branch, Tattered Floral
- Tim Holtz Tonic Tim Holtz Kush Grip Scissors
Instructions
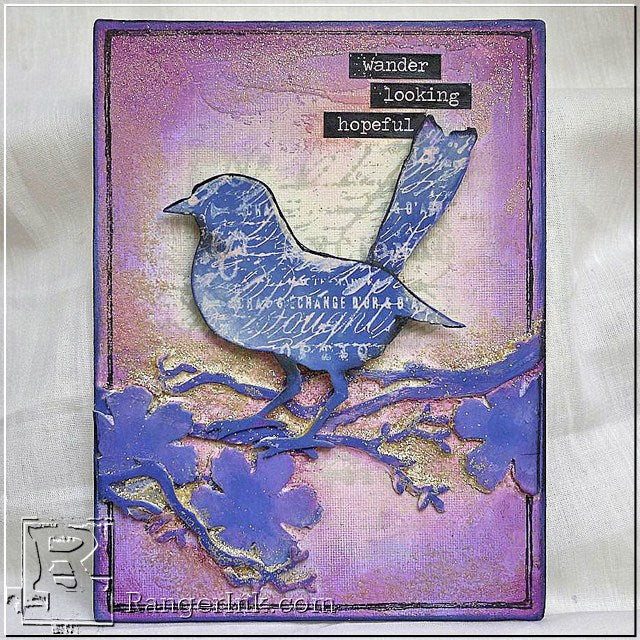
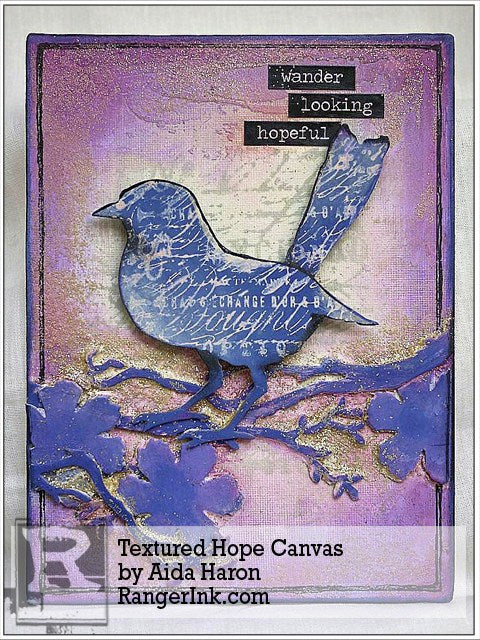 Have you ever had an idea in your head and just can’t wait to work on it ? I wanted to create a night scene using the wonderful blue Chipped Sapphire Distress Paint but really wasn’t sure if it would succeed or if it would finish looking flat and mournful. The picture I had in my head was a bird at night trying to find its bearings, pretty much like us in some phases of our lives where it seems we are wandering in the dark and hoping a teeny bit of moonlight could show the way.
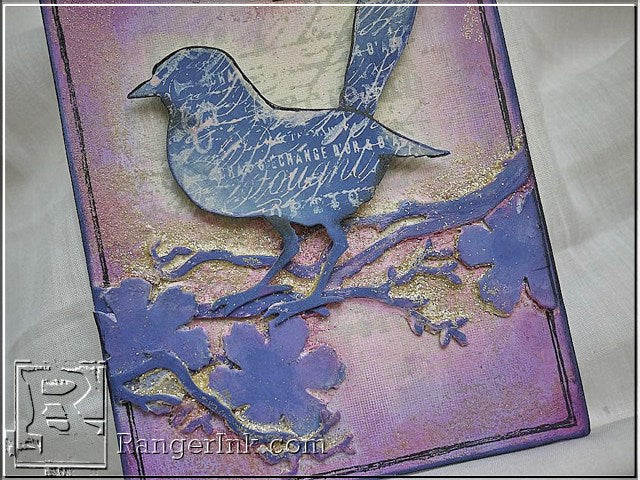 This canvas has an uncomplicated design which I feel works with the dark coloured die-cuts.
I used a simple color palette as this was a night scene
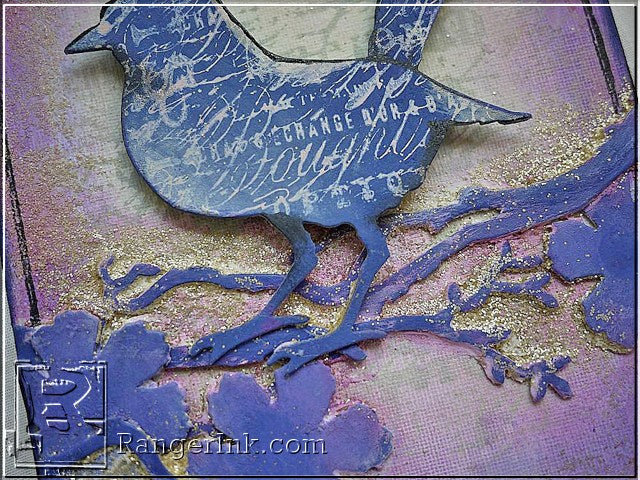 Here you see how layers of die-cuts and Distress Glitter was used to create texture.
 And these are the stickers that conveyed the story.
 I love die cuts in Grunge or Matt Boards as they are wonderful for creating layers on a small canvas. These are from the Tim Holtz Alterations range of the bird, some branches and a few florals.
 Paint the bird, the branches and florals with Distress Paint Chipped Sapphire mixed in with a little Seedless Preserves.
 The pieces were highlighted with some Antique Linen, and dried completely with a heat tool.
 Daub a background script stamp with Old Paper.
 Stamp on the bird.
 The small 8”x6” canvas was given a base of Distress Paint Antique Linen.
 Once again I stamped the script background randomly over the canvas. The intention was to create a soft background of words and lettering.
 Water down the Chipped Sapphire and add it to the outer edges of the canvas leaving the centre untouched. Dry completely with a heat tool.
 The next stage is to layer the branches and florals using Texture Paste as an adhesive. Arrange them to look like a perch for the bird die-cut.
 I like that the texture paste oozes out at the edges of the die-cuts and this is very useful for creating texture. Now remember this is a night scene ? There’s not much color and the project needs texture to avoid looking flat. What I did next was to press Distress Glitter into the edges of the die-cuts where there was texture paste. The effect looks like subtle sparkle of moonlight on shadows.
 To balance the effect, I lightly spread texture paste along the outer edges of the canvas and sprinkled Distress Glitter.
At this point I wanted more color on the canvas. I used a paint brush to add watered down Seedless Preserve paint along the sides of the canvas.
 Adhere a piece of foam or pop dots behind the bird and then position the bird on the canvas. Glue it down. Often in the process I find myself making adjustments to the color and this time using Distress Paints Seedless Preserves and Dusty Concord I rubbed in small amounts into the canvas. This helped to deepen the halo effect around the bird.
 Very few pens can write over acrylic paints or bumpy surfaces and this Ranger Fude Ball pen is magic as it does the job effortlessly. I’ve thrown away tons of felt markets because they would stop working after writing on acrylic layers ! The shadow on the bird were drawn with the pen and smudged in some parts for a softer look.
 Add sticker words to the canvas to finish it.
 You might ask what other canvas projects can this be used for ? Off the top of my head the same idea can be used for a botanical piece with Clear Distress Glitter with the subtle sparkle being raindrops, or winter scenes with snow on the branches.
 Mediums provide us with an endless source of artful possibilities and exploring their uses is so much fun ……. happy adventures !!


