Guest Artist Bobbi Smith shares a step-by-step tutorial for creating a cheerful card full of color and texture.

Textured Wildflowers Watercolor Card by Bobbi Smith
- Materials
- Instructions
- Ranger Non-Stick Craft Sheet™
- Dina Wakley Media Palette Knife
- Tim Holtz® Alcohol Ink Applicator
- Ranger Paper Creasers
- Ranger Mister
- Ranger Mini Blending Tool
- Ranger Heat it™ Craft Tool
- Tim Holtz® Distress Ink Pads Pumice Stone, Picked Raspberr
- Tim Holtz® Distress Spray Stains Pumice Stone, Spun Sugar, Picked Raspberry, Mustard Seed
- Mushroom
- Ranger Glossy Accents™
- Ranger Texture Paste
- Ranger Watercolor Paper
- Tim Holtz Sizzix Alterations Postage Stamp Frame
- Tim Holtz Layering Stencil: Wildflowers
- Tim Holtz Idea-olgoy: Crinkle Ribbon
- Tim Holtz Idea-olgoy: Elements Remnant Rubs
- Tim Holtz Idea-olgoy: Remnant Rubs Tool
- Tim Holtz Idea-olgoy: Heirloom Roses, Type Tokens, Loop Pin
Instructions
 Bobbi Smith joins us today with a colorful and cheery card that is perfect for birthdays, spring greetings, or a cheery hello to a friend! This card is full of texture and fun detail.
 Die cut a piece of Ranger watercolor paper using the Tim Holtz Postage Stamp Frame die. Tack down the postage stamp frame to your nonstick craft sheet. Lay the Wildflower Layering Stencil over the top of the Postage Stamp Frame tack down with tissue tape. Using a palette knife, start at the top and swipe Texture Paste down over the stencil and fill in entire image. Return unused paste to the jar. Immediately lift the stencil off of the tag and clean the paste out of the stencil. Allow pasted frame to dry.
 Lightly mist frame with water. Then mist puddles of Tim Holtz Pumice Stone, Spun Sugar and Picked Raspberry Distress Spray Stain onto the frame. Then mist again lightly with water to get the colors to move and blend (the more water you add, the less intense the color will be). Dry tag with heat tool.
 Now you have all the lovely color still left on your nonstick craft sheet. I like to add more distressed to my frame.
 Pick up droplets of color off the nonstick craft sheet with watercolor card stock frame blotting to picking up the color (not swiping) then drying with heat tool.
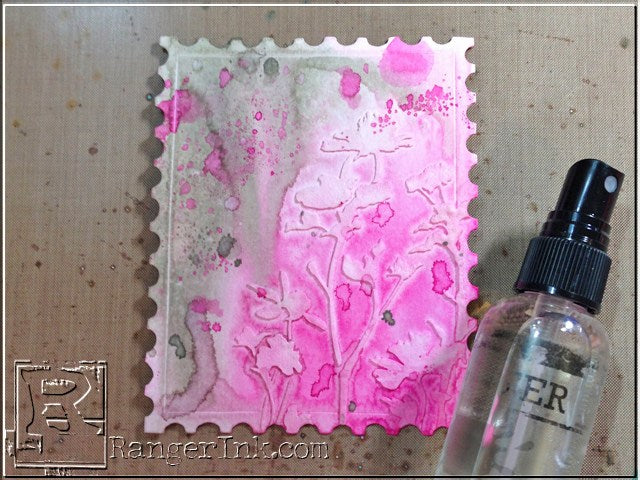 Spray a little water in hand and flick a few drops on frame, then dry with heat tool. This will add more dimension and layers.
 Apply Picked Raspberry and Pumice Stone Distress Ink using blending tools to intensify color and create shading around the outer portions of the frame.
 Apply Tim Holtz’s Elements-Remnant Rubs sporadically to the raised portions of the dried texture paste wildflowers.
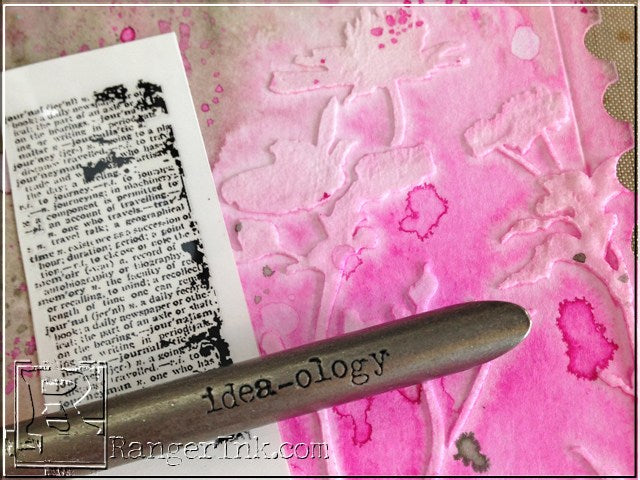 Using the new Remnant Rubs Tool, it makes the job a lot easier.
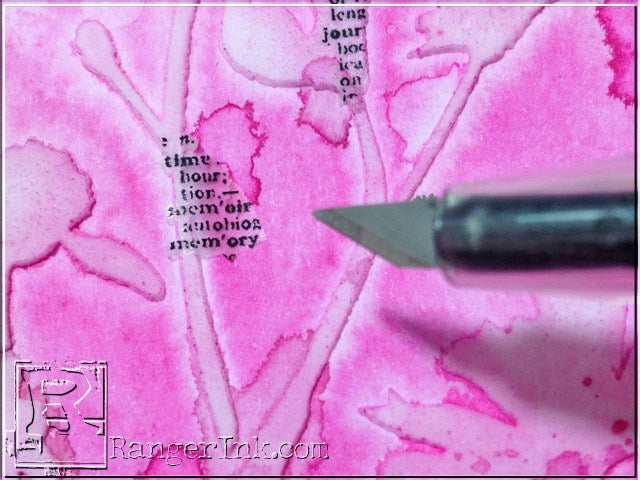 Clean up any over hanging rubs with an x-Acto knife, very lightly not piercing the paper.
 Any piece that you cut off you can use in a different section.

 Use a sanding grip or a small piece of sand paper, lightly remove a small portion of the Remnant Rubs to soften any harsh lines. Be careful not to remove too much, because you will remove your colored paste, if sand too hard.
 You should still be able to see your image, just softened a little when you are done.
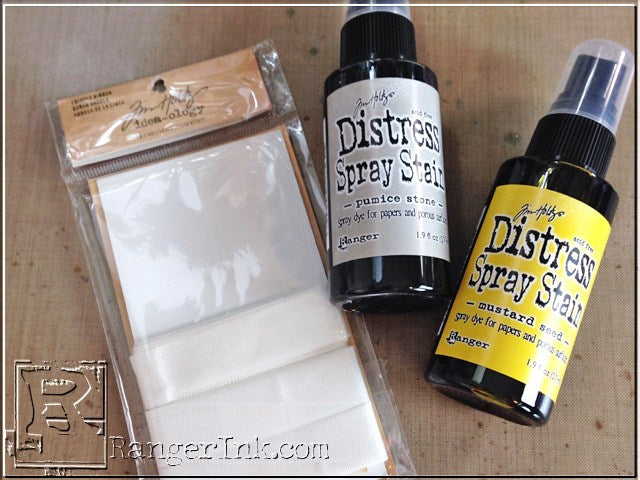 Cut a length of about 24 inches of crinkle ribbon.
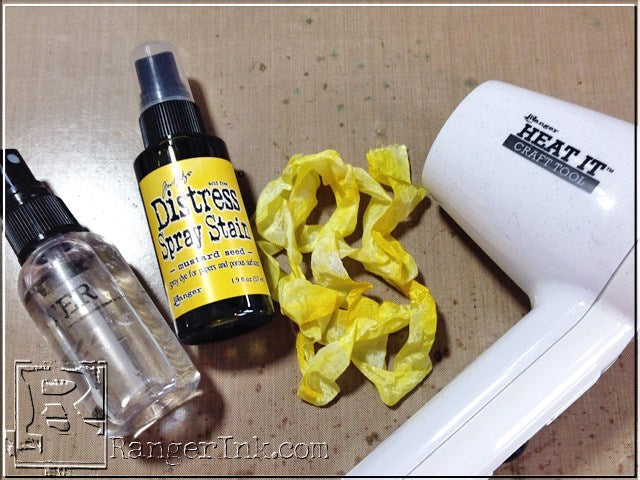 Working on your non stick craft sheet apply water to the crinkle ribbon then apply a few sprays of Mustard Seed Distress Spray. Mushing the ribbon together with your fingers to distribute the color throughout the ribbon. Dry with heat tool. Apply very sparingly a little Pumice Stone Distress Spray Stain sporadically to the ribbon also using a little water to distribute color.
 Smoosh ribbon into a ball or mush with fingers as you’re drying to create the wrinkles in the ribbon for more of a distressed look.
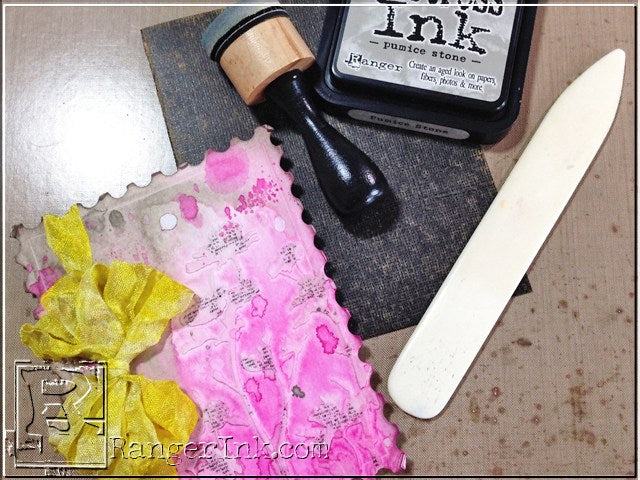 Wrap ribbon around frame and tie a bow off to the left hand side.
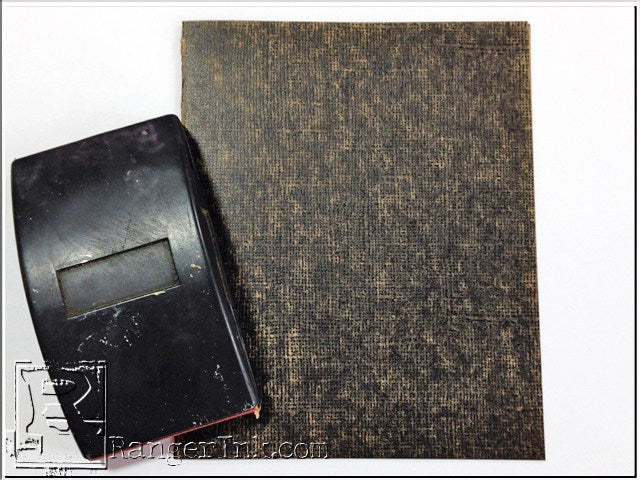 The card base is Tim Holtz’s Kraft-Core #24 cut 8 1/2 x 5 1/4 then scored down the center and folded. I distressed the surface to expose the kraft core with a sanding grip. Make sure to protect your non stick craft sheet with a scrap piece of paper before sanding. Adhere card front to base using Ranger foam tape
 Place Typed Token and Loop Pin on Non Stick Craft Sheet. Using dabber apply Cracked Pistachio Distress paint sporadically to metal surfaces. Make sure to get the paint down into the recessed words of the Typed Token. Then use a towel and gently wipe a portion of the top of the token and pen, removing some of the paint from the top and leaving the paint down in the words. Dry with a heat tool. Drip a couple of small drops of Mushroom Alcohol Ink onto pin and token and dry with heat tool.

 Take Heirloom Rose and paint entire surface with Spun Sugar Distress Paint, then let dry. Shake Gold Mixative Alcohol Ink very well and apply a few drops to Heirloom Rose , remove any excess ink with felt applicator tool. Allow to dry. Apply a couple of drops of Mushroom Alcohol Ink to Heirloom Rose, remove any excess ink with felt applicator tool. Allow to dry.
 Attach Typed Token to Loop Pin, then onto bow. Adhere the Heirloom Rose with a little Glossy Accents along the outer perimeter before setting inside the loop of the pin using tweezers.

Your Cart
- Choosing a selection results in a full page refresh.


