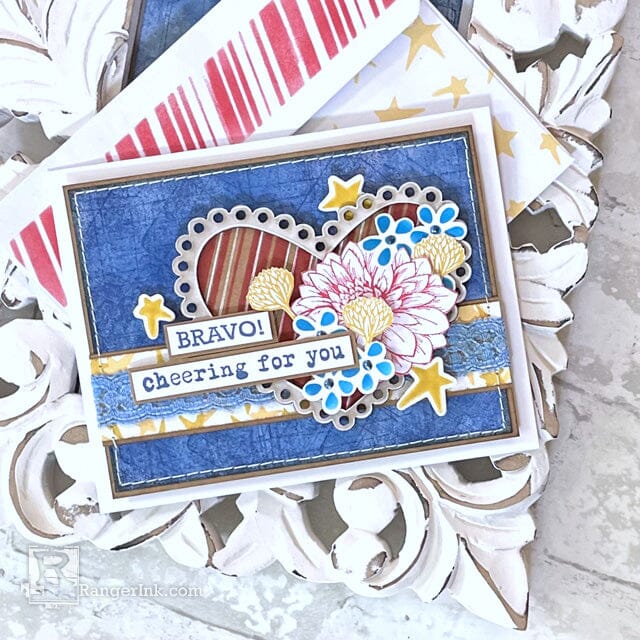
Get ready for the 4th of July with this easy-to-follow tutorial by Lauren Bergold! Using Wendy Vecchi products, she shows you how to create a stunning stripes and stars card that is perfect for sending to loved ones or displaying as festive decor.
Dylusions Dyary and Dyalog 50% off! All December Long
Get Crafty for the Holidays
Free Shipping On All Orders Over $150

Get ready for the 4th of July with this easy-to-follow tutorial by Lauren Bergold! Using Wendy Vecchi products, she shows you how to create a stunning stripes and stars card that is perfect for sending to loved ones or displaying as festive decor.
Instructions
July is the perfect time for Stars, Stripes and Flowers in red, white, blue; Sunflower yellow and a little bit of Kraft add a warm rustic vibe to this classic combo!

Step 1: Gather supplies: Wendy Vecchi's MAKE ART Bravo and Birthday Bash Stamp, Die and Stencil sets; Bases and Frames Chippies; Perfect Cardstock; Perfect Card Adhesive; a selection of Wendy Vecchi Designer Series Archival Inks in red, yellow and blue; Night Sky Liquid Pearls.

Step 2: Trace the heart from Wendy Vecchi's Chippies Bases and Frames set onto a piece of Dina Wakley Kraft Cardstock. Use the diagonal stripe stencil from Wendy's Birthday Bash Stamp, Die and Stencil set to add Carnation Red Archival Ink to the heart. You'll need to move and carefully re-align the stencil several times in order to cover the entire heart with stripes.

Step 3: Cut out around the heart with scissors about 1/16" outside the outline, so that there will be room to add a little bit of Perfect Card Adhesive when it's time to affix the Chippie heart. Use the magnetic ruler for the STAY-tion and a white gel pen to add additional stripes to the pattern if desired; this will also help neaten up the lines, if necessary.

Step 4: Smoosh Night Sky Archival onto the Wendy Vecchi Craft Sheet. Spritz lightly with Isopropyl Alcohol. Place a piece of glossy Alcohol Ink Cardstock face down in the ink and move it around a bit. Repeat several times until most of the cardstock is covered in ink. To add additional pattern, lightly tap the Night Sky Ink Pad on top of the wet glossy cardstock, lifting it and moving it around repeatedly, so that you get the faint outlines of the edges of the ink pad all over. Move the ink pad continuously, turning it horizontally, vertically and diagonally, until the cardstock is covered in an interesting pattern. Blot up the rest of the diluted ink with a piece of white lace, adding more ink and/or rubbing alcohol if necessary. Set both cardstock and lace aside and allowed to dry completely.

Step 5: On a piece of white Wendy Vecchi Perfect Cardstock, stamp the large flower from the Bravo Stamp, Die and Stencil set in Carnation Red Archival Ink. Stamp the small flower bud in Goldenrod Archival Ink. Cut out the flowers with scissors or use the coordinating dies.

Step 6: Stencil the five petal flower in several clusters of three, using Bluebird Archival Ink on the Ranger Mini Ink Blending Tool with a Domed Foam applicator. Add small dots of Night Sky Liquid Pearls to the center of the flowers. Set aside on a flat surface and allow to dry completely. When dry, cut out around the flower clusters with scissors.

Step 7: Trim a piece of Wendy Vecchi White Perfect Cardstock to approximately 1 x 5.5" and, use Sunflower Archival to stamp the large and small stars from the Birthday Bash set randomly all over the strip, allowing some of the stars to go off the edge. Then stamp again with both stars in Goldenrod, so that the second set of stars overlap the first. Lightly ink the edges of the strip with Potting Soil Archival and mat on a strip of Dina Wakley Kraft Cardstock. Use the Goldenrod Archival to stamp the large and small stars several times on a scrap of Glossy Alcohol Ink Cardstock and use the coordinating dies to cut them out.

Step 8: Use Night Sky Archival to stamp the sentiments "Bravo" and "Cheering for You" on a scrap of white Perfect Cardstock. Trim the sentiments into neat strips approximately 3/8" tall and mat on scraps of kraft cardstock.

Step 9: Assembly: Affix the blue glossy background panel to a piece of Dina Wakley Kraft Cardstock measuring approximately 5.5 x 4.25". Affix the matted strip of stars approximately half an inch from the bottom of the panel and trim off any excess. Adhere the tinted Night Sky lace on top of the strip, securing the ends tightly at the back. Machine stitch around the perimeter, if desired. Attach the Chippie heart with striped pattern to the righthand side of the panel, over the strip of stars. Arrange the flowers in a cluster towards the righthand side of the heart, and affix with small pieces of Letter It Foam Roll Tape. Add the sentiment strips to the lefthand side and scatter the glossy stars around the heart. Affix the design panel to an A6 card made from Simon Hurley create. Stark White Cardstock.

Step 10: Sign the inside of the card, and mail ASAP to a favorite friend or relative!
 My name is Lauren Bergold, and I live in central New Jersey with my husband of 30+ years and A LOT of art supplies! My favorite medium is paper, and I especially love making cards. I teach papercrafting classes, as well as collecting and compiling vintage and found papers. You can find me on my blog, All the Good Blog Names Were Taken, and on Instagram as @llaurenb where I love to connect with other artists and makers!
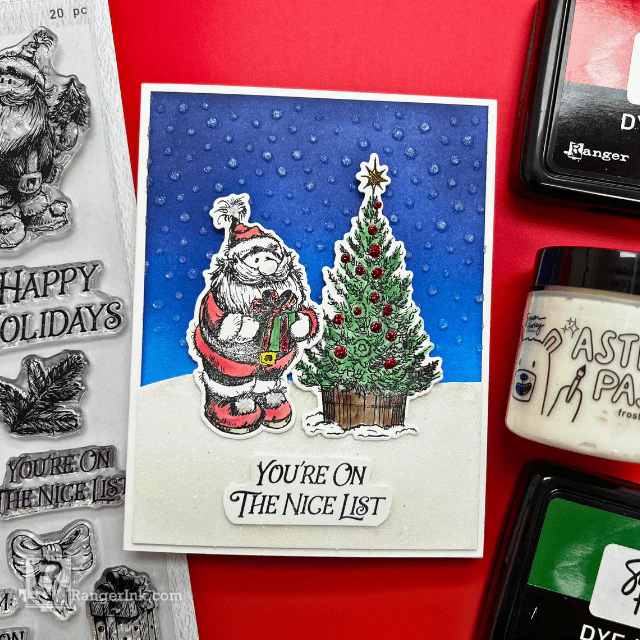
Santa’s checking his list, and this adorable card is a winner! Create festive fun with the latest Simon Hurley...
Read More
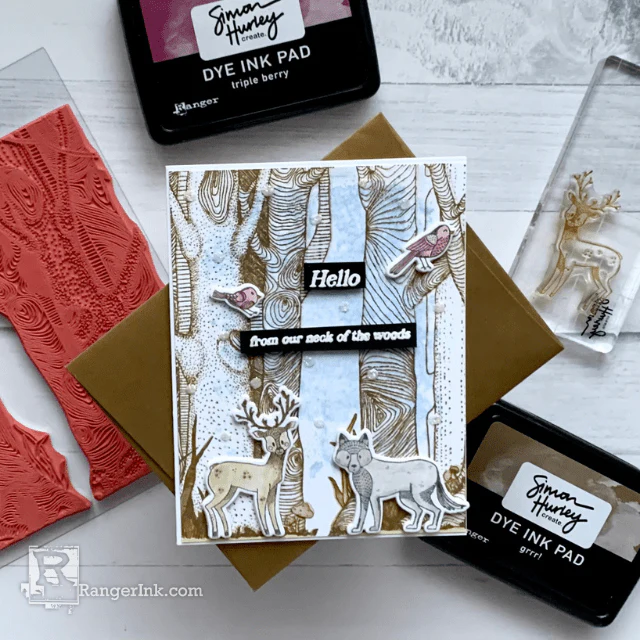
Step into the woods with this enchanting card tutorial by Lieschen Harshbarger! Crafted using the Simon Hurley create...
Read More