


In this tutorial, Bobbi Smith shares an awesome card tutorial perfect for back to school! Learn now to color with Tim Holtz Distress Inks and add texture to your background with Grit-Paste. This card project is jam-packed with Distress ideas and inspiration.

You're Awesome Card by Bobbi Smith
- Materials
- Instructions
-
Tim Holtz Distress® Oxide Spray: Pumice Stone, Squeezed Lemonade, Broken China
Tim Holtz Distress® Mini Ink Pad: Candied Apple, Fired Brick, Mustard Seed, Fossilized Amber, Broken China, Mermaid Lagoon, Mowed Lawn, Peeled Paint, Pumice Stone, Antique Linen, Frayed Burlap, Gathered Twigs
Tim Holtz Distress® Archival Ink Mini: Black Soot
Tim Holtz Distress® Grit-Paste
Tim Holtz Distress® Watercolor Cardstock
Ranger Palette Knife
Ranger Heat It Craft Tool
Tim Holtz Distress® Sprayer
Letter It™ White Foam Roll Tape
Tim Holtz Distress® Collage Medium Matte
Tim Holtz Detailer Waterbrush
Wendy Vecchi Make Art Stay-tion™
Tim Holtz by Tonic Studios Scissors
Tim Holtz by Tonic Studios Craft Pick
Tim Holtz Stampers Anonymous Mini Layering Stencil: Gradient Squares
Tim Holtz by Stampers Anonymous: Schoolhouse Blueprint CMS230 & Mini Blueprint 8 CMS231
Tim Holtz Grid Acrylic Blocks
Tim Holtz Alterations by Sizzix Alphanumeric Label Thinlits Dies 664177; Framelits Stitched Oval 661188
Tim Holtz by Tonic Studios Glass Media Mat
Kraft & Black Cardstock
Instructions
Hi everyone, Bobbi here! I’m really glad to be with you on the Ranger Projects Page today. I’m sharing this fun Back to School card with a tutorial! Hope you’ll join me.

Step 1: Start by applying some Distress Grit-Paste to a 4-1/4” x 5-1/2” sheet of Distress Watercolor Cardstock, using the Mini Layering Stencil Gradient Squares. The Wendy Vecchi Make Art Stay-tion works great for this, those magnets really secure everything in place (no tape needed)!

Step 2: Working on a new 4-1/4 x 5-1/2 sheet of Distress Watercolor Cardstock, ink the stack of books and the mini apple stamps using the Distress Archival Ink Mini in Black Soot. Stamp images on smooth side of cardstock. Dry well with Heat Tool.

Step 3: Swipe several colors of Distress Ink to a Glass Media Mat or a Non-Stick Craft Sheet, then pick up color with waterbrush and color images. The colors used were Candied Apple, Fired Brick, Mustard Seed, Fossilized Amber, Broken China, Mermaid Lagoon, Mowed Lawn, Peeled Paint, Pumice Stone, Antique Linen, Frayed Burlap and Gathered Twigs. I like to select at least two inks from the same color palette, one lighter and one darker for shading.

Step 4: Cut out colorized images (stack of books and apple) with scissors.

Step 5: To add a little color to dried Grit Paste panel, unscrew lid and flick Distress Oxide Spray color droplets onto panel and dry with Heat Tool. The colors used were Pumice Stone, Squeezed Lemonade and Broken China. Dry with Heat Tool between each layer of different color.

Step 6: Here's a little trick I have for you to create the sentiment border when working with individual letters dies. Line the individual letters along the bottom sticky portion of a sticky note or low tack tape, it will always give you a perfectly straight line. Just remember, you're working backwardsso keep that inmind.

Step 7: Die cut an oval frame from kraft cardstock using Sizzix Framelits Stitched Oval dies. Diecut sentiment from black cardstock using Sizzix Alphanumeric Label Thinlits Dies and back sentiment with scrap Distress Watercolor Cardstock.

Step 8: Assemble card components onto an A2 black card base and kraft panel using Distress Collage Medium and Letter It White Foam Tape. I hope you give this fun card a try for your student or teacher heading to school.
 My name is Bobbi Smith. I’ve been a crafter all my life, however I really found my niche in paper-crafting about 20 years ago, when my children were young and have never looked back. I love all forms of Art, but really gravitate towards vintage, distress and grunge styles. I live in Illinois and love to hunt for vintage finds, when I’m not paper crafting! Check out my blog at Vintage Muse Designs and follow me on Instagram @vintagegirl04
Related Posts
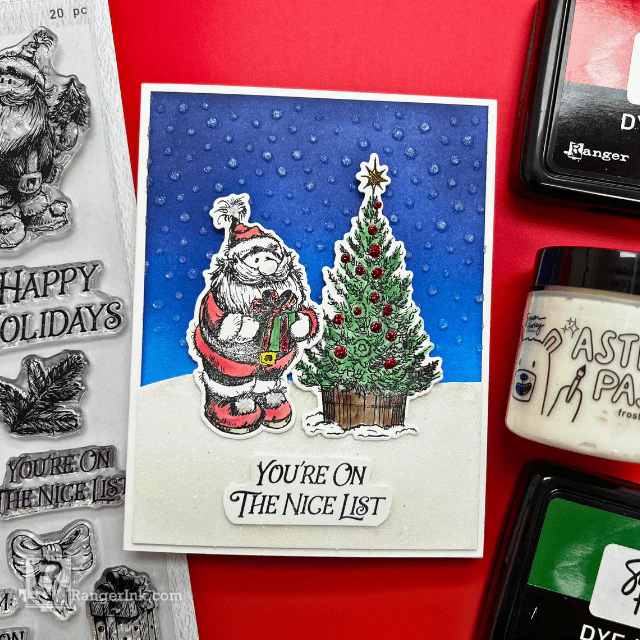
Simon Hurley create. Nice List Christmas Card by Asia Alberto
Santa’s checking his list, and this adorable card is a winner! Create festive fun with the latest Simon Hurley...
Read More
Simon Hurley create. Woodland Hello Card by Lieschen Harshbarger
Step into the woods with this enchanting card tutorial by Lieschen Harshbarger! Crafted using the Simon Hurley create...
Read More