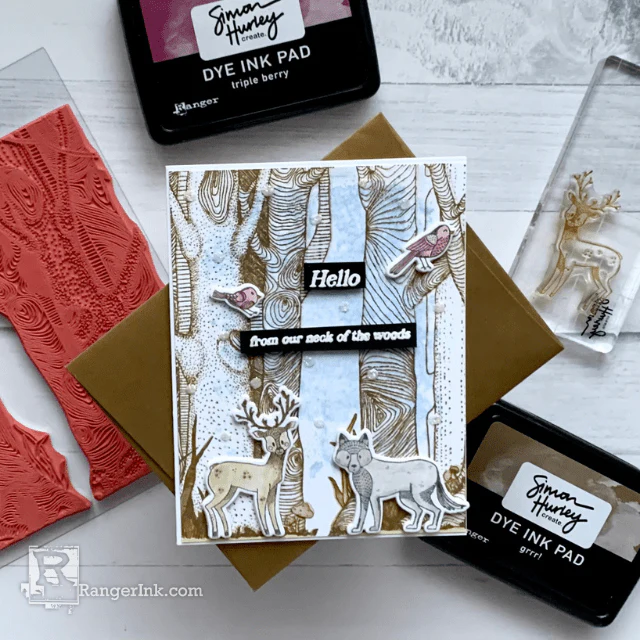
Learn how you can use the Letter It™ Stamps, Inks, and more to make a card for a special friend by following this tutorial by Bobbi Smith.

Letter It™ Friend Card by Bobbi Smith
- Materials
- Instructions
- Letter It™ Archival Stamping Ink: Deep Purple, Canary, Belize Blue, Orange Bliss, Olive, Library Green
- Letter It™ Clear Stamps: Family, Greetings
- Letter It™ Embossing Ink Pad
- Letter It™ Embossing Powders: Graceful
- Letter It™ Perfect Pearls: Set 4
- Letter It™ Colored Fineliners: Resort
- Letter It™ Acrylic Stamping Block
- Letter It™ Adhesive Foam Roll: White, Clear
- Tim Holtz Distress® Watercolor Cardstock
- Tim Holtz Distress® Sprayer
- Tim Holtz Distress® Blending Brush
- Tim Holtz Distress® Collage Medium: Matte
- Ranger Anti-Static Pouch
- Ranger Detail Blending Tool
- Ranger Mini Ink Blending Tool with Foam
- Ranger Non-Stick Craftsheet
- Ranger Heat It™ Craft Tool
- Kraft Cardstock
- Tim Holtz by Sizzix Wildflower Stems Thinlit Die Set
- Twine
Instructions
Hi everyone, Bobbi here. I’m excited to be back on the Ranger Blog today sharing this shimmery, dimensional heat embossed “Friend” card tutorial with you. I’ll be spotlighting the Ranger Letter It product line.

Step 1: Let’s get started. Take a sheet of Distress Watercolor Cardstock. Die cut several flowers and leaves from the Sizzix Wildflower Stems #1 Thinlits die set. Working on a Non-Stick Craft Sheet, swirl Ranger Archival Letter It ink color onto blooms/leaves using a Blending Tool w/foam. I used a different clean foam for each new ink color. You can mask off the bloom from the leaves with sticky notes if desired, as to not get unwanted color in certain areas.

Step 2: Continue coloring flowers and leaves with various ink colors. For smaller areas of the blooms, the Detail Blending Tool works great!

Step 3: Once you have your flowers and leaves colored, they will look something like this.

Step 4: Add a little dot detail to flowers using Letter It Resort Fineliner Pens, to center of blooms.

Step 5: Apply Letter It Archival Belize Blue ink to a new sheet of Distress Watercolor Cardstock using a Distress Blending Brush, swirling color concentrating color towards left/center.

Step 6: Put a pea size dot of Confetti White Perfect Pearls on Non-Stick Craft Sheet, then spritz a little water on Perfect Pearls, mix with paint brush then flick mixture onto card panel and colorized blooms.

Step 7: Dry with Heat It Tool. It creates a beautiful shimmer! You don’t have to worry about it smearing after dried, because it has a built-in binding agent.

Step 8: Gently pounce Anti-Static Pouch onto smooth side of Distress Watercolor Cardstock. This will prevent any stray embossing powders from sticking other than where is stamped. I love this little tool, I wouldn’t emboss or glitter without one. Ink the “so glad you’re my” sentiment from the Letter It Family clear stamp set using Letter It Embossing Ink and stamp onto cardstock.

Step 9: Place stamped image on a scrap piece of paper. Generously sprinkle Ranger Liquid Platinum Embossing Powder over the stamped image. Shake off excess Embossing Powder and return to jar. Heat stamped image with Heat Tool to melt Embossing Powder.

Step 10: Repeat steps 8 & 9 for “Friend” sentiment on bottom right side of colorized card panel.

Step 11: Attach card panel to Kraft card base. Adhere blooms and leaves using Tim Holtz Distress Collage Medium Matte and Letter It Clear Adhesive Foam for top of blooms to add a little dimension.

Step 12: Tie a jute bow on sentiment and attach to card panel with Letter It White Adhesive Foam.


