


by Jenn Shurkus
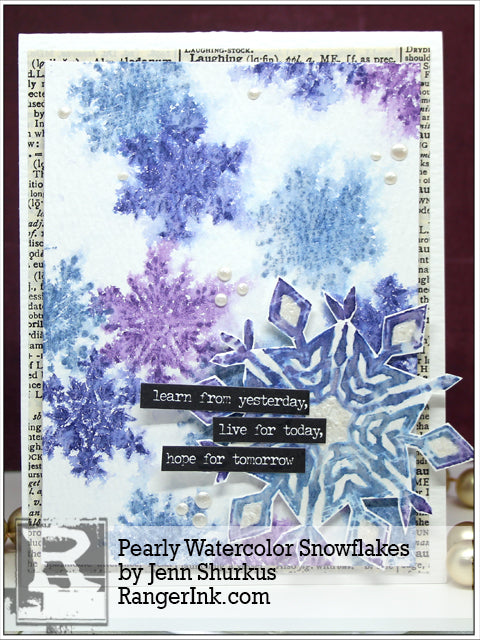
Pearly Watercolor Snowflakes Card by Jenn Shurkus
- Materials
- Instructions
Instructions

Hello Everyone! It’s Jenn Shurkus again from Shurkus.com. I am wicked exited to be sharing on the Ranger Blog again!
Today I am sharing with you a winter card where we will play with watercoloring using Distress Inks and Perfect Pearls. Perfect Pearls can be used in a variety of ways and I am featuring 2 of those ways on today’s tutorial
I hope this will inspire you to create some inspiring winter cards to share with your friends!
Let’s get started with today’s card!

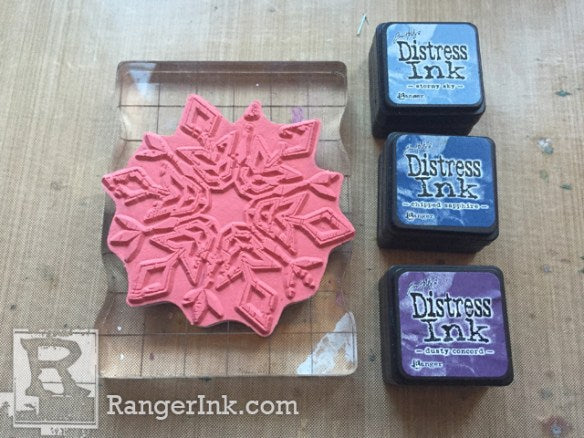 Step 1: Using one of the larger snowflakes from Weathered Winter and the 3 Distress Ink Colors. Start by inking the whole stamp in Stormy Sky Distress Ink. Then ink up about half of the stamp in Chipped Sapphire Distress Ink. Lastly, touch the tips of the snowflake with a little bit of Dusty Concord Distress Ink.
 Gently mist the stamp with water. Note: for photographing purposes the misting bottle is close to the stamp but ideally I hold the bottle about a foot from the stamp. Also be sure to use a misting bottle that has a nice fine mist. The Ranger Mister is perfect for this.
 Stamp the image onto the 4.25×5.5 piece of Ranger Watercolor Paper.
 Step 2: Squeeze a little bit of the Liquid Pearls in White Opal onto your Ranger Craft Sheet and mist with water.
 Using a smaller paint brush paint this pearlescent water over the snowflake, tracing the lines of the image. Since we stamped in Distress Ink onto Ranger Watercolor Paper the ink is going to react to the water, this is ok.
 Heat set the snowflake.
 Fill in the negative areas of the snowflake with the pearlescent water. Note: you can also fill in areas you don’t want to fussy cut later.
 Step 3: Squeeze some more Liquid Pearls in White Opal onto your Craft Sheet and without adding water but with using a paint brush fill in some areas of the snowflake more heavily with the Liquid Pearls. Set aside to dry.
 Step 4: Choose 3 of the smaller snowflakes from the Mini Weathered Winter stamp set.
 Stamp one of the snowflakes in Stormy Sky Distress Ink. Ink in between each stamping and stamp it several times onto the 3.75×5 Ranger Watercolor Paper.
 Stamp the 2nd snowflake several times in Chipped Sapphire Distress Ink on the same background.
 Lastly, stamp the 3rd snowflake several times with Dusty Concord Distress Ink on the same background.
Note: I stamped less snowflakes with each color. I was sure to leave some white space. I made sure to overlap some snowflakes and to stamp some off the sides to show movement across your card.
 Step 5: Gently mist the background with water. Watch the Distress Ink react to the water. Note: If you want to add more water go ahead, but start with less water. You can always add more.
 Heat set the background.

 Step 6: Fussy cut out your large snowflake. (not pictured) fold your 4.25×11 piece of Ranger Watercolor Paper in half. Adhere the piece of old Dictionary Paper flat to the card. Using Foam Tape, adhere the snowflake background and the fussy cut out snowflake.
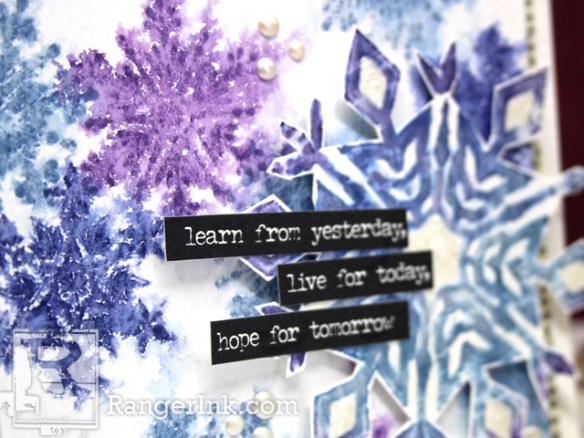
 Step 7: Choose a phrase from Tim Holtz Small Talk Occasion Stickers. Cut into segments. Using Matt Multi Medium adhere the phrase so that it hangs off the larger snowflake.
 Step 8: Dot on some Liquid Pearls in White Opal here and there on the card.
 Flick the back of the card with your finger to make the dots smooth out and not have a harsh tip.

This technique and card layout is easy to do a few at once. You can choose different inspiring sentiments from the Small Talk Stickers to encourage your friends in the New Year!

Related Posts

Dylusions Neon Ink Sprays Journal Page by Miranda van den Bosch
Neon color takes center stage on this eye-catching journal page by Miranda van den Bosch! The newest...
Read More
Tim Holtz Distress Paint Summer Card by Tami Bastiaans
Bring the beach to your craft table! Tami Bastiaans created this bright summer card using Distress Texture Paste, Paints,...
Read More