


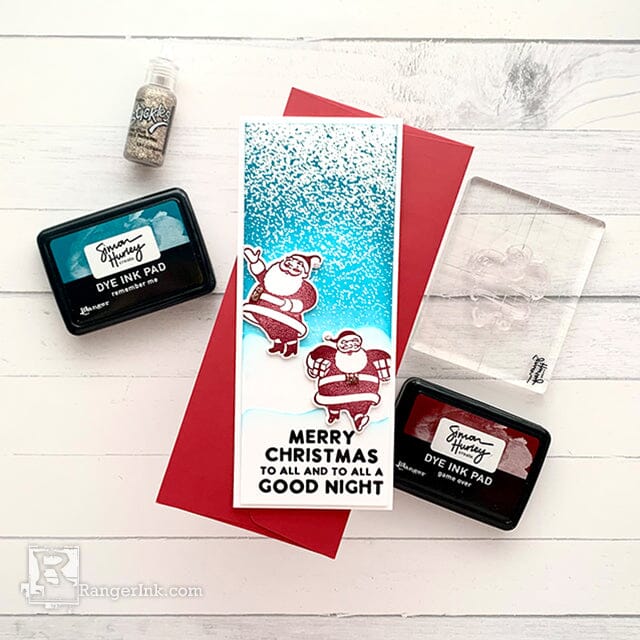
Discover the magic of the latest Simon Hurley create. products with this cheerful Christmas card by Lieschen Harshbarger, featuring the Silly Santas Stamp & Die Set and the Stippled Background Stamp.
Free Shipping On All Orders Over $49.99
Instructions
Hi crafty friends! I LOVE Christmas so much that I have spent most of this summer making Christmas cards. Today’s card features the Silly Santa Stamps and Dies and the Stippled Background Stamp from Simon Hurley Create. I hope you enjoy this tutorial as much I enjoyed making today’s card.
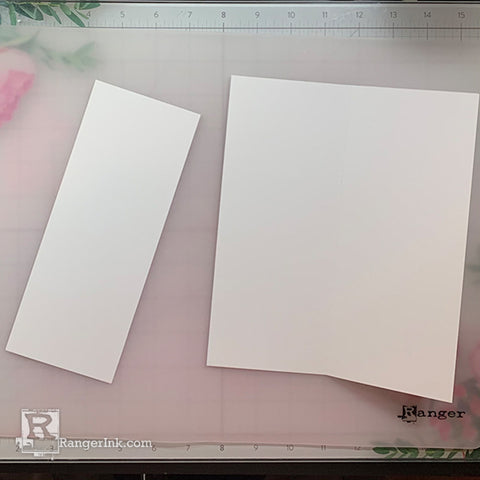
Step 1: Create a slimline card base out of Stark White Cardstock. Trim the card stock at 7 x 8 ½ and score it at 3 ½. Next, trim another piece measuring 3 ¼ x 8 ¼. This will be used for the front panel of the card.
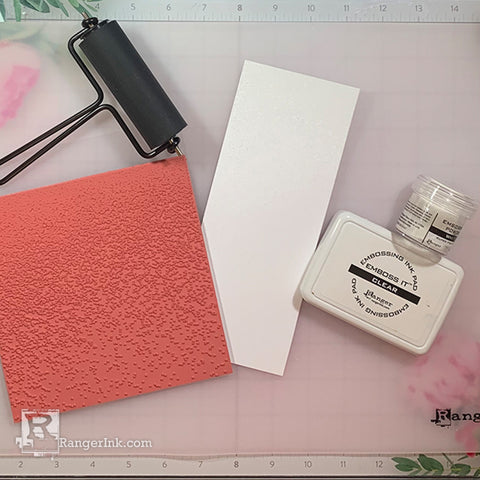
Step 2: Use Emboss It Clear Ink to ink the Stipple background stamp. Then, place the front panel piece onto the inked stamp and use the roller to apply pressure on the card stock to get the impression of the image. Next, heat emboss it with White Super Fine embossing powder.
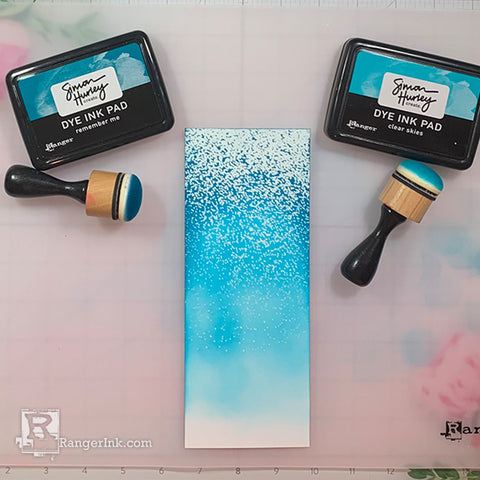
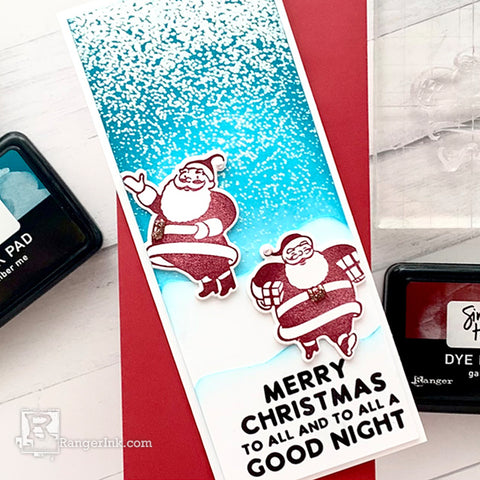
Step 3: After the front panel is heat embossed, use the blending tool to ink the background with Remember Me and Clear Skies inks.
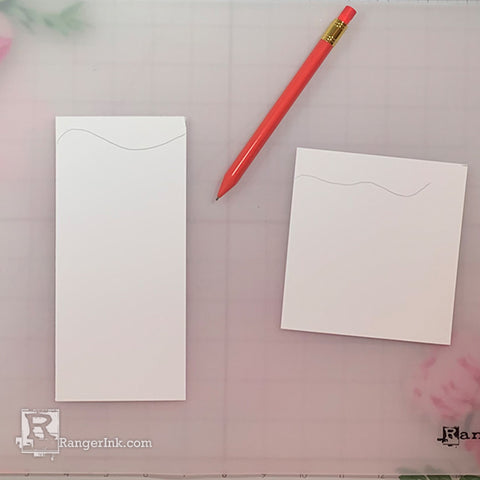
Step 4: On separate pieces of Stark White Cardstock, use a pencil to draw snowy hills.

Step 5: Use scissors to trim the snowy hills from Step 4 and ink the edges with Clear Skies ink using the blending tool.
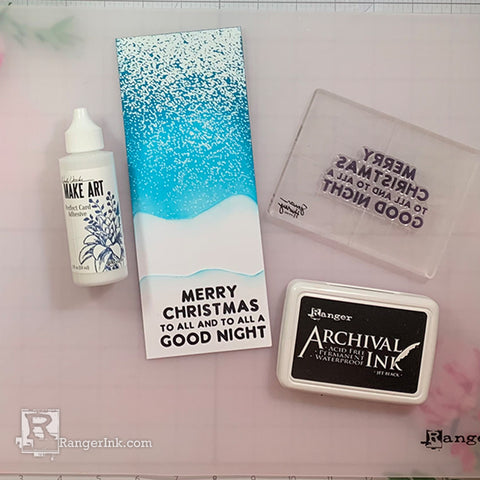
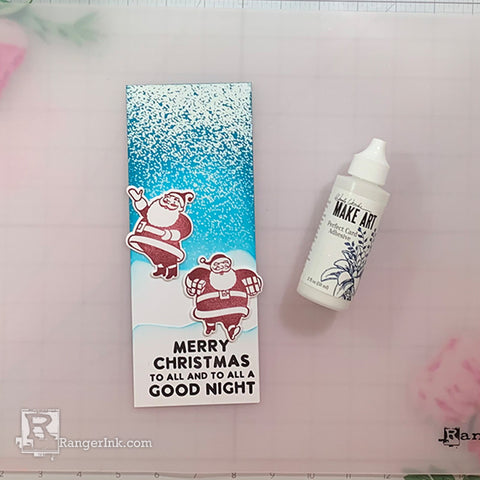
Step 6: Glue and trim the snowy hills to fit the front panel piece. Next, use an acrylic block to set one of the sentiments from Silly Santa and ink it with Jet Black archival ink. Then, stamp a sentiment on the bottom edge of the snowy hill.
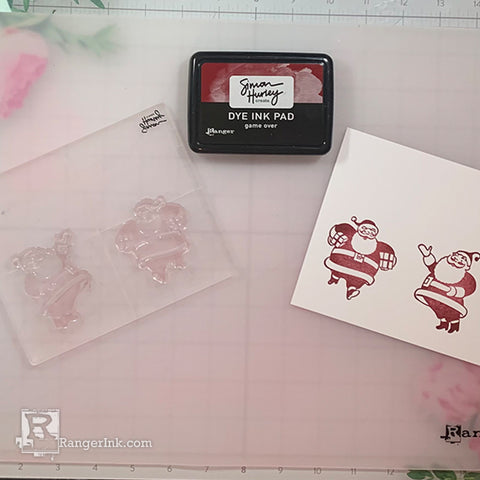
Step 7: On another separate piece of Stark White Cardstock, stamp two of the Santa images from the Silly Santa stamp set with Game Over ink.
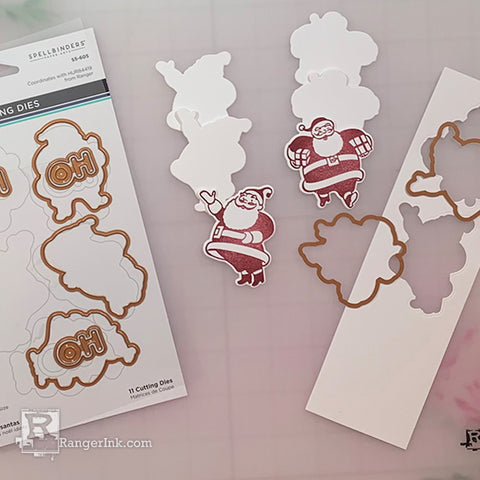
Step 8: Use matching dies for the stamped Santa’s and die cut them using a die cutting machine. Die cut extras of the same image to glue together to add dimension.
Step 9: Glue Santa’s onto the snowy hills.
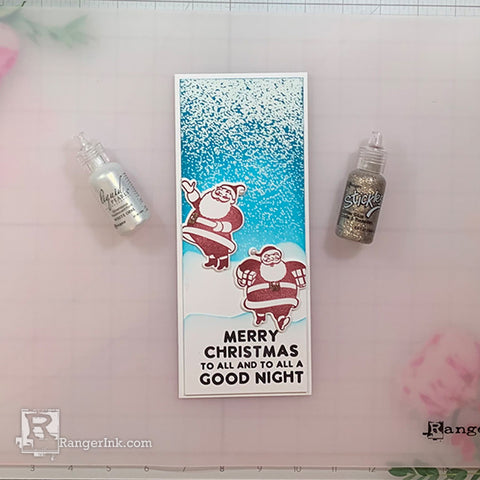
Step 10: Use White Opal Liquid Pearls to add a white pompom onto the end of Santa’s Hat. Use Mercury Glass Stickles on Santa’s belt buckle.
Step 11: Pair the card with a complimentary envelope and the card is ready to be mailed to a loved one this holiday season!
 Hi! My name is Lieschen Harshbarger. I’m married to my best friend and even though we don’t have children yet, our dog Sophie fills our hearts with lots of love and joy. By day, I work for the State of Texas, but during my evenings and weekends you’ll find me in my craft room – making cards and trying out new techniques with my crafty supplies. I enjoy being creative, but mostly I have enjoyed getting to know others and learning fun new things in this wonderful crafty industry! You can see more of my crafty projects on my blog Harshgurl and Instagram at @harshgurl.
