Instructions
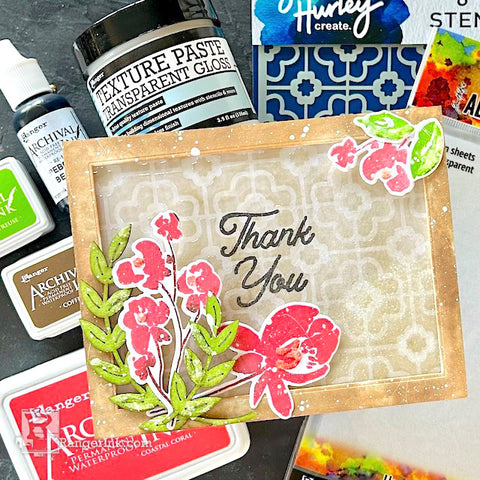
I love how texture paste adds dimension to any project. Today I am going to show you how adding tinted texture paste to the acetate on a shaker card adds a little extra wow!

Step 1: Mix Ranger Transparent Gloss Texture Paste with a few drops of Pebble Beach Archival Re-Inker.
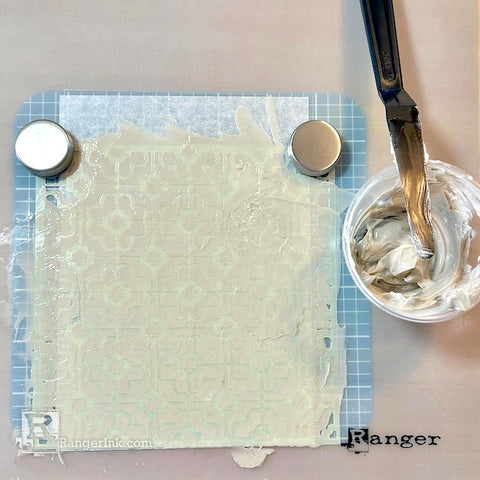
Step 2: Use the Ranger Silicone Mat over the Make Art Stay-tion to protect it from the paste. Place Simon Hurley create. “The Loo” stencil over a sheet of clear Tim Holtz Alcohol Ink Dura-Lar and spread the mixed texture paste through the stencil. Carefully remove the stencil so you do not smudge the paste and put it off to the side to dry completely. Clean the paste off your stencil and tools promptly.
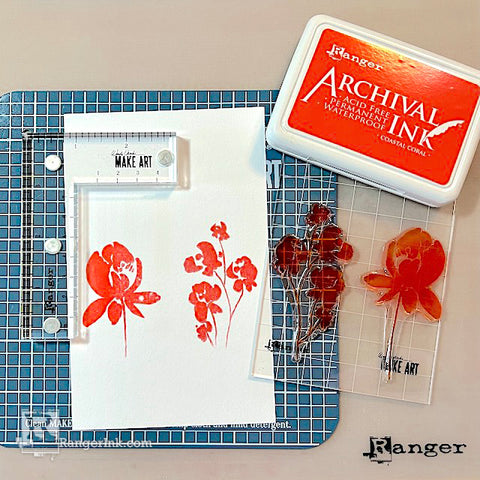
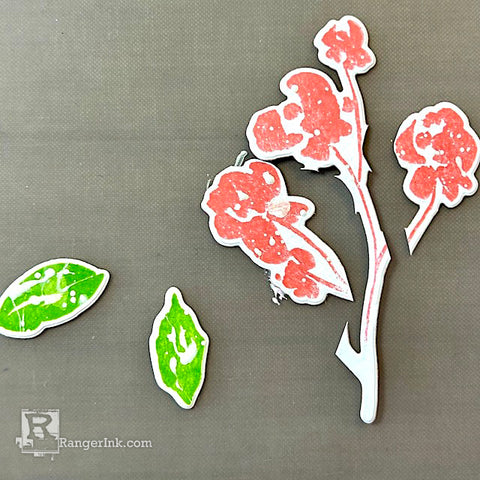
Step 3: Using the Wendy Vecchi Make Art Perfect Stamp Positioner and Make Art Stay-tion, stamp one rose and two rose cluster images from Simon Hurley create. Watercolor Flowers with Coastal Coral Archival ink.
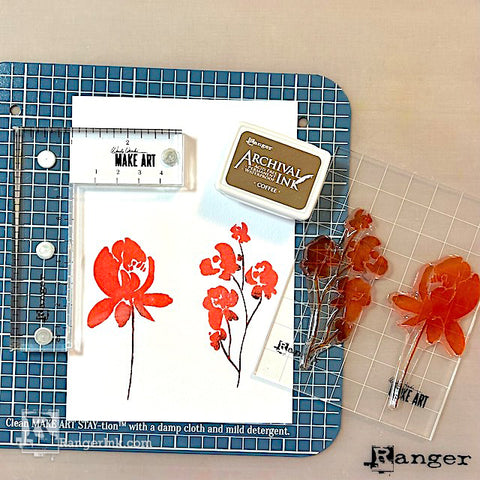
Step 4: While everything is still in place, dab Coffee Archival Ink on the stems of the flowers and restamp over the image. It is ok if the Coffee ink gets on the flower a little. You will also need to stamp two small leaves from the set using Vivid Chartreuse Archival ink. Then die cut everything with the Watercolor Flowers coordinating Dies.

Step 5: Using the Ranger Non-Stick Craft Sheet, smoosh Vivid Chartreuse Archival Ink on the mat and spray with 91% alcohol to make it more fluid. Ink up pieces of the wreath in Wendy Vecchi Make Art Wreath Chippies with the smooshed ink.

Step 6: You will need a frame. Die cut a rectangle frame out of Wendy Vecchi White Perfect Cardstock. Then, smoosh Coffee Archival ink on the craft mat and spray with alcohol to make it more fluid. Ink up the white frame in the Coffee ink until you get the coverage you like.
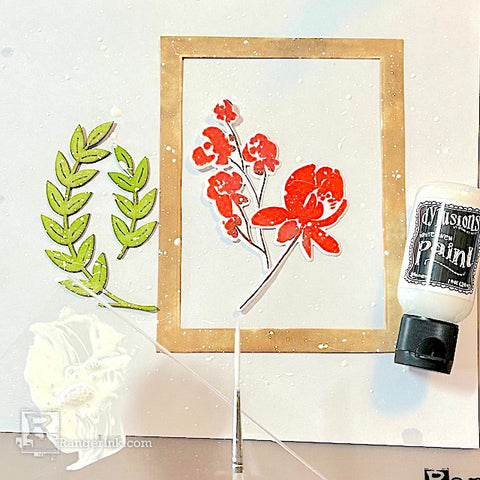
Step 7: Put all of your pieces: the three flowers, two leaves, chippies and frame close together in a splatter box. Mix a couple of drops of Dylusions White Linen paint with a few drops of water and splatter everything with the white paint. Put it to the side to let it dry.
Step 8: Cut apart one of the flower clusters. This will be used with the two leaves at the top of corner of the frame.

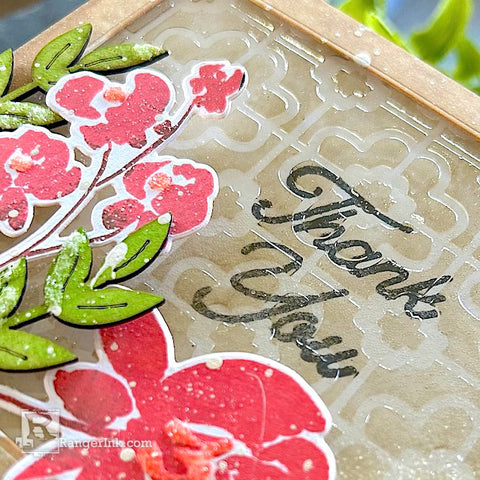
Step 9: Using the Perfect Stamp Positioner, stamp “Thank You” in the center of a Perfect Cardstock White Card. My tip here is to first lay out how you want to arrange the flowers on the frame over the cardstock to see exactly where you want to place the sentiment so you do not stamp it in a spot that will get covered up.
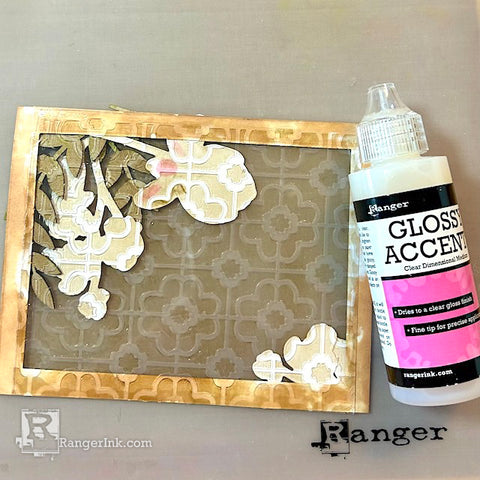
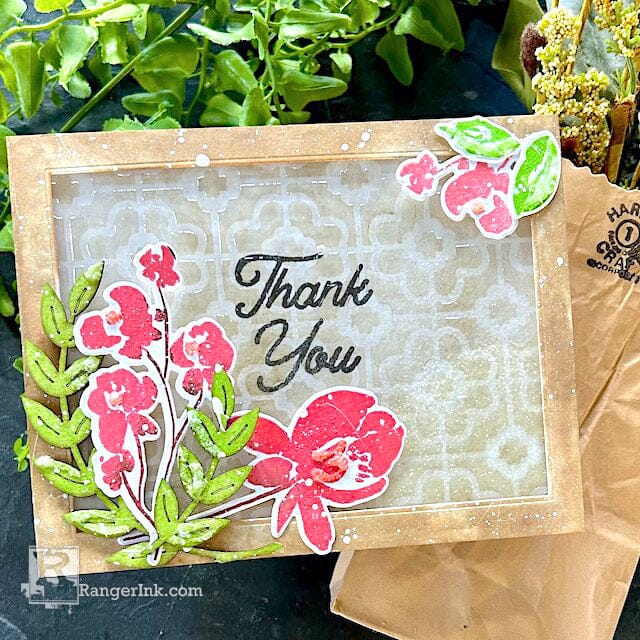
Step 10: Arrange and glue all the flowers and leaves in place on the frame. Once the texture paste is completely dry, cut down the Dura-Lar sheet to fit the frame. Using Glossy Accents, adhere the frame to the Dura-Lar. It is better to wait to cut down the sheet to fit after the paste dries just in case you smudge a spot; you can cut accordingly to either cut that part off or position it in a spot that will get covered.

Step 11: Adhere Letter It™ White Foam Tape to the back of the frame. You may have to cut it down to fit the width of the frame. Add some Tim Holtz Distress Glitter Clear Rock Candy in the center for the shaker element. Carefully remove the backing of the foam tape and adhere the white card base.
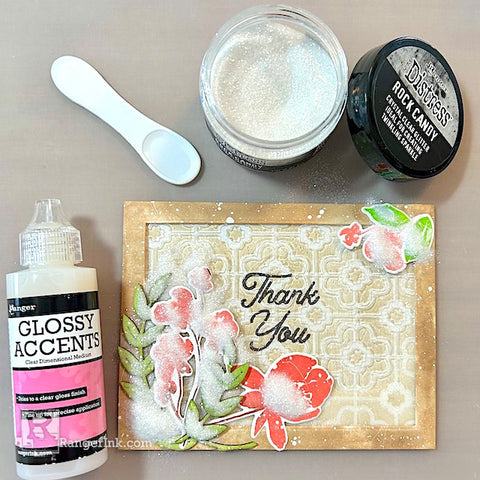
Step 12: Using Glossy Accents, add a little of the Rock Candy Glitter to the flowers and leaves.