Discover the magic of art journal windows with Dina Wakley Media Transparencies! Join Laura Dame in the latest tutorial where she guides you through creating a window and stunning visuals in your journal.
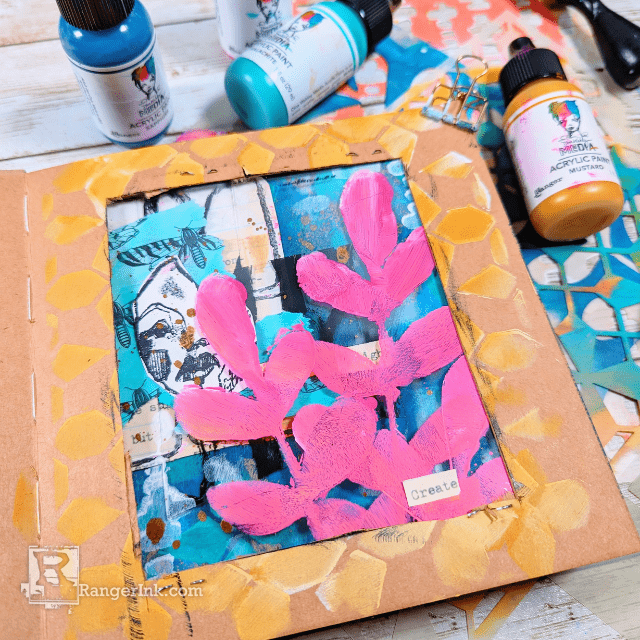
Create Windows in Your Art Journals with Transparencies by Laura Dame
- Materials
- Instructions
Dina Wakley MEdia Kraft Journal
Dina Wakley MEdia Acrylic Paints - Malachite, Raspberry, Mustard, Stoked, Turquoise, Sapphire
Dina Wakley MEdia White Gesso
Dina Wakley MEdia Ultra Thick Gel Medium
Dina Wakley MEdia Stencil Dash Columns
Dina Wakley MEdia Stencil Branches Redux
Dina Wakley MEdia Stencil Tile Floor
Dina Wakley MEdia Stamp - Grid It
Dina Wakley MEdia Stamp - The Littles
Dina Wakley MEdia Collage Paper - Flying Things
Dina Wakley MEdia Brushes
Ranger Mini Ink Blending Tool
Archival Ink™ Pad Jet Black
Dina Wakley MEdia Gloss Spray - Ancient
Dina Wakley MEdia Typed Ledgers Set 2
Dylusions Cutting Mat
Other:
Stapler
Craft Knife
Ruler
Scissors
Cardstock
Instructions
Ever since the transparencies have come out I have been wanting to add a window to my journal, and for some reason I never got around to trying it, until now! I hope you will try it, too! It is a lot easier than you might think, and certainly very satisfying.
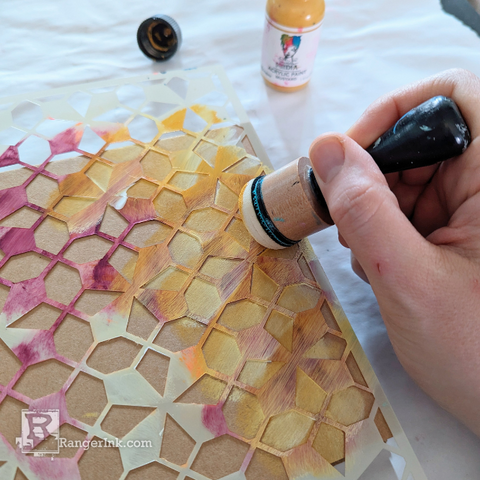
Step 1: With a mini blending tool, stencil onto both sides of a page in the small kraft journal.
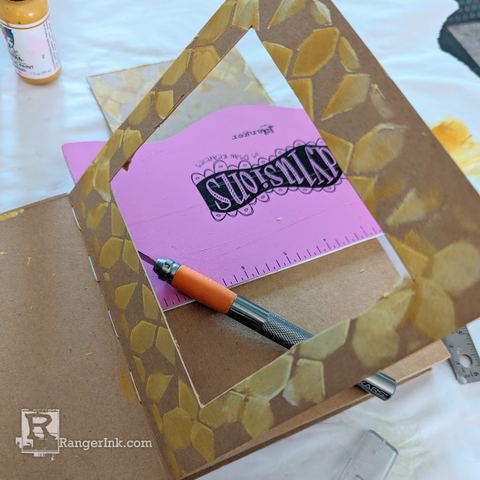
Step 2: Using a ruler as a straight edge, cut a square out of the middle of the page with a craft knife. Make sure to have a cutting mat or some sort of protection under your page. I used the Dylusions cutting mat. If you don’t have a craft knife, you could use scissors by cutting a hole in the middle of the page and working your way out. Leave about an inch around the edge as a border.
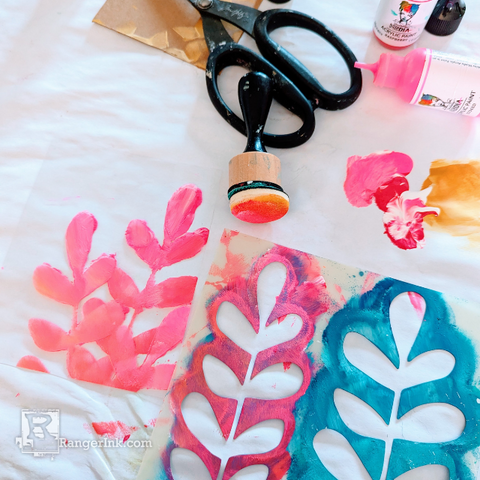
Step 3: Cut a piece of clear transparency to fit the size of the square you cut out of the page. Leave enough of an overlap to be able to staple the transparency into the journal. Stencil some botanicals onto the transparency.
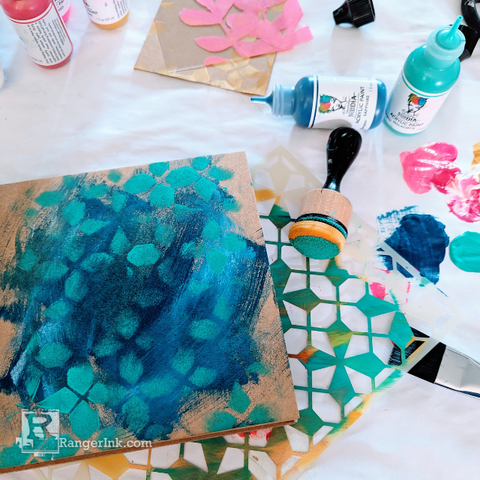
Step 4: While the paint on the transparency is drying, paint the next page in the journal. Add some stenciling using the same stencil you used on the first page.
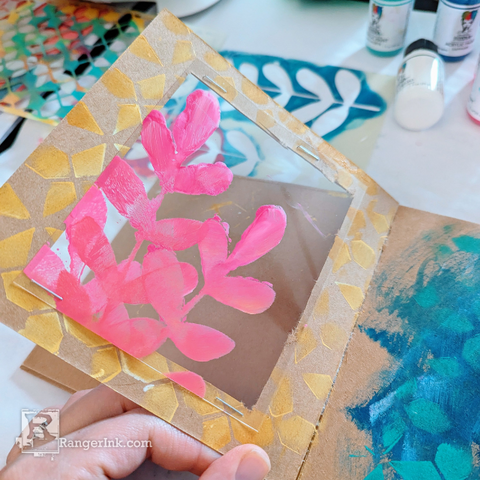
Step 5: Use your black Archival Ink pad to distress the inside edges of the square hole you cut out. Line up the transparency in the square and staple it into your journal.
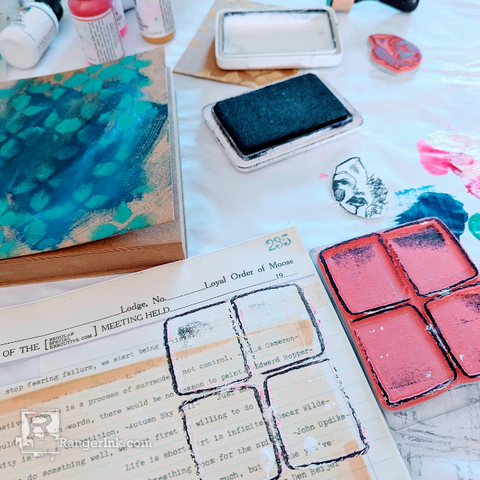
Step 6: Stamp some images for a focal point. Use the Typed Ledger Papers to stamp a grid and cut it out. Stamp and fussy cut a face image. Grab some collage paper and paint it in a complementary color.
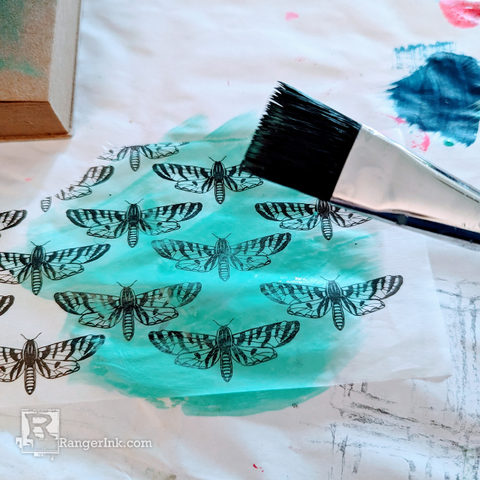
Step 7: Assemble your focal point and staple it into your journal. Add some finishing touches with splatters and phrases found in the Typed Ledger Papers.
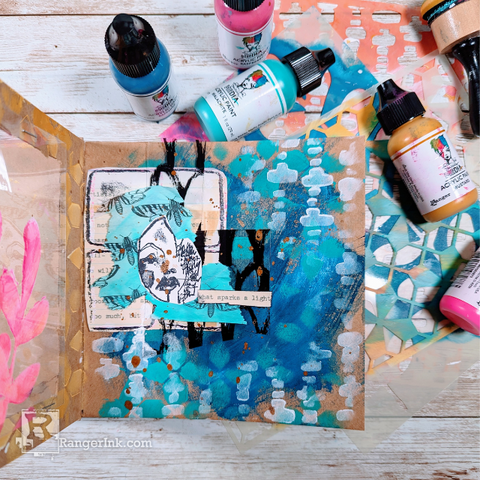
Now you have a cool interactive page! Have fun and do something on the other side as well!
 Hello! My name is Laura Dame, and I have been a mixed media artist for 9 years now. I love to play and experiment in my art journals, and also enjoy dabbling in abstract, collage, and floral artworks. My family and I currently live in Austin, TX, and you can often find us out camping or enjoying nature. You can find me on YouTube, Facebook, and Instagram at @lauramixedmedia. Check out my website for more information and artwork.


