


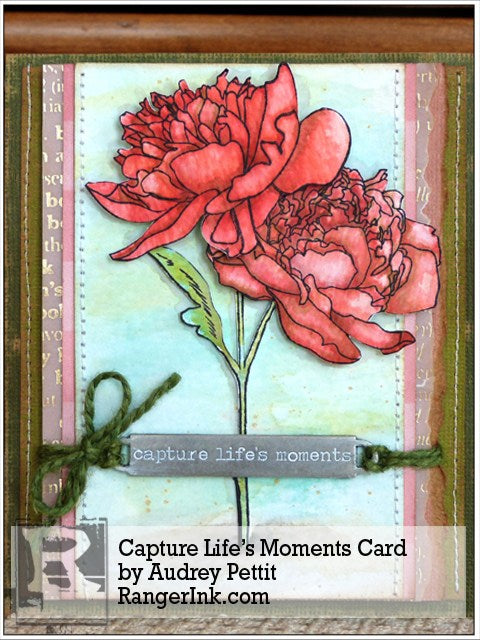
Guest Artist Audrey Pettit shares a watercolor card that is sure to brighten the day of someone special. Audrey shares her watercolor process using Distress Inks in her tutorial below.

Capture Life’s Moments Card by Audrey Pettit
- Materials
- Instructions
Instructions
 Guest Artist Audrey Pettit shares a watercolor card that is sure to brighten the day of someone special. Audrey shares her watercolor process using Distress Inks in her tutorial below.

 To begin, stamp one of the flowers from the Flower Garden stamp set onto Ranger Watercolor paper using Archival Jet Black ink.
 Dab Tattered Rose Distress Ink directly onto a craft sheet or an acrylic block. Pick up the ink color with a very wet watercolor brush, and apply the color evenly over the entire image to put down a base coat of color.
 Dab Abandoned Coral Distress Ink directly onto a craft sheet or acrylic block. Using a slightly finer-tipped wet watercolor brush, pick up the ink and apply it along the edges of the petals where you want some shadow.
 Repeat this process with Festive Berries Distress Ink, applying the ink only in the darkest corners and edges. Every time we add another color, we’re building up depth and shadow to the stamped image.
 Finally, dab a bit of Brushed Corduroy ink onto a craft sheet or acrylic block. Using a slightly finer-tipped wet watercolor brush, pick up the ink and apply it into the deepest folds where the petals meet.
 Stamp a second flower from the stamp set onto Ranger Watercolor paper, and repeat the above steps, this time applying deeper more intense layers of color, if possible. Dry both flower images with a heat tool, if needed, then cut both flower images out.
 Stamp one of the stems from the Flower Garden set onto Ranger Watercolor paper using Jet Black Archival ink. Apply Cracked Pistachio Distress ink to the stem first using a wet watercolor brush. Then go over the edges with a wet paintbrush and Crushed Olive Distress Ink. Cut out the flower stem.
 Cut a 3”x5” piece of watercolor paper, and using a large watercolor brush, paint the paper with water to get it nice and saturated. Dab Cracked Pistachio, Tumbled Glass, and Crushed Olive Distress inks onto a craft sheet. Wet the paintbrush again, and pick up the inks, dabbing the colors randomly onto the panel. You can spritz the paper with a mister tool to get the colors to blend more, if you wish. Dab Brushed Corduroy Distress Ink onto a craft sheet, and using a wet paintbrush, apply the ink to the bottom of the paper panel to create ground.
 Spritz Tarnished Brass Distress Spray Stain onto a craft sheet. Mix the ink with water, then flick the mixture onto the background panel using a paintbrush. Allow to dry, or use a heat tool.
 Adhere the water-colored background onto patterned paper and printed vellum, then onto Kraft-Core cardstock. Tear the right edges of the vellum and cardstock, and machine stitch down the edges of the watercolor paper.
Apply Multi Medium Matte the back of the flower stem at the bottom only. Cut pieces of foam adhesive small enough to fit behind the leaves, and add one square of foam adhesive to the top of the stem.
 Adhere the stem to the center of the watercolor background. Using a Pumice Stone Distress Marker, draw some shadow around the base of the stem where it meets the ground, and smooth out the pen marks with a wet watercolor brush.
 Add foam adhesive behind the flowers. I used two different thicknesses of foam so that one flower fits behind the other. Adhere the flowers to the top of the stem. Watercolor Pumice Stone Distress Marker around the edges of the flowers, stem, and leaf to create a shadow behind the image.
 Dab Picket Fence Distress Paint onto an Idea-ology Word Band. Let the paint set for a minute, then wipe off the excess with a cloth.
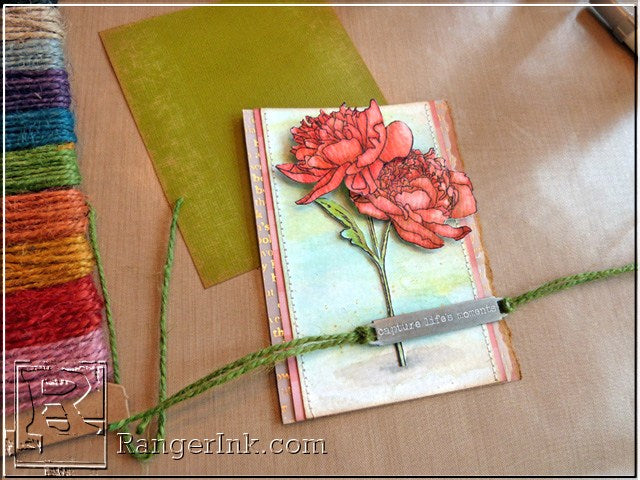 Cut two 5” lengths of green Jute String. Fold one piece in half, and thread the loop through one end of the Word Band. Pull the ends of the strings through the loop, then pull tight to secure. Repeat the process on the other side of the band. Wrap the ends of the string around to the back of the paper panel, and secure with a bit of cello tape.
 Tie a small bow from additional green Jute String, and adhere the bow to the left of the Word Band using Multi Medium Matte adhesive.
 Layer the panel onto a 4.25”x5.5” piece of green Kraft-Core cardstock. Machine stitch down the left and right sides of the card. Sand the edges of the Kraft-Core cardstock using a sanding tool.


Related Posts

Dylusions Neon Ink Sprays Journal Page by Miranda van den Bosch
Neon color takes center stage on this eye-catching journal page by Miranda van den Bosch! The newest...
Read More
Tim Holtz Distress Paint Summer Card by Tami Bastiaans
Bring the beach to your craft table! Tami Bastiaans created this bright summer card using Distress Texture Paste, Paints,...
Read More