


Learn to how combine Distress Inks with Perfect Pearls Mists and create a card base using a #12 Tag.

Distress Ink Happy Halloween Card
- Materials
- Instructions
- Tim Holtz Distress® Ink Pads
- Tim Holtz Distress® Markers
- Ranger Specialty Stamping Paper
- Archival Ink™ #0 Pads
- Ranger Mister
- Ranger Non-Stick Craft Sheet™
- Ranger Heat it™ Craft Tool
- Ranger Wonder Tape™
- Ranger Ink Blending Tool & Foam
- Stampers Anonymous by Tim Holtz® Collection: CMS138 Apothecary
- Tim Holtz® Alterations™ by Sizzix® Stamp2Cut: Cartridge 23 Sizzix eclips
Instructions
1. Fold a #12 Black Craft Tag in half to create a top fold card.
2. Working on the Non-Stick Craft Sheet, mist the front of the card (the side with the tag hole) with Pewter Perfect Pearls Mist. Dry with a Heat It Craft Tool and set aside.
3. Cut a piece of manila cardstock to 4 1/4” x 4 3/4”.
4. Use an Ink Blending Tool with Foam to blend Dusty Concord Distress Ink onto the cardstock. Apply the ink heavier around the edges and lighter in the center to create more color variation.
5. Apply Black Soot Distress Ink around the edges of cardstock. Use a Heat It Craft Tool to dry the ink.
6. Stamp the cardstock randomly with a script stamp inked with Jet Black Archival Ink.
7. Mist water into your hand. Flick the water onto the inked cardstock. Repeat the mist and flick technique until the cardstock colors have spotted to your liking. Dry the cardstock with a Heat It Craft Tool.
8. Mist the inked cardstock with Grape Fizz Perfect Pearls Mist. Dry the cardstock with a Heat It Craft Tool
9. Adhere the cardstock to the card front using a Collage Glue Stick . Add machine stitching around the edges if desired.
10. Stamp the phrase “Happy Halloween” with Jet Black Archival Ink on a piece of manila cardstock. Ink the cardstock in the same manner using the same products as before with the manila cardstock square.
11. Place the piece of cardstock on the eclips cutting mat. Follow ecips Stamp2Cut instructions for cutting out the stamped phrase. (Phrase may be hand cut using a craft knife or scissors in place of an eclips with Stamp2Cut.)
12. Adhere the stamped phrase on the card front along the lower edge of the inked manila cardstock square.
13. Stamp the large skull image on Specialty Stamping paper two times using Jet Black Archival ink.
14. Cut the two skulls out using the eclips and Stamp2Cut. Cut one skull out along the outside edge of the design and cut the second out using the pieces feature (cuts along the outside and removes the inside eyes, nose, and mouth).
15. Use an ink blending tool with foam to apply Antique Linen Distress Ink to the skull pieces. Leave some areas like the forehead above the eyes white to add more realistic coloring.
16. Use an ink blending tool to apply Vintage Photo Distress Ink around the inside and outside edges of both skull pieces.
17. Use a Frayed Burlap Distress Ink Marker to add brown accents to the eyes, nose, and teeth of the solid skull piece.
18. Use a Scattered Straw Distress Ink Marker to add yellow accents to the teeth on the solid skull piece.
19. Adhere the skull with the open eyes, nose, and mouth to the solid skull piece using Popit Shapes adhesive foam squares making sure to line up the outer edges.
20. Adhere the assembled skull to the front of the card using Popit Shapes.
Related Posts

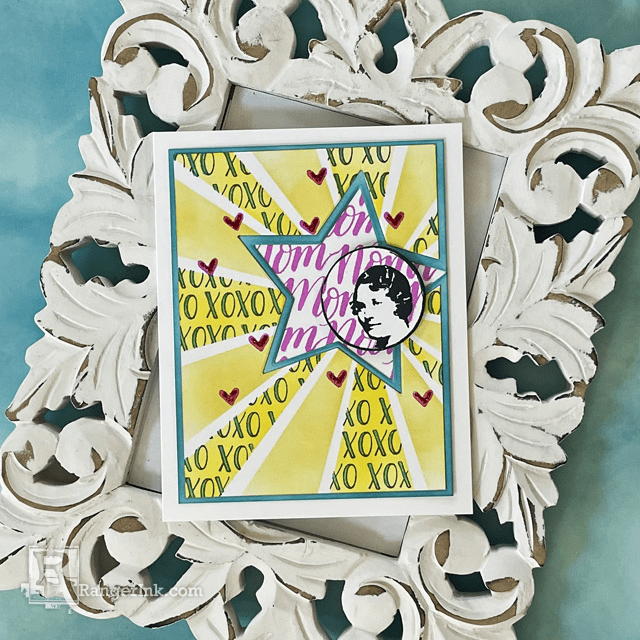
Archival Ink Mother's Day Card by Lauren Bergold
With Mother's Day just around the corner, it's time to go above and beyond for the special women in our...
Read More
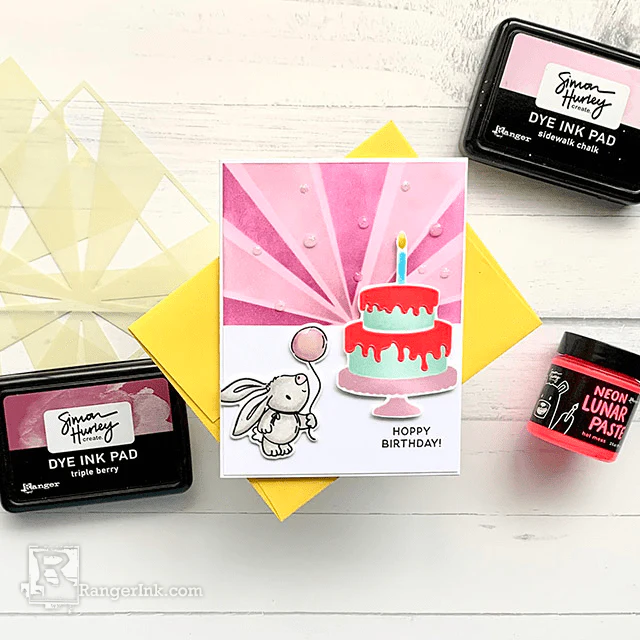
Simon Hurley create. A Very Hoppy Birthday Card by Lieschen Harshbarger
Hop into birthday fun with this adorable card tutorial by Lieschen Harshbarger! Using the new vibrant Simon Hurley create....
Read More