


by Sandra Botham

Dylusions Autumn Leaves by Sandra Botham
- Materials
- Instructions
- Dylusions Paint : Lemon Zest, Squeezed Orange, Pomegranate Seed, Melted Chocolate, White Linen, Black Marble
- Dylusions Cling Mount Stamps : Branching Out, These Boots Are, I Can See Clearly, Black Sheep, Bits of This, Around the Edge
- Dylusions Stencils : Cobwebs (Large)
- Dylusions Halloween Stamp and Stencil Set
- Dylusions Paint Pens : White Linen, Black Marble
- Dylusions Journal Block
- Dylusions Adhesive Canvas : Blank
- Archival Ink™ #0 Pads : Jet Black
- Ranger Collage Glue Stick
- Dina Wakely Media Board : 9
- Dina Wakley Media Brushes
- Ranger Mini Blending Tool
- Tim Holtz Idea-ology Tissue Tape
- Stabilo Aquarellable Black Pencil
- Colouring Medium of your choice
Instructions

Hi there everyone I have a canvas, Dylusions style, to share with you today. I love to create with Dylusions and I am hoping that you will join me to create this autumn style canvas.

Step 1: Gather together your paint colours, your canvas board and 3 different sized brushes.


Step 2: Taking your lightest colour (Lemon Zest) and your largest paint brush randomly brush paint all over your canvas board. No need to totally cover it, so do not worry if you leave white patches. With your medium sized brush, paint your middle colour (Squeezed Orange) randomly over your canvas, making sure you join to some of your lightest colour.
Now take your smallest brush and add some of the darkest colour (Pomegranate Seed) to small areas of the canvas. Again joining and blending with the 2 previous colours.
Go back in and go over all the colours again to deepen the colour, starting with the lightest and working up. Where the colours meet, rub the area with your finger to blend them together better. Keep going until you are happy with your depth of colour and blend.
If you feel some of your areas are too bright you can go over them with a very small amount of White Linen paint, blending in as you go.

Step 3: Take a small amount of Black Marble paint and add it to your craft mat. Add a spritz of water to make the paint runny, and mix together with your small brush. Flick the brush over your whole canvas in random areas.

Step 4: Using the Branching Out stamp set and a Jet Black Archival ink pad, stamp the closed leaf stamp around the top of your canvas and a small amount down the sides.

Step 5: Due to the nature of a canvas board the black is not a deep black and so I colour over all the leaves with a Black Dylusions paint pen. This gives a much deeper coverage and helps your background colours to stand out.


Step 6: Using the black paint and a Mini Blending Tool go through the Cobwebs stencil on the bottom left of your canvas. Taking the smaller cobweb stencil from the Dylusions Halloween stamp/stencil set, repeat the step above but this time on the right hand side.

Step 7: Add some tissue tape to the bottom right slightly up from the bottom (this is to ground your character). Using the Stabilo pencil, create some shading along the tissue tape. Simply draw a rough line and the smudge the line to blend.

Step 8: Using the Dylusions white paint pen add any highlights you would like to do. I added highlights to the cobwebs and the leaves.

Step 9: Taking some blank canvas use a baby wipe to add some Squeezed Orange paint in random areas.
In the same way add some Melted Chocolate paint to the areas left and blend with the orange. Leave them to dry.

Step 10: Using the Larger leaf stamp from Around the Edge stamp set and archival ink, stamp the top 2 leaves all over your pieces of canvas.

Step 11: Cut the leaves out, leaving a tiny border around.

Step 12: Taking some white card, stamp out the stamps you wish to use. Cut the clock part from the head stamp.

Step 13: Colour your images with the medium of your choice. Stick your characters down with a glue stick but leave a slight gap at the top of each head so you can tuck your leaves in.


Step 14: Cut half the backing from your canvas leaves. Add some canvas leaves to one head.


Step 15: Then add some leaves to the other head and to the bottom right of your canvas.

Step 16: Taking your mini blending tool with a tiny amount of Black Marble paint on, gently edge the whole of the outside of your canvas.

Step 17: Your project is finished.

Related Posts

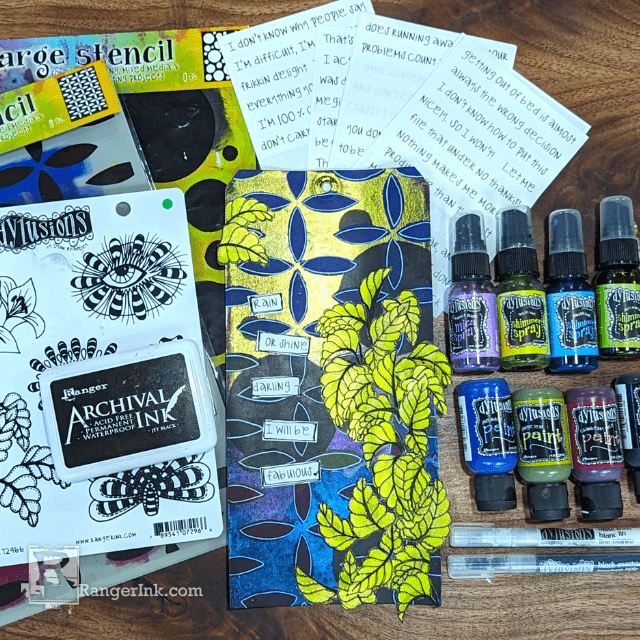
Dylusions Shimmer Spray Tag by Denise Lush
Unleash a world of shine! Check out Denise Lush's latest creation using the enchanting Dylusions Shimmer Sprays and...
Read More
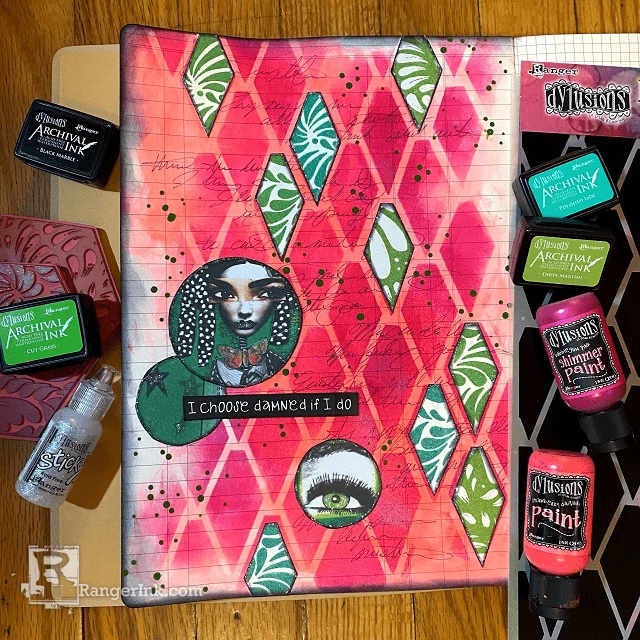
Dylusions Archival Ink Damned If I Do Journal Page by Jess Peters
Explore the latest Dylusions products in this journal page tutorial with Jess Peters! Crafted in the new Large Ledger...
Read More