


Jewelry Wire and ICE Resin® Ring - Daniela Mozo
- Materials
- Instructions
- ICE Resin®
- ICE Resin® Mixing Cups & Stir Sticks
- ICE Resin™ Jewelry Wires
- ICE Resin® Tints: Hacienda, Amethyst
- ICE Resin® Brushes
- ICE Resin® Jewelry Mold
- Ranger Heat It Craft Tool
- Tim Holtz by Tonic Studios Craft Pick
- Ring Sizer
Instructions

Step 1: Working on the Studio Sheet, mix together 1 oz. of ICE Resin® according to the package instructions.

Step 2: Fill the smallest circle mold 1/3 of the way with clear resin. Use the Heat It Craft Tool to pop any bubbles.

Step 3: Mix another 1 oz. of resin according to package instructions. Let stand until the resin gets a little thick, like honey. Pour a small amount of resin into another cup. Place a drop of Hacienda Tint on the tip of a craft pick and place the drop on one side of the cup. Repeat with Amethyst Tint on the other side of the cup.

Step 4: Gently fold the colors to marbleize. Do not completely mix. Let sit until bubbles pop. Use a Heat It Craft Tool from a distance if needed.

Step 5: Use the stir stick to drip colored resin into the mold, filling it to the top. Let cure until resin becomes very stiff, about 30 minutes or more (depending on your climate).

Step 6: Use a ring sizer to wrap the jewelry wire around and make your ring band

Step 7: Place ring band in the center of the mold. Resin should be thick enough to hold it in place. If not, wait until it is thick enough to do so. Let cure.

Step 8: When the ring comes out of the mold, it will have a matte finish. You can leave it as is, if you like the way it looks.

Step 9: To make it shiny, mix another 1 oz. batch of ICE Resin®. Let sit until bubbles disperse and resin is slight sticky (think like syrup). Take the ring out of the mold and use an ICE Resin® brush to apply a small even coat of resin to the top and sides.

Step 10: Place ring facedown on a piece of shiny paper (the backer card to an adhesive sheet works great or you can you acetate) and let cure. The will allow the top of the ring today with a smooth surface.

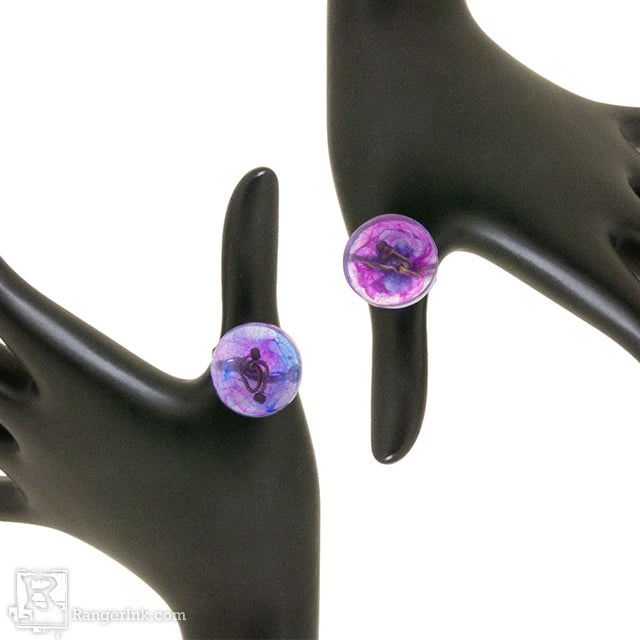
Step 11: Once cured, it should look something like this. To fully cure, allow to sit for 72 hours.
