Guest Designer May Flaum shares great tips and techniques for creating a stunning dimensional holiday canvas full of texture and color.

Let It Snow Mixed Media Canvas
- Materials
- Instructions
- Stickles™ Glitter Glue
- Embossing Powder: White
- Ranger Texture Paste
- Ranger Multi-Medium Matte
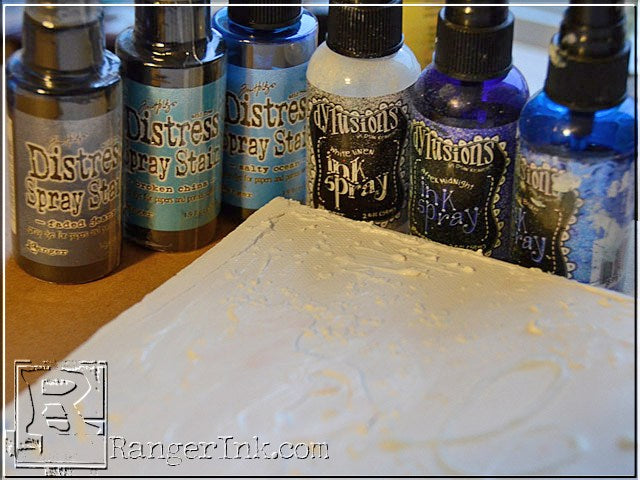
- Dylusions Ink Sprays: After Midnight, London Blue, White Linen, Squeezed Orange
- Tim Holtz® Distress Spray Stains: Broken China, Salty Ocean, Faded Jeans, Brushed Pewter
- Tim Holtz® Distress Ink Chipped Sapphire
- 8"x10" Canvas
- Tim Holtz Sizzix Die Winter Wonder
- Tim Holtz Idea-ology Gumdrops, Mirrored Stars, Word Bands, Snowflakes Adornments; buttons, rhinestones, holly, and twine
Instructions
 Cut shapes from manila cardstock and adhere them (glue ‘n seal works great!) to a canvas.
 To add more texture, use a stencil and texture paste to add designs to the background.
 Repeat as desired – this will all be colored (and covered) in the process so have fun and really get some texture going.
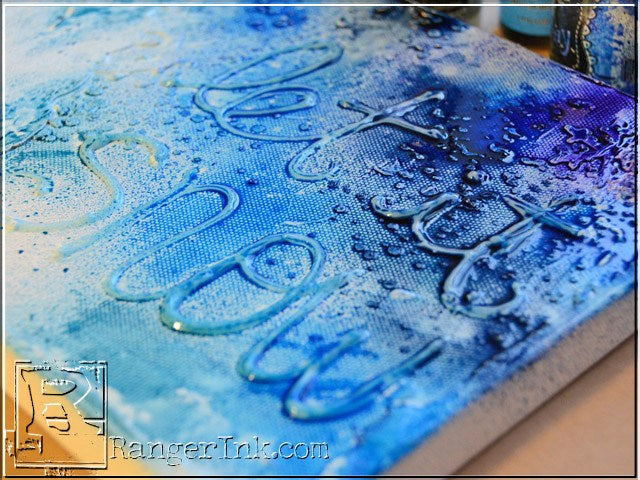
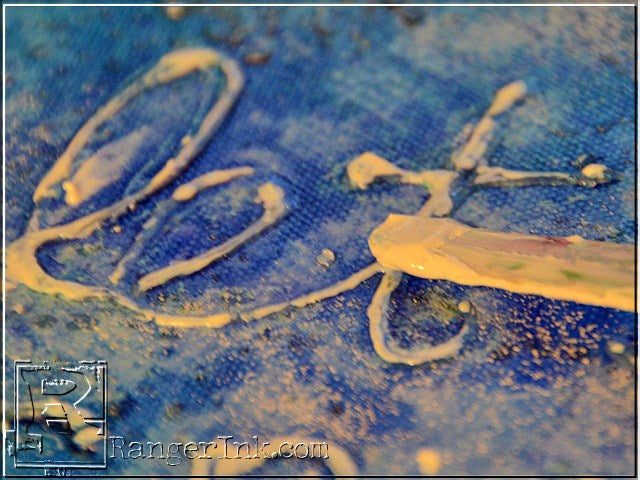
 Another great product for texture is multi-medium. I used a mini sized multi-medium to write out “let it snow”. You could also add shapes or even utilize with a stencil.
 Add an assortment of embellishments to the corner of the project.

 Use gesso to cover the embellishments you just added as well as the manila shapes.
 Allow the entire project to dry. Using a Ranger Heat Tool can help speed up the process for this.
 Pull out Tim Holtz Distress Spray Stains and Dylusions ink sprays and go wild!
 Spray as much as you’d like – you can’t mess this up. Use the white spray to lighten or help blend as needed.

Tip: If you dislike the results just rinse this with water and blot with a paper towel. These two color mediums are very forgiving!
 Not enough contrast? If the mediums are still damp, or even slightly tacky go ahead and sprinkle embossing powder onto your project, then set with a heat tool. On my project it gives a fun texture and snow-like effect this can also add the look of rust, sparkle, or simple pop of color depending on the shade that you use.
Tip: embossing powder won’t react or blend with the fluid color mediums so it is a great choice when you want a pure color to be added without any bleeding or color mixing.
 Spray more color (if desired). Once dry add a light misting of brushed pewter distress spray stain to add silver droplets that will sparkle in the sunlight.
 Use the chipped sapphire distress mini ink pad to add some dark blue to the raised areas, especially the snowman.
 If some parts need to be lightened, use a palette knife and gesso or white paint. Use a light touch – you just want to hit the highest points to really add contrast.
 Take a detail water brush filled with the blue spray medium (dylusions and distress work great!) of your choice and add pops of rich color as needed. I used salty ocean distress spray stain for this.
 Apply glitter glue one of two ways: directly in a thick line over the letters, and them blend around the snowman.
Tip: Need more stencil work, white, or otherwise a finishing touch with another color? This would be a great time to add another round with paint or texture paste. This would also be a great time to work in some archival inking/stamping as finishing touch accents.
 To finish off my snowman I attached a bit of twine and holly, and painted his nose orange. To color the nose orange I first applied a few drops of water and used a paper towel on the area which removed all the blue. Then I used a detailed water brush with squeezed orange Dylusions ink spray to add just a hint of orange to this wintery project.

Drawer Title
- Choosing a selection results in a full page refresh.


