


by Jen Cushman
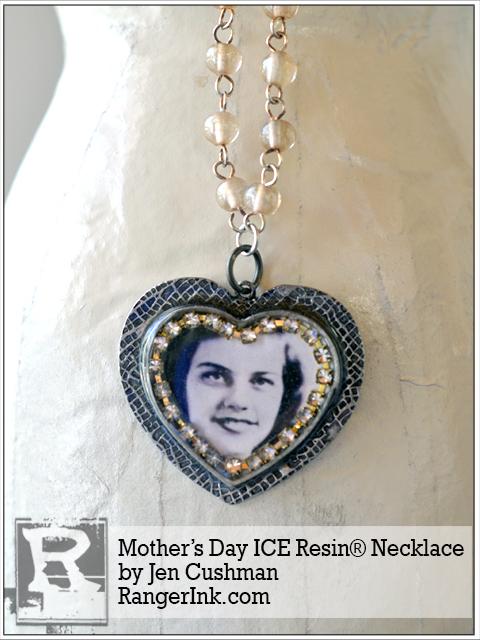
Mother’s Day ICE Resin® Necklace by Jen Cushman
- Materials
- Instructions
- ICE Resin® Brushes
- ICE Resin® Paper Sealer
- ICE Resin® Milan Bezels
- ICE Resin® Bezel Templates
- ICE Resin® Studio Sheets
- Toner copy image of vintage photograph
- 4 inches of Rhinestone chain
- Pearl Rosary Chain or Necklace Chain with lobster clasp
- Jump rings
- Pencil
- Scissors
Instructions

Mother’s Day is the perfect time to make a heritage piece of jewelry for that special grandmother, mother or important female figure in your life. I’m fortunate to have a small collection of vintage black-and-white photographs of my mother as a young woman. Each time I see her face, it makes me smile, as my mother and I were very close. Today, I’d like to show you exactly how to make a gorgeous piece of heritage jewelry as a keepsake of your very own. All it takes is a lovely deep-walled bezel, some jeweler’s grade ICE Resin®, a photocopied picture and a handful of other supplies. Even if you’ve never made jewelry before, I promise you can do this!

Step 1: Gather your supplies.

Step 2: Place the Bezel Template on your photocopied image and trace the large Milan Heart bezel with a number 2 pencil.

Step 3: Cut the image with a pair of scissors.

Step 4: Use a disposable paint brush to paint a thin coating of Paper Sealer onto the front, back and edges of your photocopied image – NOTE image must be a toner based photocopy. If you use an image printed from an ink jet printer, the ink may slightly smear when you pour ICE Resin on to it. You can use an image that’s been printed from a commercial photo printer in most cases.

Step 5: Place the cut and sealed image into the heart bezel. Let the sealer thoroughly dry before mixing and pouring your resin.

Step 6: If you’d like to add any inclusions, such as rhinestone chain or glass glitter or charms, now is the time to add them to the bezel. A tiny drop of Paper Sealer painted on with a small paintbrush holds my rhinestone firmly into place. It is not necessary to glue inclusions into the bezel, as ICE Resin® is a thick doming resin and will naturally hold down the inclusions.

Step 7: Add ¼ ounce of Part A Resin to the mixing cup. Then add ¼ ounce of Part B Hardener on top of the resin in the same mixing cup. You must mix up at least ½ ounce of resin for the chemistry of the two parts to work as they should. NOTE: Always use equal parts of Part A Resin to Part B Hardener.
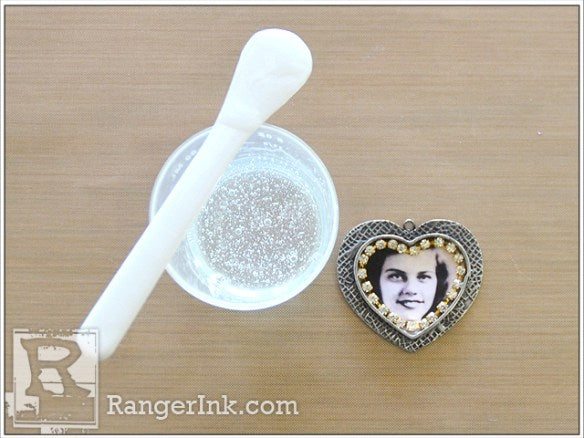
Step 8: Mix gently but thoroughly for 2 minutes, using a folding action like when baking rather than a stirring motion. Once the two parts are gently folded, you can switch to a gentle stirring motion. Be sure to scrape down the sides of the cup with the plastic stir stick to ensure both parts are equally mixed. Set aside for 5 minutes for the bubbles caused during mixing to naturally settle.

Step 9: Use the craft stick to drip resin into bezel, filling it to the top and then carefully adding a few more drops to create a natural dome, like the one pictured here. Let resin filled bezel naturally air cure for six to 8 hours. As soon as it’s dry to the touch and feels like glass, it’s ready to be turned into finished jewelry.
Use a jump ring to attach finished pendant to pretty glass rosary chain. If you want to tie a piece of vintage lace or trim for a little extra mixed media touch, feel free.
As a jeweler’s grade resin, your piece will not yellow or fade. Congrats on making such a beautiful piece of heritage jewelry. Remember, these bezels can be used in all types of mixed media applications from cards to home décor to assemblage and, of course, are meant for beautiful jewelry.
