


Follow along as Jess Francisco shows you how to make this beautiful mixed media card using Letter It, Ranger Texture Paste and Perfect Pearls.
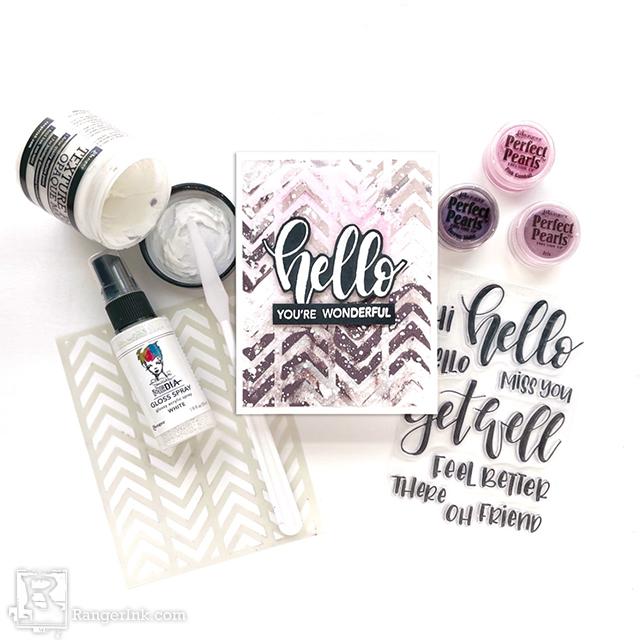
Ranger Perfect Pearls™ Hello Card by Jess Francisco
- Materials
- Instructions
Other:
Paper Trimmer
Scissors
Instructions

Step 1: Lay the 'Alternating Chevron' stencil on a piece of white cardstock measuring 4x5.25”. Use the Mini Ink Blending Tool and Domed Blending Foam to apply Letter It Embossing Ink to the cardstock through the stencil. Remove the stencil and pour Superfine Detail White Embossing Powder on the wet ink. Tap off the excess and melt the embossing powder with a Heat Tool.

Step 2: Spritz a little water on the heat embossed background with the Mini Mister or Distress Sprayer. Sprinkle on a little bit of Perfect Pearls and then mist with water again. Experiment with the amount of water to get a result you like. You can also put a little of the Perfect Pearls on a Craft Sheet and spritz it with water – then dip your cardstock into the mixture for a looser watercolor look.

Step 3: Let your panel dry completely, then lay the 'Alternating Chevron' stencil back on the cardstock. Line it up with your heat embossed sections (you can tape it in place or use the Make Art Staytion so it doesn't shift). Put a little bit of the Opaque Texture Paste and Perfect Pearls on a Craft Sheet (a little of the Perfect Pearls go a long way, you don't need much here!). Mix the paste and Perfect Pearls together to color the paste. Then, apply the paste through the stencil in various areas. Feel free to experiment with the amount of Perfect Pearls you use or add a little water for a slightly thinner texture paste.

Step 4: Take the lid off the Dina Wakley Gloss Spray and hold it over your project. Tap the lid so that small splatters drop onto your card panel. Replace the lid to pick up more Gloss Spray and repeat as needed.

Step 5: Once the Texture Paste and Gloss Spray have dried, attach the panel to a white A2 sized card base using Multi Medium Matte.
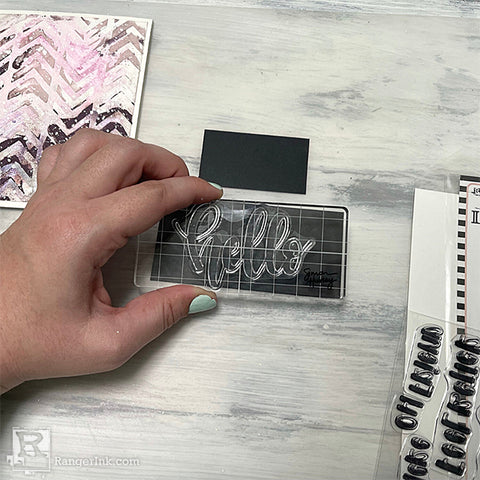
Step 6: Treat a piece of black cardstock with Anti-Static Pouch and stamp the 'hello' sentiment from the 'Greetings' stamp set with Embossing Ink. Pour Superfine Detail Embossing Powder on top of the stamped image, then tap of the excess. Melt the powder with your Heat Tool. Repeat this process for the sentiment 'you're wonderful' from 'It's The Little Things' stamp set.

Step 7: Use a pair of sharp scissors to cut out the 'hello' sentiment and use a paper trimmer to cut the 'you're wonderful' sentiment down to size. Place Foam Tape on the back of each sentiment and attach them to the card front.

Step 8: You're done! You've just created a beautiful, grungy card that's sure to brighten anyone's day. Yay!

I’m Jess Francisco from Love, Jess or @lovejessco. I live in Chesapeake with my husband and our sons who are 7 and 4 years old. They keep me busy, so most of my crafting is done while they’re in bed.
I have been creating for as long as I can remember, but I started my card making journey in 2015. I have learned so many techniques and added so many new products to my growing list of favorites. Now that I have a few years under my belt, I’m excited to share what I’ve learned with the crafting community! You can find me on social media as @lovejessco or Love, Jess.
Related Posts

Simon Hurley create. Woodland Hello Card by Lieschen Harshbarger
Step into the woods with this enchanting card tutorial by Lieschen Harshbarger! Crafted using the Simon Hurley create...
Read More
Distress Embossing Glaze Christmas Card by Cheiron Brandon
Get into the holiday spirit with this stunning “Peace on Earth” card by Cheiron Brandon! Learn how to layer...
Read More