Join Lieschen Harshbarger in a delightful tutorial featuring the latest Simon Hurley create. stamps, stencils, and dye ink pads. Get ready to craft the perfect birthday card filled with creativity and endless fun!
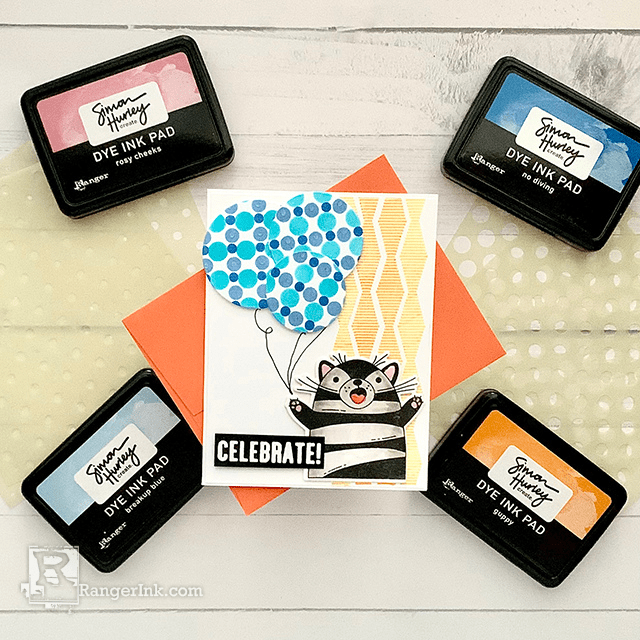
Simon Hurley create. Time to Celebrate! Card by Lieschen Harshbarger
- Materials
- Instructions
Simon Hurley create. Background Stamp Sound Waves
Simon Hurley create. Stencil Polka Dot Assortment
Simon Hurley create. Dye Ink Pad Clear Skies, Breakup Blue, No Diving, Slippery When Wet, Guppy, Woof!, Rosy Cheeks, Bee Sting
Simon Hurley create. Lunar Paste Breakup Blue
Simon Hurley create. Stark White Cardstock
Simon Hurley create. Acrylic Stamping Blocks
Simon Hurley create. Paste Tool Set - 3 pc
Wendy Vecchi MAKE ART Perfect Card Adhesive
Wendy Vecchi Mini Archival Ink Pad Kit 2
Ranger Heat It™ Craft Tool
Ranger Glossy Accents
Ranger Artist Brushes
Ranger Anti-Static Pouch
Ranger Silicone Mat
Ranger Mini Ink Blending Tool
Ranger Mini Ink Blending Tool Domed Replacement Foams
Emboss It™ Ink Pad Clear
Embossing Powder Super Fine White
Embossing Powder Clear
Tim Holtz Distress® Black Heavystock
Tim Holtz® Tools by Tonic Studios – Trimmer
Other:
Nested Circle Dies
Black Pen
Foam Adhesive
Die Cutting Machine
Scor board
Envelope
Low Back Tape
Hi crafty friends! I have had a lot of fun creating cards using these supplies from Simon Hurley’s latest release. In today’s card tutorial, I’ll be using the Big Hugs stamps and dies and the new Polka Dot stencil to make a fun celebration card - perfect to send to a loved one to celebrate a special occasion. I truly enjoyed making this card, and I hope it gives you inspiration to do something fun and creative today!
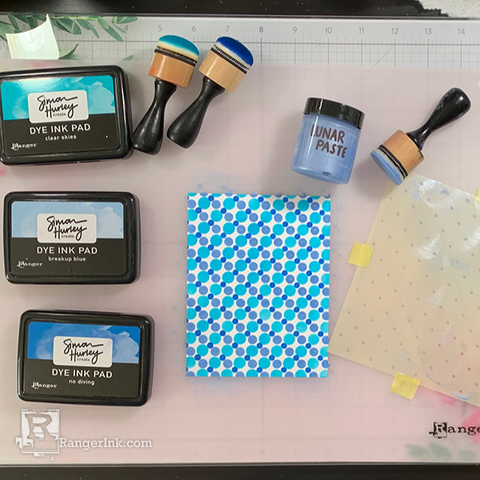
Step 1: Trim a piece of Stark White Card stock measuring 4 x 5¼. Then, use the Polka Dot stencil to create a background with Clear Skies, Breakup Blues, and No Diving inks. Next, apply Breakup Blue Lunar Paste using the stencil with the smaller dots.
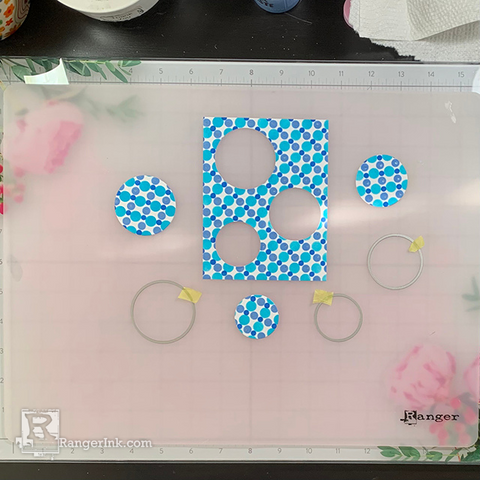
Step 2: Next, use three circle nested dies to die cut circles out of the stenciled background. The negative front panel piece can be used to create another fun card.
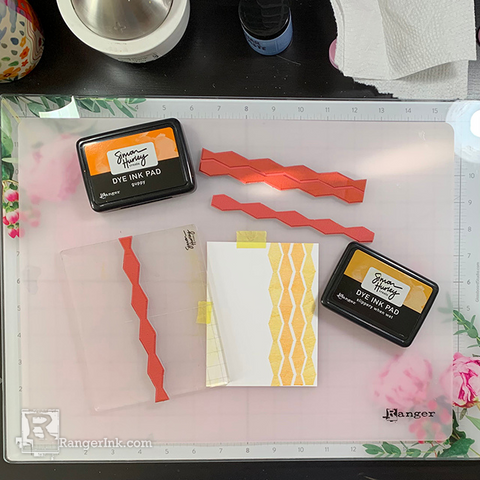
Step 3: Trim another piece of Stark White Card stock measuring 4 x 5¼ that will be used as the front panel piece to an A2 card base. Then, use the 5x6 acrylic block and stamps from the Sound Wave background to stamp a few waves. Use Slippery and Wet and Guppy inks to stamp the images.
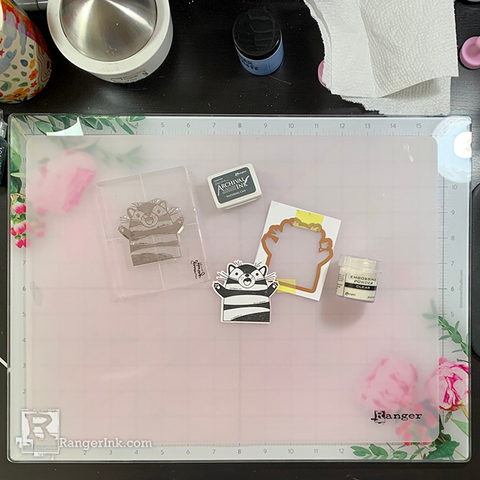
Step 4: On another piece of card stock, stamp the cat image from the Big Hugs with Watering Can archival ink. Then, heat emboss with clear embossing powder. Then, die cut the image with the coordinating die.
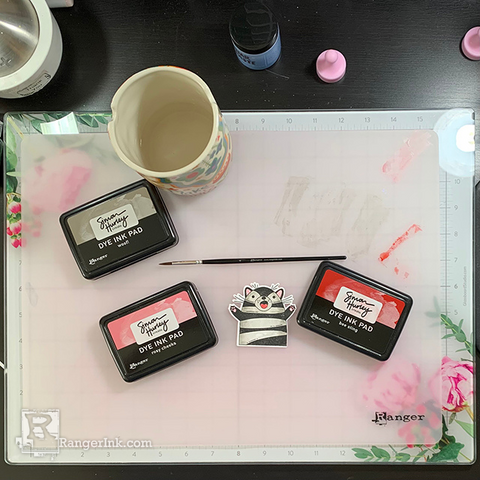
Step 5: Next, use a brush to color the cat with Woof!, Rosy Cheeks, and Bee Sting inks.
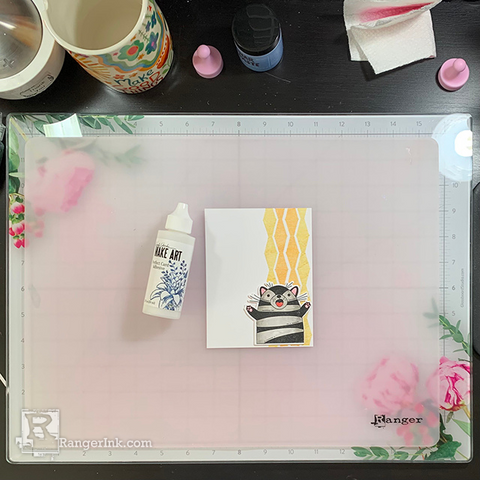
Step 6: Use Wendy Vecchi MAKE ART Perfect Card Adhesive to glue the cat onto the front panel piece from step 3.
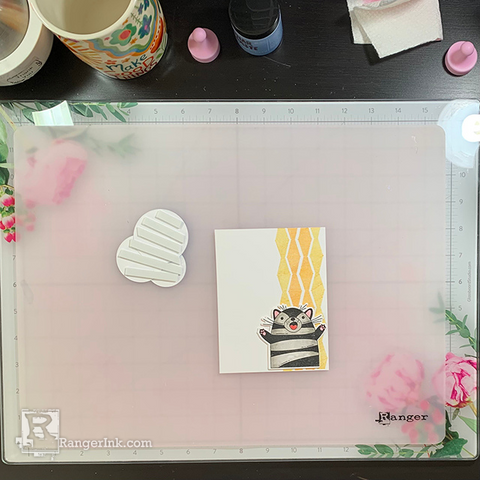
Step 7: Next, grab the die cut circles from step 2 and apply small dabs of glue to cluster them together like a bunch of balloons. Then, apply adhesive foam to the back of the cluster to add dimension, and tape them to the front of the panel piece.

Step 8: Use a black pen to draw some strings from the balloons to one of the paws of the cat image. This will make it look the cat is holding the balloons.
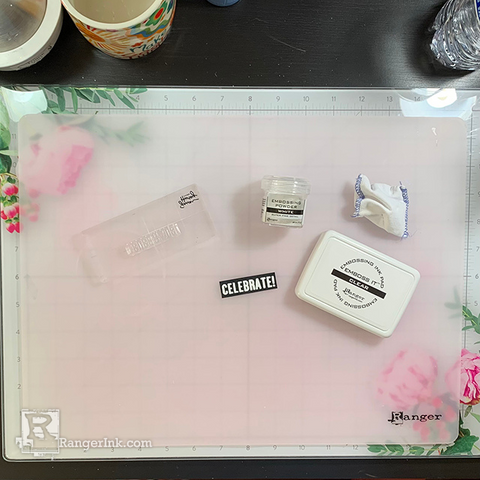
Step 9: On a piece of Tim Holtz Distress Black Heavystock, stamp one of the sentiments from the Big Hugs stamp set with Emboss It Clear pad. Then, heat emboss it with white embossing powder.
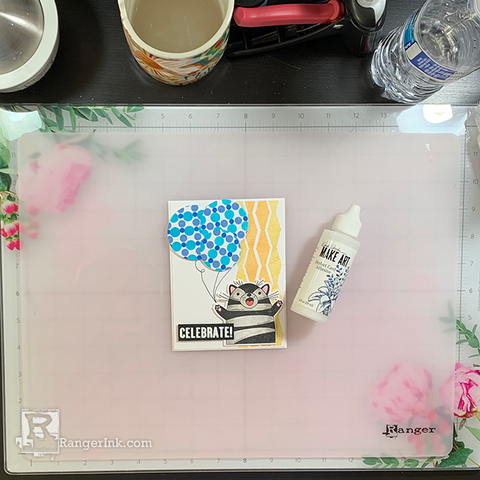
Step 10: Next, glue the sentiment onto the front panel piece.
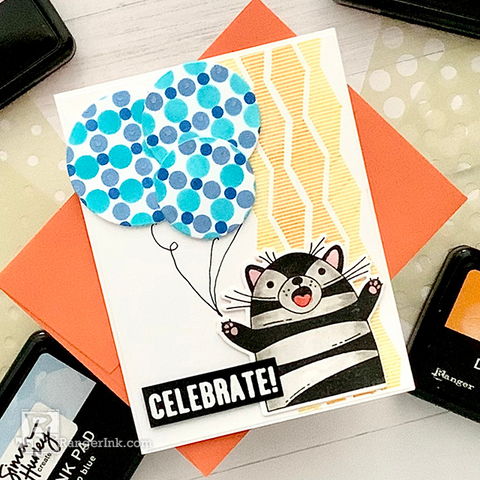
Step 11: To finish the card, add glossy accents to the cat’s ears and paws, and match it with a complimentary envelope and it is ready to be sent to a loved one!
Drawer Title
- Choosing a selection results in a full page refresh.


 Hi! My name is Lieschen Harshbarger. I’m married to my best friend and even though we don’t have children yet, our dog Sophie fills our hearts with lots of love and joy. By day, I work for the State of Texas, but during my evenings and weekends you’ll find me in my craft room – making cards and trying out new techniques with my crafty supplies. I enjoy being creative, but mostly I have enjoyed getting to know others and learning fun new things in this wonderful crafty industry! You can see more of my crafty projects on my blog
