


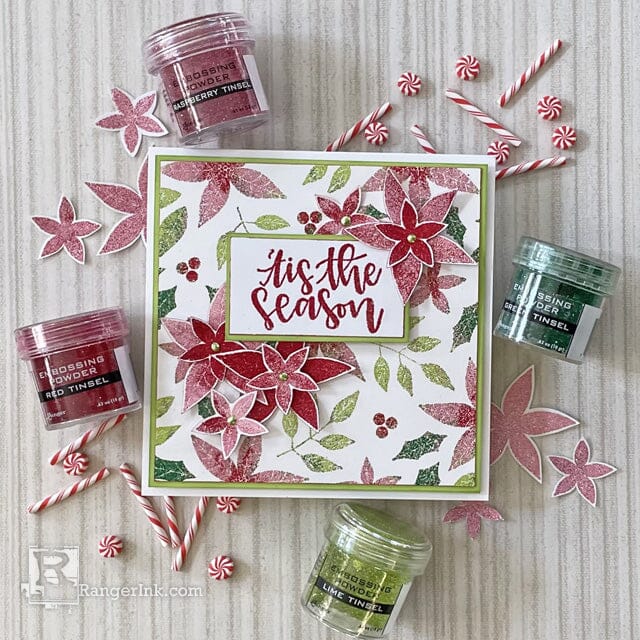
Ready to make your holiday cards shine with extra charm? It's time for some tinsel magic! Follow along with Lauren Bergold as she uses the Holiday Tinsel Embossing Powder Bundle to create this fantastic and festive card.
Ready to make your holiday cards shine with extra charm? It's time for some tinsel magic! Follow along with Lauren Bergold as she uses the Holiday Tinsel Embossing Powder Bundle to create this fantastic and festive card.
Instructions
Ranger's Tinsel Embossing Powders do for holiday cards what tinsel does for Christmas trees: makes them exponentially more glittery and festive!

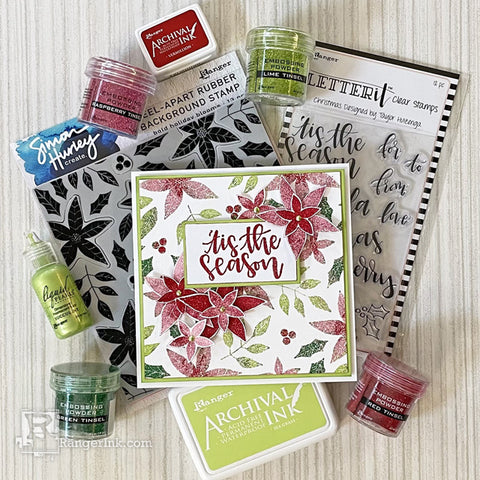
Step 1: Gather Supplies: Ranger's Tinsel Embossing Powders in Lime, Raspberry, Green and Red; Simon Hurley Bold Holiday Blooms Background Stamp; Letter It Christmas Clear Stamps; Simon Hurley create. Stark White Cardstock; Emboss It Ink Pad and Ranger Heat It Craft Tool.

Step 2: On a 5.5" square of Simon Hurley create. Stark White Cardstock, stamp the Bold Holiday Blooms Background in Emboss It Clear Ink. Sprinkle the four colors from the Tinsel Embossing Powder Bundle one at a time, sparingly, targeting the shapes as follows: Red at the centers of all the poinsettias and over the berries; Raspberry on the outer fronds of the poinsettias; Green over the holly leaves; and Lime on the leafy sprigs. Note that it is impossible to apply the colors perfectly, but the slight variegated effect where more than one color meets is quite unique and beautiful. Tap off the excess, but DO NOT try to return the colors to their original jars. Use a small brush, if needed, to remove any stray flecks of powder. Melt the powder with Ranger's Heat It Craft Tool and let the panel cool completely.
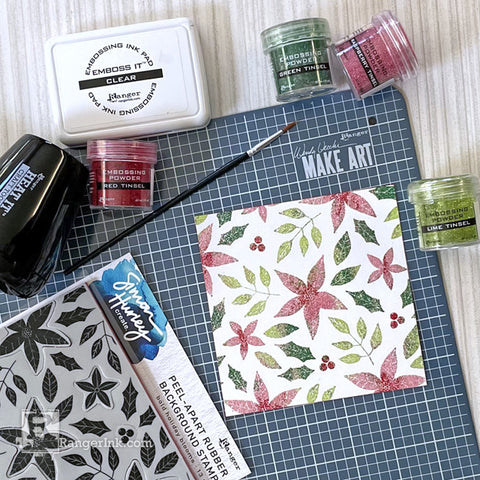
Step 3: Trim the panel down to a 5" square and ink the edges lightly with Vermillion Archival.
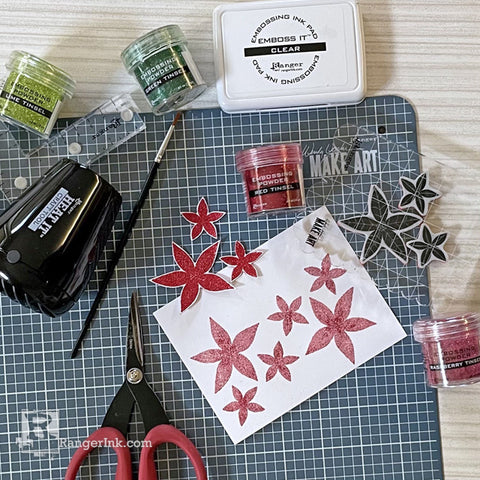
Step 4: Remove the large poinsettia and the two small ones from the Peel-Apart Background stamp and affix them to an acrylic block. Stamp the cluster of flowers several times with Embossing Ink. Sprinkle a few of the blooms with just Red Tinsel Embossing Powder, and the rest in a mix of Red and Raspberry. Tap off the excess and melt the powder. When the flowers are completely cool, use scissors to neatly cut them out leaving a very thin border of white around each flower.
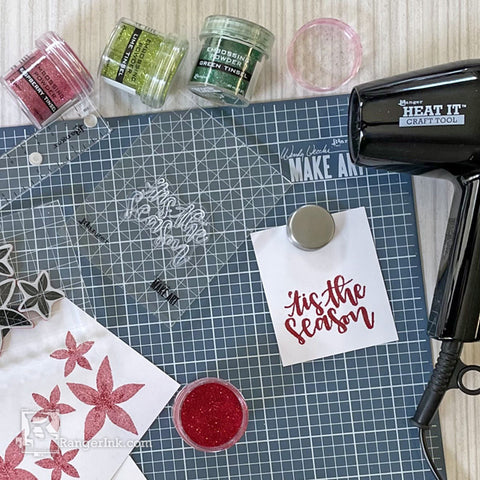
Step 5: On a scrap of Stark White Cardstock, stamp "Tis the Season" from the Letter It Christmas Clear Stamp set in clear Embossing Ink. Sprinkle with Red Tinsel Embossing Powder, tap off the excess and melt the powder. When it's cool, trim the sentiment panel to 2.75 x 1.5" and ink the edges lightly with Vermillion Archival.

Step 6: With a Ranger Mini Ink Blending Tool and a Domed Replacement Foam, apply Sea Grass Archival Ink around the edges of a 5.25" square of Stark White Cardstock; repeat the same technique on a 3 x 2" scrap of white cardstock.
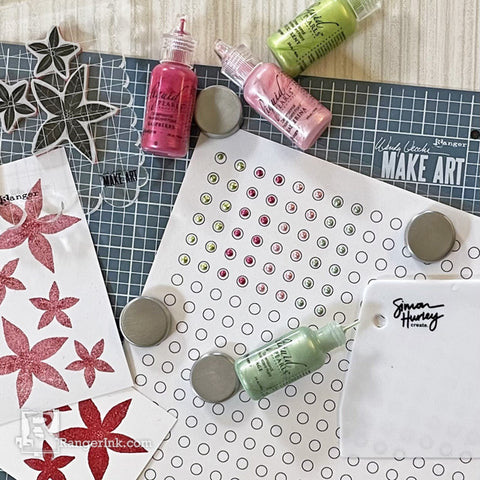
Step 7: Using the techniques and template from Ranger's Stickles Confetti Tutorial (https://rangerink.com/blogs/projects/stickles-confetti) apply small dots of Liquid Pearls in Succulent to a piece of acrylic plastic and allow to dry completely. Note that this project calls for only half a dozen flower centers, but it's never a bad idea to make extras. This batch of Raspberry, Sage, Ballet Slipper and Succulent enamel dots will come in handy for future projects!
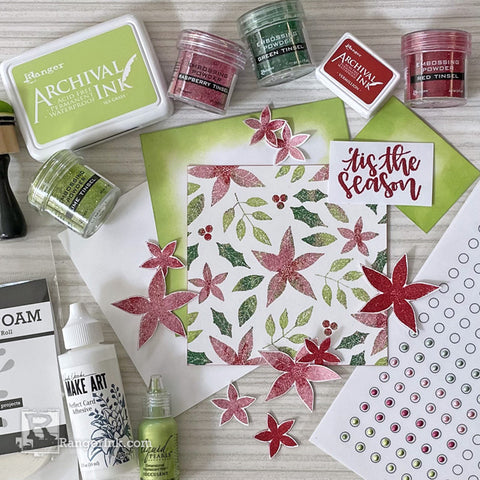
Step 8: Assembly: Use Wendy Vecchi's Perfect Card Adhesive to affix the floral and sentiment panels to their Sea Grass mats. Place the small flowers on top of the larger ones and apply one enamel dot to the center of each. Add the sentiment to the floral panel with Letter It White Foam Roll Tape and cluster the blooms around it. Affix the completed design panel to a 5.5" square card.
Step 9: Admire your handiwork and start thinking about who you'll mail this bloomin' beauty to in December!
 My name is Lauren Bergold, and I live in central New Jersey with my husband of 30+ years and A LOT of art supplies! My favorite medium is paper, and I especially love making cards. I teach papercrafting classes, as well as collecting and compiling vintage and found papers. You can find me on my blog, All the Good Blog Names Were Taken, and on Instagram as @llaurenb where I love to connect with other artists and makers!
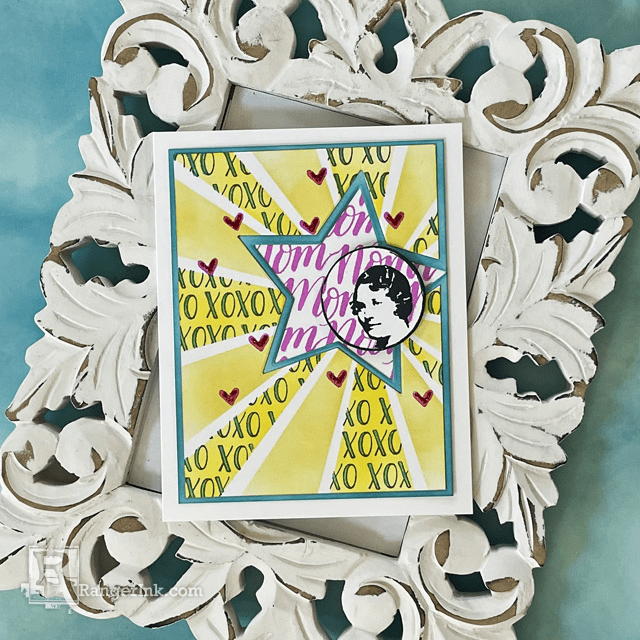
With Mother's Day just around the corner, it's time to go above and beyond for the special women in our...
Read More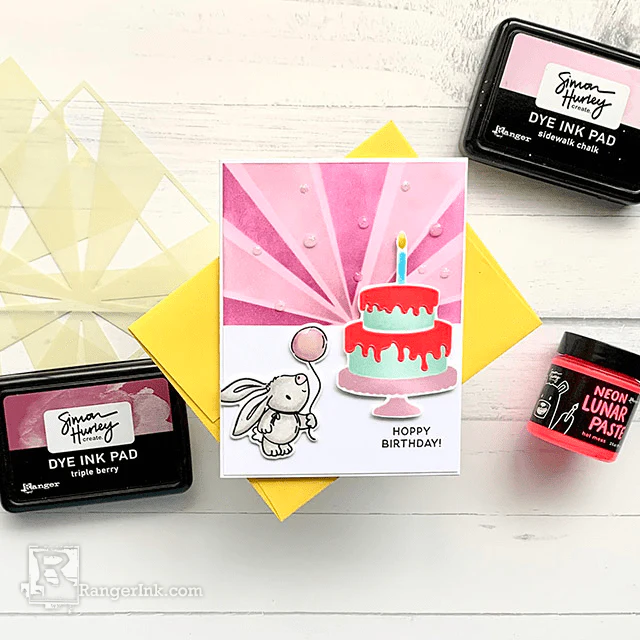
Hop into birthday fun with this adorable card tutorial by Lieschen Harshbarger! Using the new vibrant Simon Hurley create....
Read More

