


Audrey Pettit shares a holiday inspired wreath featuring Tim Holtz products. These easy to make wreaths will dress up any gift bag or package.
Free Shipping On All Orders Over $49.99

Audrey Pettit shares a holiday inspired wreath featuring Tim Holtz products. These easy to make wreaths will dress up any gift bag or package.
Tim holtz idea-ology Seasonal Chit Chat
Trim or Ribbon
Instructions
Hi everyone, it’s Audrey, back to share a holiday inspired project with you today. Christmas is just around the corner, and I know many of you are looking for some quick and easy ideas for dressing up those gift bags and packages, decorating the tree, and crafting up handmade gifts for family and friends. Well today’s project ticks all those boxes.

Not only is this ornament perfect for gifting and decorating, it also looks fabulous tied into the bow of any holiday packaging. Once the package has been opened, simply remove the ornament and hang it on your tree for a holiday keepsake that will last for years to come.
I’ve got the full step-by-step tutorial to share, so let’s take a closer look.

Step 1: To begin, cut a half sheet of Distress Watercolor Cardstock. Spray the cardstock heavily with Peeled Paint Distress Oxide Spray, followed by water using a Distress Sprayer. Dry the cardstock with a Heat It Craft Tool, or set aside to dry.

Step 2: Using the “Green 1” die from the Tim Holtz Deck the Halls die set, die cut a pile of holly leaves from the Oxide colored cardstock. For this project, you will need about 7-8 pairs of leaves.Die cut the second and third step dies from sanded Distress Kraft Stock cardstock.

Step 3: Nest two middle-sized circle dies together, and hold them in place with a bit of tape. Die cut the circle frame two times from Watercolor Cardstock.

Step 4: Assemble the holly leaves using Multi Medium Matte adhesive. The die set also cuts some smaller pine greens on the same dies, so assemble those with the Multi Medium Matte, as well.
]
Step 5: Ink the edges of all the leaves and greens using Peeled Paint Distress Ink and a Mini Ink Blending Tool. Add dabs of Multi Medium Matte adhesive on the back tops of the leaves, and arrange them onto one of the circle frame die cuts. Continue working until you have covered all but the very top ¼” of wreath. Adhere the smaller pine sprigs amongst the holly.

Step 6: Cut a 2” piece of green ribbon. Fold the ribbon into a loop, and adhere it to the back of the wreath at the top using Multi Medium Matte adhesive. Place small dots of the adhesive onto the backside of the second circle frame, and then adhere the two circles together. This will hide the ends of the ribbon and add strength to the ornament.

Step 7: Spray a scrap piece of watercolor cardstock with Fired Brick Distress Oxide Spray, and then spray the oxide with water. Dry the paper with a Heat It Craft Tool. Then die cut step one of the holly berries and bow.

Step 8: Dab Abandoned Coral and Spun Sugar Distress Ink onto a craft mat, and spray the inks liberally with water using the Distress Sprayer. Add a small amount of Sunflower Sparkle Perfect Pearls powder to the mixture. Press a scrap piece of watercolor cardstock into the ink mixture, twisting it around to get it fully covered in ink. Repeat the process as needed to achieve the desired color, and then dry the paper with heat tool.Once the paper is dry, die cut the second step of the holly berries and bow.

Step 9: Ink a piece of scrap watercolor cardstock with Spun Sugar Distress Ink using a Mini Ink Blending Tool. Then die cut the third step of the holly berries and bow. Assemble all the bow and berry pieces using Multi Medium Matte adhesive. Ink the edges with Aged Mahogany Distress Ink.

Step 10: Adhere the bow to the top of the wreath, and the berries scattered throughout the wreath, using Multi Medium Matte adhesive. Select a Seasonal Chit Chat sticker, and ink the edges with Aged Mahogany Distress Ink. Add the sticker to the center of the bow.

Tie the ornament onto a gift bag or package using the attached ribbon loop, or simply hang the ornament on your tree and enjoy!


Get into the holiday spirit with this stunning “Peace on Earth” card by Cheiron Brandon! Learn how to layer...
Read More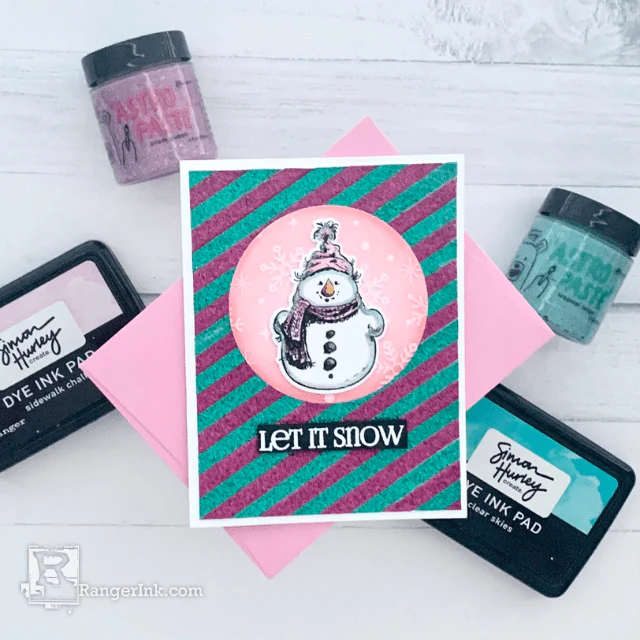
Let it Snow! How cute is this glittery snowman card by Lieschen Harshbarger? In this tutorial, she uses...
Read More