Instructions
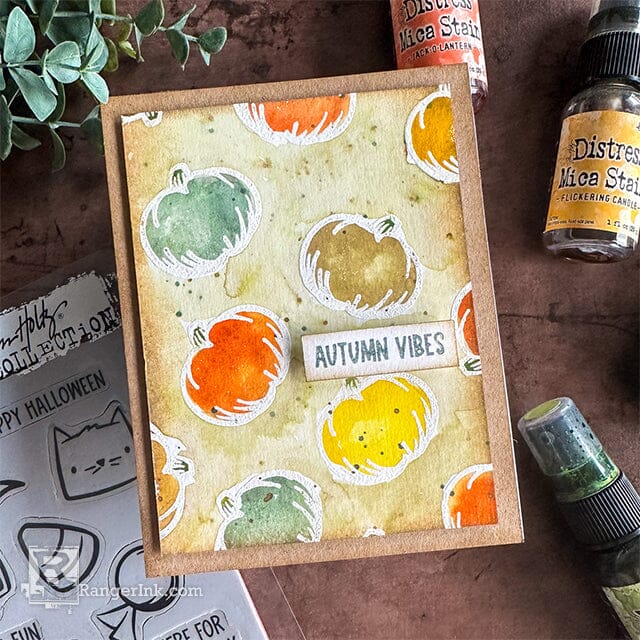
Hi there crafty friends! It’s Cheiron Brandon here and I am thrilled to share a card with you today using one of my favorite products, Distress Mica Stains. I use all the colors all year long to give my projects tons of shine but I thought it would be fun to go back to some of the original colors and show them some love for autumn with these colors.
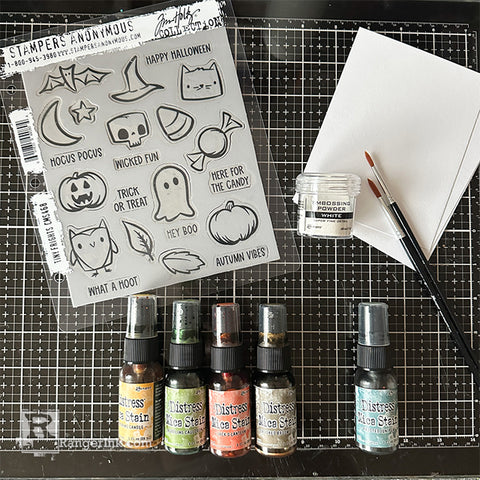
Supplies: Gather your supplies. I used Distress Watercolor Cardstock, some Distress Mica Stains from Halloween Set 1 (flickering candle, jack o’lantern), Halloween Set 2 (bubbling cauldron, crooked broomstick) and Frosted Juniper Distress Mica Stain, white embossing powder and the Tiny Frights stamps.
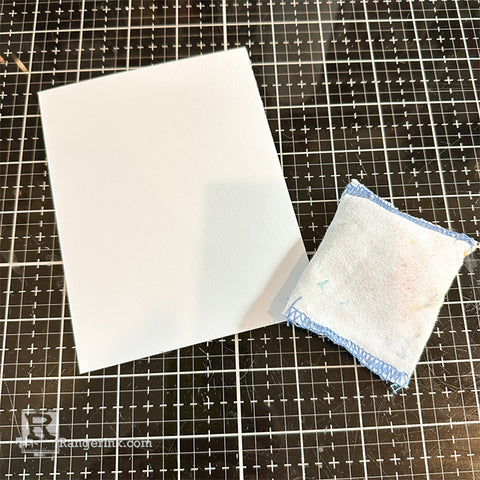
Step 1: Go over your paper with an anti-static pouch to get it ready for embossing so your embossing powder does not stick where you do not want it to.
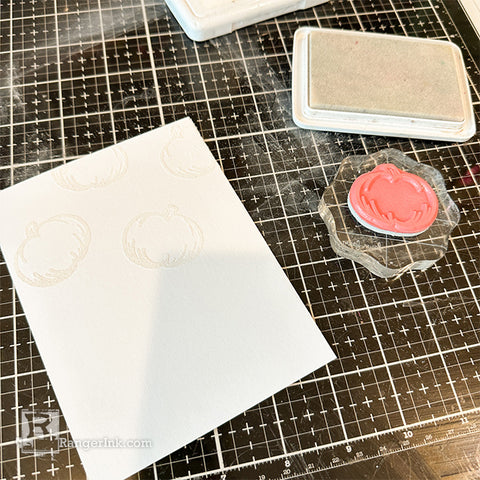
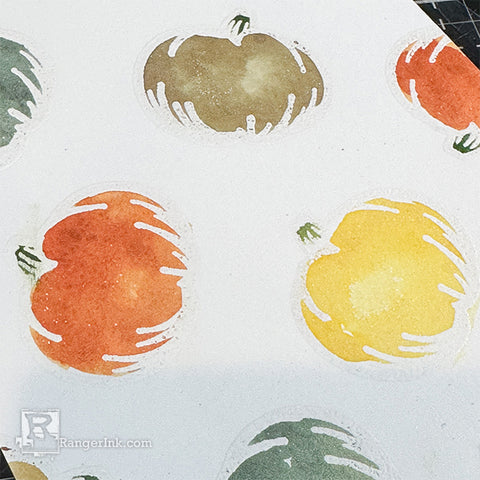
Step 2: Stamp your pumpkin image in embossing ink and emboss with Super Fine White Embossing Powder. Emboss with heat tool. I start stamping in the center and build around it to form a pattern. I stamped and embossed in two sections to make it easier.
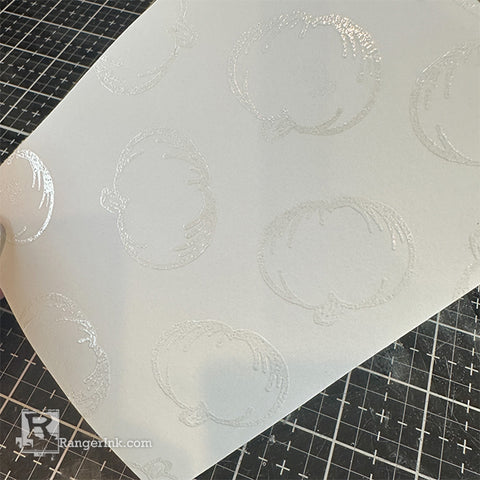
Step 3: Continue stamping until you have created a pattern over the entire panel.
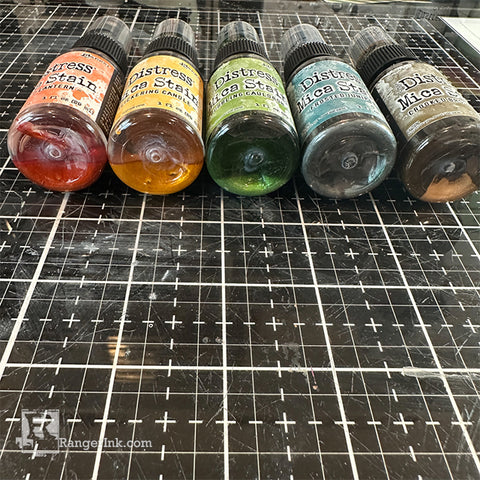
Step 4: Now you are ready to paint. Make sure you shake your Distress Mica Stains so all the mica is not sitting on the bottom. Shaking them side to side like ringing a bell works best.
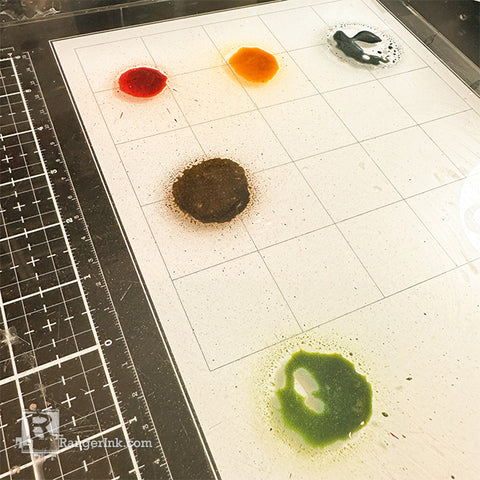
Step 5: Spray some stains onto a glass mat or other palette to use as “watercolor paints”.
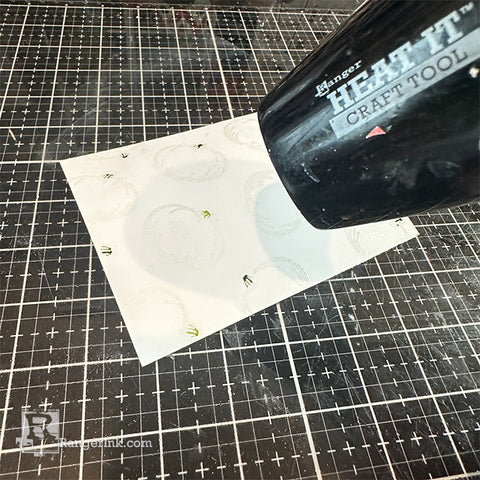
Step 5B: Pick up some stain with your brush and start painting in your images. I started with the bubbling cauldron and painted the stems first since they are so tiny. Dry with a heat tool between each color.
Step 6: Continue painting until you fill in all of the pumpkins, remembering to dry between each color.
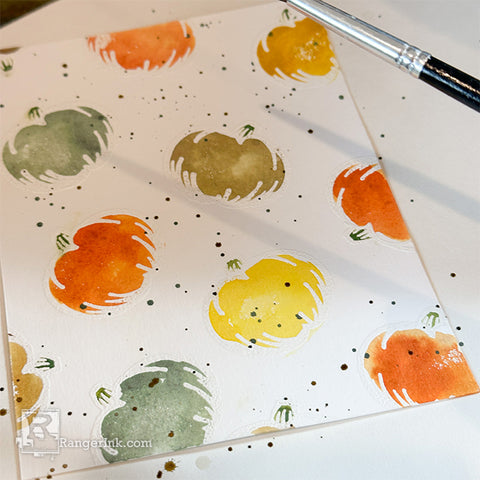
Step 7: Inside of a splat box, splatter the panel with Frosted Juniper Distress Mica Stain. Dry with heat tool.
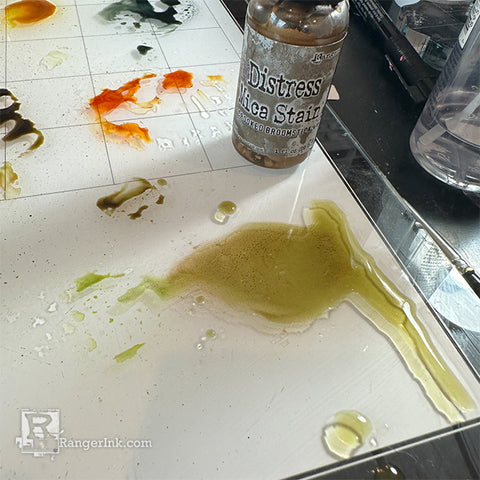
Step 8: Create a wash using Crooked Broomstick Distress Mica Stain and lots of water.
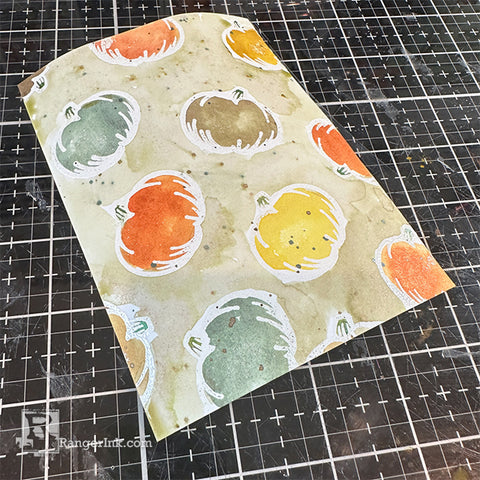
Step 9: Paint the wash over the entire background of the panel, avoiding the previously painted images. Dry with heat tool.
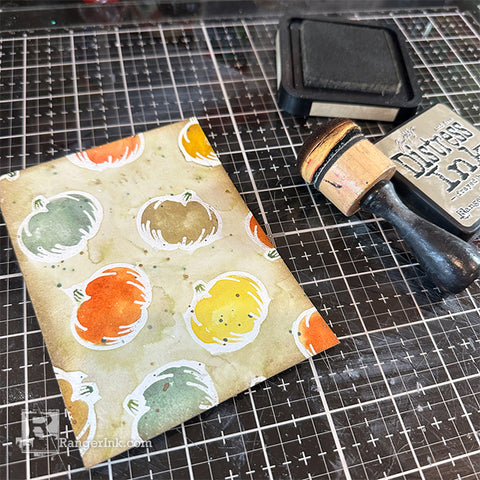
Step 10: Ink the edges of the panel with Frayed Burlap Distress Ink.
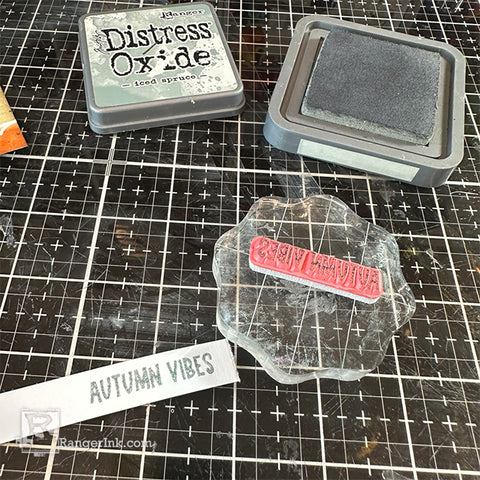
Step 11: Stamp the sentiment using Iced Spruce Distress Oxide.
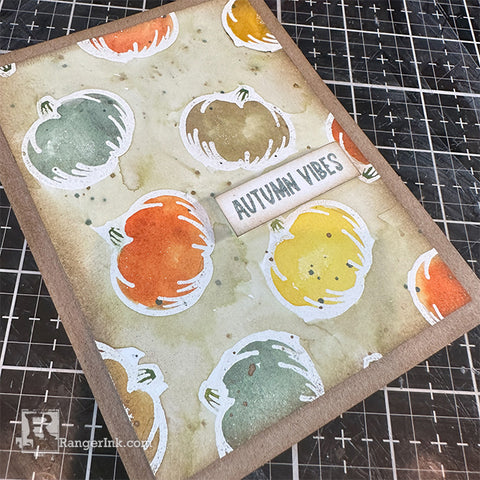
Step 12: Adhere your painted panel to a panel of Kraft Distress Heavystock using foam tape, and then adhere to a card base. Add the sentiment also using foam tape.
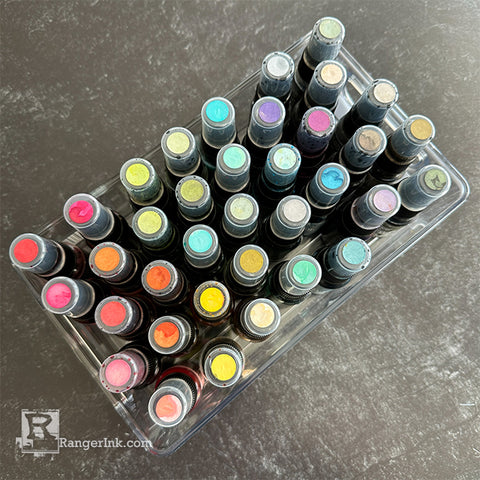
I hope you had fun painting along with me today and remember to take out all of your Distress Mica Stain colors throughout the year. I keep mine together in one bin so I can do just that!

Cheiron
Brandon has been creating handmade cards for over 15 years. She loves to create cards that incorporate Tim Holtz Distress products and mixed media supplies. She has done design work for many companies in the paper crafting industry including Tim Holtz, Simon Says Stamp, Reverse Confetti, Hero Arts, AALL & Create, Mama Elephant, Neat and Tangled, Dina
Wakley, and Ranger Ink. She currently contributes a monthly feature to the Ranger Ink and Simon Says Stamp blogs.
Cheiron lives in New Jersey and shares her art (almost) every day on Instagram @cheiron and other tutorials on her YouTube Channel.