


by Zai Hafiz
Mini Mandala by Zai Hafiz
- Materials
- Instructions
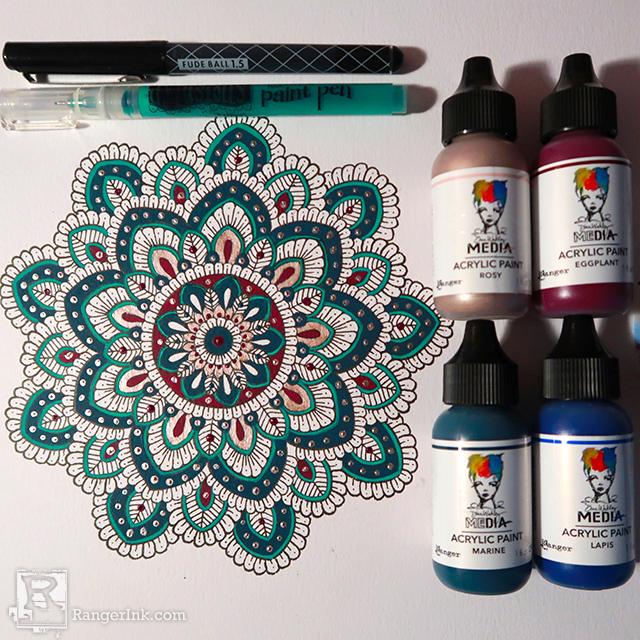
- Dina Wakley Media Acrylic Paints: Eggplant, Marine, Rosy
- Fude Ball Pen: Black
- Dylusions Paint Pens: Polished Jade
- Dylusions Mixed Media Cardstock
- Paintbrushes
- Pencil
- Scissors
- Protractor
- Ruler
Instructions

Step 1: The first step is to create your guidelines to help the neatness and symmetry of your mandala. Draw as many circles as you’d like using a compass and then segment these circles using the angles on a protractor.

Step 2: Using the fude ball pen in black, start to outline the bigger details of the mandala using the guidelines to help you keep everything uniform in size, shape and symmetry. Remember – you can be as creative as you want!
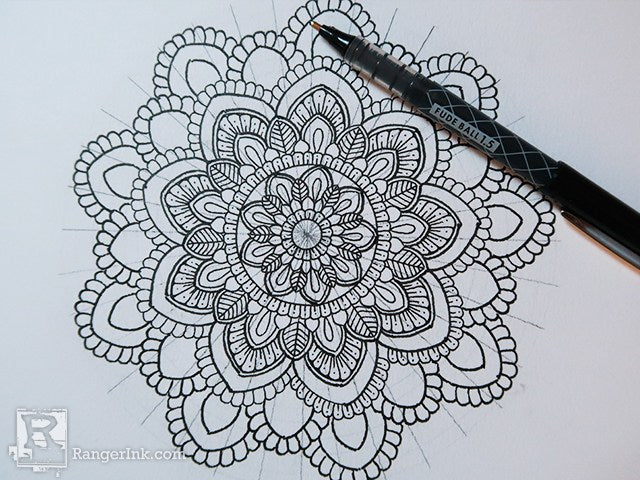
Step 3: Continuing to use the fude ball pen in black, start to create smaller details and patterns within the bigger details we outlined in step 2. This will create a more intricate mandala. Again – be creative as you’d like!

Step 4: Using the Dina Wakley Media acrylic paint and a small brush, start to add some base colour to the mandala. You can use any colours you like – I used Marine, Eggplant and Rosy to colour mine.

Step 5: Using the Dylusions paint pens, fill in some of the smaller details of the mandala with colour. As the nib is so fine, it’s perfect for those tiny spaces! I chose to use the paint pens on some of the outlines of the details!

Step 6: Finally, using the Dina Wakely Media Acrylic Paint again and the end of a small brush, add some dots to the mandala for even more detail. This is my favourite step and always adds so much to the final piece!


Related Posts

Tim Holtz Distress Paint Summer Card by Tami Bastiaans
Bring the beach to your craft table! Tami Bastiaans created this bright summer card using Distress Texture Paste, Paints,...
Read More
49 and Market From The Garden Journal Page by Jessica Mikels
Step into the garden with this beautifully layered journal spread by Jessica Mikels! Created with the 49 and Market...
Read More