


by Anita Houston

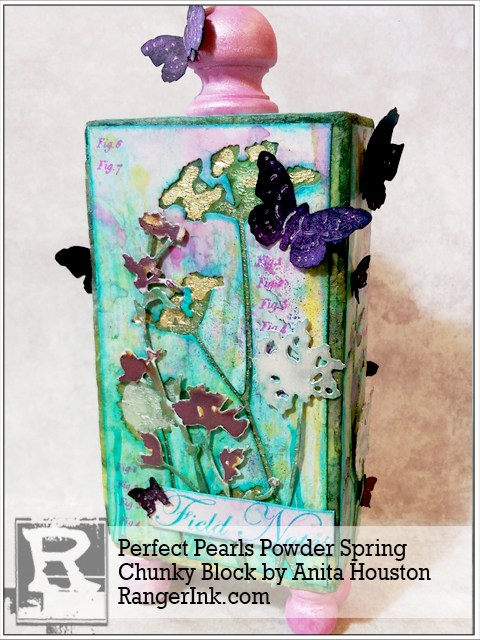
Perfect Pearls Powder Spring Chunky Block by Anita Houston
- Materials
- Instructions
- Ranger Artist Brush Set
- Ranger Adhesive Foam Rolls
- Ranger White Opaque Pen
- Ranger Mini Blending Tool
- Tim Holtz Distress® Mixed Media Archival Ink Palette
- Archival Ink™ Designer Series: Wendy Vecchi: Sunflower, Garden Patina, Cactus Flower
- Perfect Pearls™ Pigment Powder Kits: Metallics
- Perfect Medium™
- Ranger Multi-Medium Matte
- Ranger Heat it™ Craft Tool
- Perfect Pearls™ Pigment Powders: Festival Green, Grape Fizz, Forever Violet, Confetti White, Sunflower Sparkle, Forever Green, Perfect Pearl
- Tim Holtz Distress® Sprayer
- Tim Holtz® Distress Spray Stains: Wild Honey, Broken China, Picked Raspberry
- Ranger Surfaces Specialty Stamping Paper: 2 Sheets (4 1/4 x 5 1/2 Inches)
- Ranger Non-Stick Craft Sheet™
- Tim Holtz by Stamper
- Tim Holtz Alterations by Sizzix Paper Punches: Small Butterfly, Medium Butterfly
- Tim Holtz Alteration by Sizzix Vagabond Machine
- Tim Holtz Alterations by Sizzix Thinlits: Wildflowers
- (6x12 Inch Paper Towel, 3x5x1 Inch Styrofoam Block, Scissors, Black Cardstock 4x4 Inches, Stamping Block, Paper Trimmer, 4 Mini Wood Finial Caps, 1 Medium Wood Finial)
Instructions
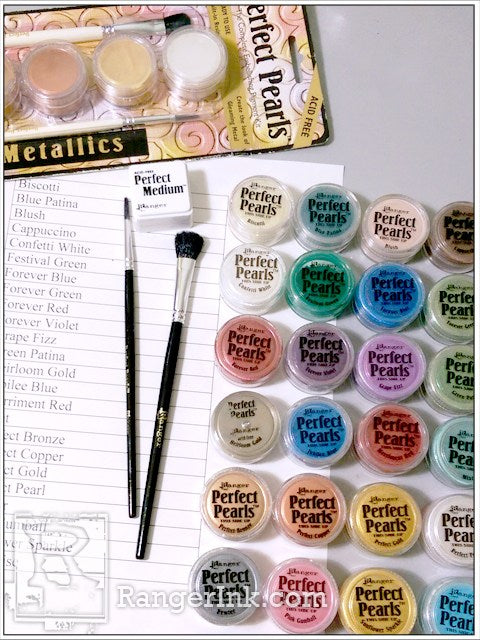 Step 1: There are currently 24 gorgeous colors of Perfect Pearls Powders, so there is a color to suit every project you make. In this project, I will show you three different ways to use the powders on a piece of Styrofoam used in a shipping box. Remember to always give your Perfect Pearls Powders a good firm tap on the table before opening them to prevent a plume of powder when opening it. AND as a side note, the Perfect Pearls Powders are sold in packs of four that also come with both the small and medium brushes, as well as a mini Perfect Medium.
 Step 2: Mist the Craft Sheet with about 4 sprays each of Wild Honey, Broken China, and Picked Raspberry Distress Spray Stains. Add about 3 dips of Festival Green Perfect Pearls Powders using the smaller paintbrush that comes in the powders kit. Mist all of this with about 3 sprays of water. Take the Specialty Stamping Paper, and run each piece through the wet color one time each. Set these aside. Take the paper towel and lay it into the wet color, and absorb all of it trying to coat the all of the paper towel with color. Clean the Craft Sheet.
 Step 3: Dry the Specialty Stamping Paper and paper towel with the Heat Tool. Set the Specialty Stamping Paper aside.
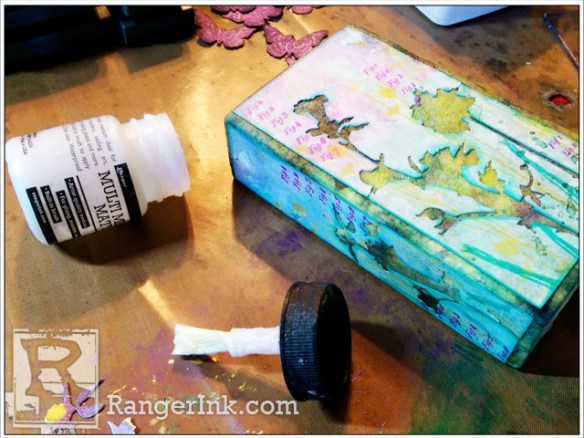
 Step 4: Take the Styrofoam block and coat it with Multi Medium one side at a time, while pressing the colored paper towel over it, and cover each side and top and bottom. Coat the top of the paper towel as well. Let this dry naturally.
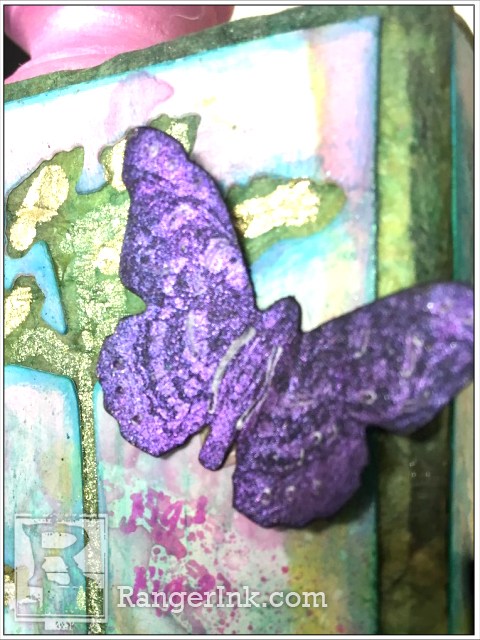
 Step 5: Take the black cardstock and rub Perfect Medium over the whole card. While wet with medium, take Grape Fizz and Forever Violet Perfect Pearl Powders, and tap about 3 small paintbrush dips each over the cardstock. Use the larger paintbrush and move and pounce the powder over all the cardstock. Turn the card on its side and shake off any extra Perfect Pearls Powders. Brush over the card lightly with the same brush to make sure there is no loose powder.
 Step 6: Mount the butterfly trio image from the Classics #17 Stamp Set onto a stamping block. Tap the Perfect Medium over the image coating it well. Stamp the image onto the cardstock. Press firmly, and lift up. The Perfect Pearls Powders should be removed leaving the image of the butterflies from the black cardstock. Clean the stamp with a damp paper towel to remove the powder and medium, and repeat. Do this another time so you have 9 butterflies total. Take the cardstock in one hand, and mist water into the air with the other hand. Run the cardstock through the mist. This helps set the Perfect Pearls Powders so it doesn’t rub off. Dry for a few seconds with the Heat Tool.
 Step 7: Punch the butterflies out with the small and medium Butterfly punches. They don’t line up exactly, but you still get a nice detailed bug. Use a white pen to add in a little detail on each butterfly. Set these aside.
 Step 8: Take the Specialty Stamping Paper, and trim it into two 3×5 inch pieces, two 1×5 inch pieces, and one 1×3 inch piece. Set the 1×3 piece aside. Take the other pieces, and die cut several of the Wildflowers using the Wildflower Thinlits and die cutting machine. Save both the positive and negative parts. Also save a 1/2 x 2 inch piece of the scrap for the sentiment.
 Step 9: Lay the positive parts of the Wildflowers on the Craft Sheet. Squirt a tiny drop of water on the Craft Sheet away from the flowers, and add a dip or two of Sunflower Sparkle Perfect Pearls Powders using the smaller brush. Mix this up to form a paint. Paint in some of the flower bud parts. Clean the paintbrush with water and paper towel, and repeat painting in the flowers with other colors of Perfect Pearls Powders. Set these aside, and let them dry naturally. Clean the Craft Sheet and paint brushes.
 Step 10: Take the negative portions of the Wildflowers, and stamp the Fig.1 image randomly over all the pieces, including the small 1×3 inch piece, using Cactus Flower Archival. Dry these with a Heat Tool. Specialty Stamping Paper must always be dried when wet is added to it. Ink the edges of all the pieces with the Cactus Flower as well. Dry again. Adhere the 1×3 inch piece to the top of the Styrofoam block centered, using Multi Medium. Stamp images from the Wildflower Stamp Set randomly over all the other pieces using first Sunflower Archival, and then using Garden Patina. Dry the Specialty Stamping Paper. Stamp the Field Notes sentiment to the scrap piece of Specialty Stamping Paper, ink the edges as well, all using Garden Patina. Dry this.
 Step 11: Adhere the Speciality Stamping Paper onto their corresponding sides of the Styrofoam using Multi Medium, centering them. The bottom part of the block will be left blank.
 Step 12: Again, add a drop of water to the Craft Sheet, add Perfect Pearl Powders, and paint in some of the flower buds inside the negative spaces of the flowers that you just adhered to the block. Take the positive parts of the flowers, and add foam tape pieces to the back of them, and randomly adhere these to all the sides of the block, except the top part. Adhere the sentiment onto whatever side you think should be the front.
 Step 13: Shake the Picked Raspberry Distress Paint to mix it up. Add a good amount of it to the Craft Sheet (2 teaspoons), and then add about 3 dips of Perfect Pearls Powder to the middle of it. Mix it up, and then paint the 4 mini finial caps and medium finial top with the paint. You can do this with any acrylic paint to get gorgeous shimmer. Let these dry, and then adhere the 4 mini caps to the bottom of the block for feet, and the medium one to the center top part of the block as an ornate piece, using Multi Medium. Clean the paintbrush. Fold in the wings of the butterflies and then open them up so they have a 3D look. Add Multi Medium to the centers and glue these on randomly on the sides of the block, and one to the top finial.


Related Posts

Dylusions Neon Ink Sprays Journal Page by Miranda van den Bosch
Neon color takes center stage on this eye-catching journal page by Miranda van den Bosch! The newest...
Read More
Tim Holtz Distress Paint Summer Card by Tami Bastiaans
Bring the beach to your craft table! Tami Bastiaans created this bright summer card using Distress Texture Paste, Paints,...
Read More