


In this tutorial, Milagros shares how she combines black QuickCure Clay with Perfect Pearls to create a DIY cuff bracelet.
QuickCure Clay Cuff by Milagros Rivera
- Materials
- Instructions
Instructions

Step 1: Nestle the clay between two pieces of parchment paper and use a rolling pin to roll it flat.

Step 2: After rolling, mark the space where the cuff will be and then stamp straight into the clay.

Step 3: Using a craft knife, cut the piece of clay according to the outline.

Step 4: Use a bronze cuff blank to shape and cure the clay. Don’t fret, when it cools it will pop out of your blank as QCC doesn’t adhere to metal.

Step 5: If you’d like to add a dangle or charm now is the time to create the hole. Cure according to the package instructions.

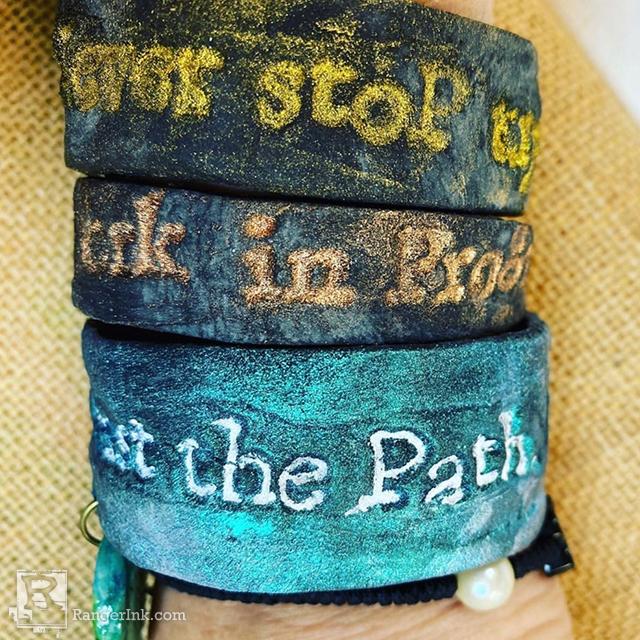
Step 6: Once it is cured, brush the clay with the Perfect Pearl or QuickCure Clay Pearlescent Powder color of your choice. Set the color with a mist of water and they’re ready to wear!

Related Posts

Stickles & Embossing Powder Christmas Card by Miriam Prantner
This adorable snowman card by Miriam Prantner is packed with festive charm! Created with the Tim Holtz Sizzix Winston...
Read More
Dylusions DIY Christmas Gift Wrap & Tags by Jess Peters
Dress up your holiday gifts with this Dylusions DIY Christmas Gift Wrap & Tags by Jess Peters! Using Dylusions...
Read More