


by Wendy Vecchi

The Sweetest Card by Wendy Vecchi
- Materials
- Instructions
- Archival Ink Designer Series- Wendy Vecchi: Leaf Green, Buttercup, Tree Branch, Violet, Dandelion, Watering Can, Hydrangea
- Archival Ink Pads: Jet Black
- Wendy Vecchi Designer Series Embossing Powder: Violet, Buttercup, Fern Green
- Tim Holtz Distress Ink Pads: Brushed Corduroy,
- Tim Holtz Distress Stain: Tumbled Glass
- Ranger Adhesive Foam Rolls
- Ranger Glossy Accents™
- Ranger Mini Blending Tool
- Dina Wakley Media Palette Knife
- Tim Holtz® Waterbrush
- Ranger Non-Stick Craft Sheet™
- Ranger Heat it™ Craft Tool
- Stampers Anonymous Wendy Vecchi studio 490 Surfaces: Clearly for Art (clear), Newsprint Paper, Magic Mat Board (black)
- Stampers Anonymous Wendy Vecchi studio 490: Art & You (SCS129), Trademark Art (SCS132)
- Stampers Anonymous Wendy Vecchi studio 490 Stencils: Pansy (WVSTST008), Borders (WVSFA 034)
- Tim Holtz Sizzix Alterations: Tiny Shapes
- painter
Instructions
 Signature Designer Wendy Vechhi shares a card featuring her signature collection of Archival Inks and Embossing Powders that is full of techniques and beauty!
 Paint a thin layer of Glue N Seal onto a piece of Clearly For Art, then add Newsprint Paper. Burnish firmly to the Clearly For Art. MAGIC! NO BUBBLES!
 Use Jet Black to stamp the pansy two times onto the newsprint side.
 Make a loop with painter’s tape and add it under the pansies to hold it in place on the craft sheet.
 Position the pansy stencil over the stamped image and use Fern Green on a mini blending tool to stencil and ink the leaves.
 Position the stencil over the flower.
 Use Buttercup to add color to the outside edges of the flower.
 Reposition the open flower stencil over the pansy and use Violet to ink the flower. With the stencil still in place, ink the polka dot stamp with Watering Can and press the UN-mounted stamp over the flower.
 This adds polka dots only to the flower center.
 Cut out one full pansy and just the flower and leaves from the second. Save the stem for another project. Heat the Clearly For Art to soften, then shape the flower and leaves to add dimension.
 Use foam adhesive to add the single flower and second set of leaves to the full pansy.
 Use black Magic Mat Board to die cut 3 mini hearts. Ink the first heart with Fern Green archival and sprinkle on the Fern Green embossing powder while the ink is wet. Heat to melt the embossing powder.
 Repeat these steps with the other 2 hearts, using Buttercup for one and Violet for the other.
 Cut a piece of manila cardstock to 3.75″ wide x 5.25″ tall. Swipe the Tree Branch pad onto the craft sheet and add rubbing alcohol.
 Use the palette knife to mix the archival ink into the alcohol.
 Place the cardstock into the inky solution and allow the cardstock to absorb the fluid. Dry with the heat tool.
 Use Hydrangea on the blending tool to stencil diagonal stripes at both the top and bottom of the card. Use the full border at the bottom and a thinner border at the top.
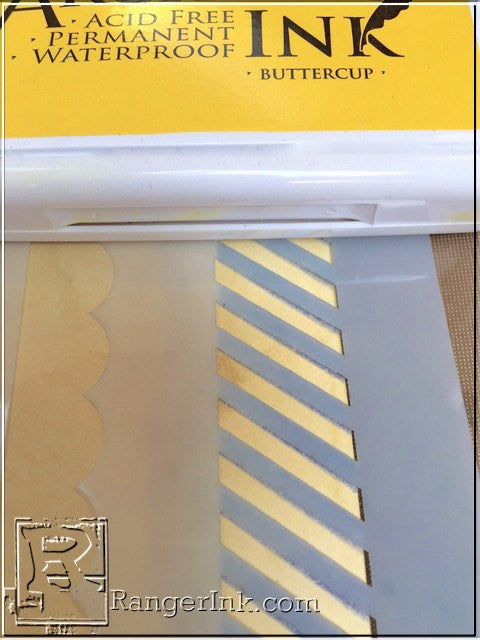 Reposition the stencil to cover the Hydrangea stripes, then use Dandelion to add the yellow stripes.
 EASY way to create a multi colored border!
 Use Jet Black to stamp the sentiment above the bottom border.
 Position the old ledger stencil over the card and lightly stencil random areas, using Tree Branch.
 Use Brushed Corduroy on a blending tool to add shading to the edges.
 Dispense a small amount of Tumbled Glass Distress Stain onto the craft sheet. Pick up the stain with the detailer water brush and tap to add inky dots to the card.
 Use Jet Black to stamp “remember this”, centered in the bottom border.
 Use Watering Can to stamp the lace border under the top border.
Use the Stabilo pencil to define the stenciled borders. Add pen stitching detail to the card sides.
 Assemble the card as shown and then add to a top opening black card. Add Glossy Accents to accent the flower center.
 THINGS TO NOTE…
- Glue N Seal is AWESOME for adding paper to any surface. Make sure to burnish it down immediately onto the surface. I like to just rub it with my hand, but you could use a brayer. NO BUBBLES or WARPING!
- Did you notice that all the fluid we used did not warp the manila cardstock, even though it was completely saturated? That’s the benefit of using the rubbing alcohol, instead of water.
- When adding flower/leaf layers, offset them a bit to allow the bottom layer to show thru.
- Combining die cuts and embossing powders allow us to create perfectly coordinated custom embellishments.
- Creating a loop of tape allows the surface to stick to the craft sheet, giving you two hands to work with.
- It’s easier to use an UN-mounted rubber stamp when stamping thru a stencil.
- Clearly for Art can be reheated and reshaped until you are happy with the result.

Related Posts

49 and Market Irresistible Curiosities Journal Page by Jessica Mikels
Step into a world of whimsy with this Irresistible Curiosities journal page by Jessica Mikels! Layered with soft ink...
Read More
Make-It™ Chic Birthday Mini Card Set by Lauren Bergold
In this tutorial, Lauren Bergold creates an adorable set of four mini cards using the Make-It™ Chic Birthday Stamp...
Read More