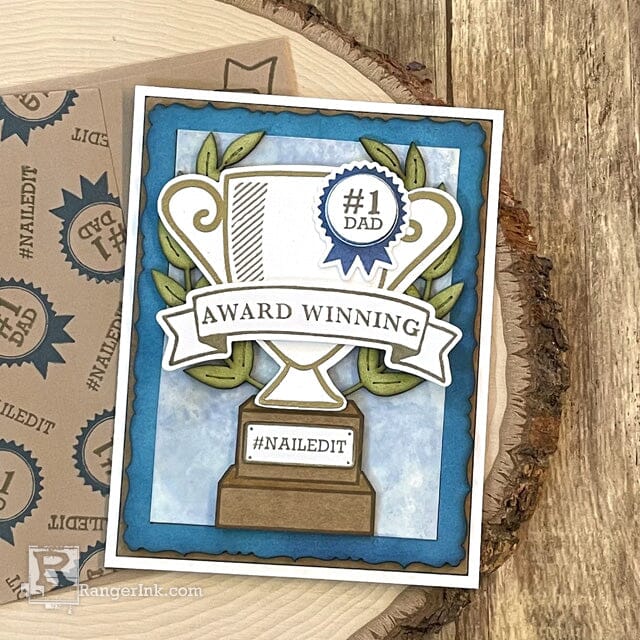
Wendy Vecchi Father's Day Card by Lauren Bergold
- Materials
- Instructions
Wendy Vecchi MAKE ART Chippies Wreaths
Wendy Vecchi MAKE ART Chippies Bases and Frames
Wendy Vecchi Archival Ink™ Pads - Night Sky, Fern Green, Bluebird, Goldenrod, Watering Can, Acorn
Wendy Vecchi MAKE ART Stay-tion (7")
Wendy Vecchi MAKE ART Stay-tion Craft Sheet
Wendy Vecchi Perfect Cardstock White Cards 110b
Wendy Vecchi Perfect Cardstock White Panels
Wendy Vecchi Perfect Card Adhesive
Tim Holtz® Alcohol Ink Yupo® Translucent
Dina Wakley MEdia Kraft Paper Pack
Ranger Detail Blending Tool
Ranger Mini Ink Blending Tool
Ranger Mini Ink Blending Tool Domed Replacement Foams
Embossing Powder Gold
Ranger Emboss It Ink - Clear
Ranger Heat It Craft Tool
Letter It™ White Foam Roll Tape
Instructions
Is it just me, or are masculine cards fundamentally more challenging to design? Luckily, Wendy Vecchi's "Award Winning" Stamp, Die and Stencil Set is absolutely perfect for Father's Day... and pretty much any other occasion you can think of!
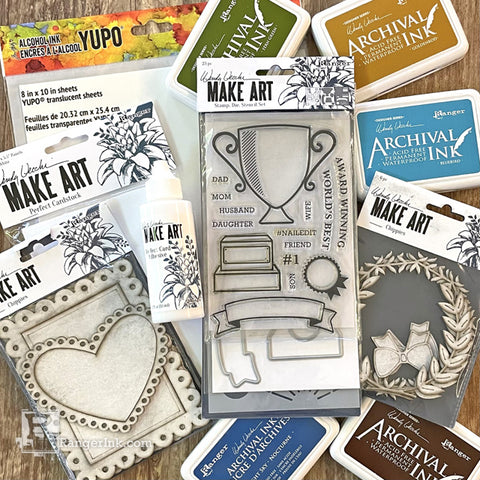
Step 1: Gather materials: Wendy Vecchi’s MAKE ART Stay-tion; "Award Winning" Stamp, Die and Stencil Set and a selection of Wendy's Designer Series Archival Inks; "Wreaths" and "Bases and Frames" Chippies sets; Perfect Cardstock and Perfect Card Adhesive; Translucent Yupo Paper.
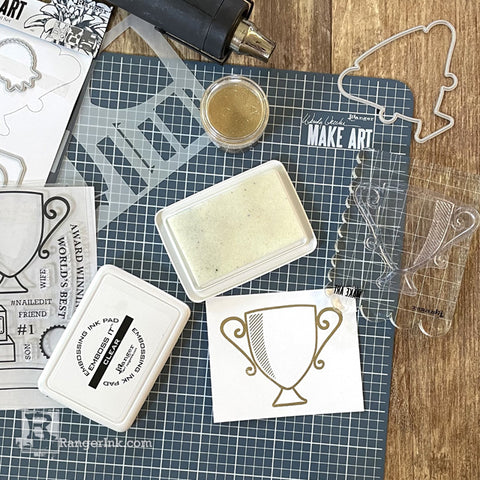
Step 2: Stamp the trophy from Wendy Vecchi’s MAKE ART Award Winning Stamp, Die and Stencil Set in Emboss It Clear Embossing Ink and use the Ranger Heat It Craft Tool to emboss with Ranger Gold Embossing Powder.
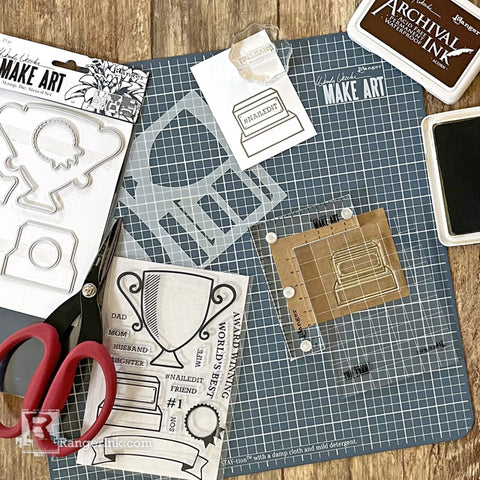
Step 3: Stamp the trophy base once in Acorn Archival Ink on Dina Wakley Media Kraft Cardstock and a second time on Wendy Vecchi White Perfect Cardstock, then stamp #nailedit in Acorn Archival on the trophy plaque portion of the white image.
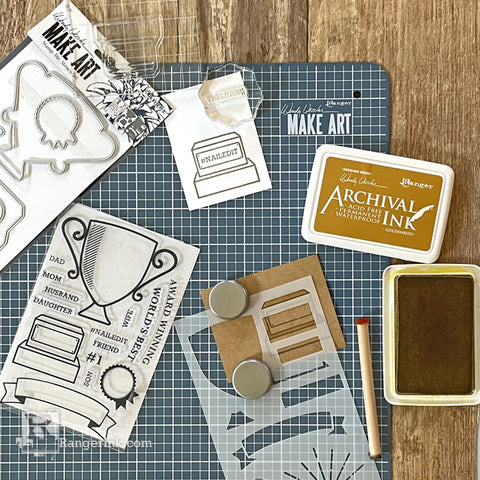
Step 4: Use the coordinating stencil from the Award Winning set and a Ranger Detail to apply Goldenrod Archival to the two horizontal surfaces of the trophy base.
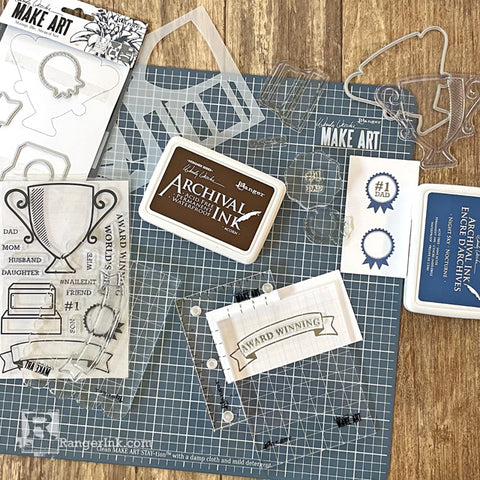
Step 5: On a scrap of white Perfect Cardstock, stamp the rosette twice in Night Sky Archival. Stamp "#1 Dad" in Acorn in the center of one of the rosettes. Stamp the banner in Acorn Archival and add "Award Winning" to the center of the banner.
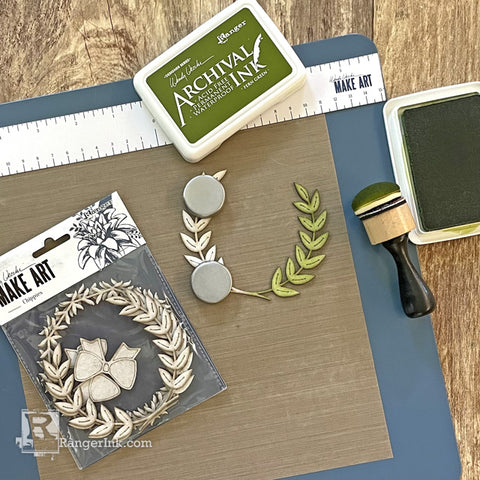
Step 6: Use a Ranger Mini Ink Blending Tool and Domed Foam to apply Fern Green Archival to the half circle wreath from Wendy Vecchi’s MAKE ART Wreaths Chippies set.
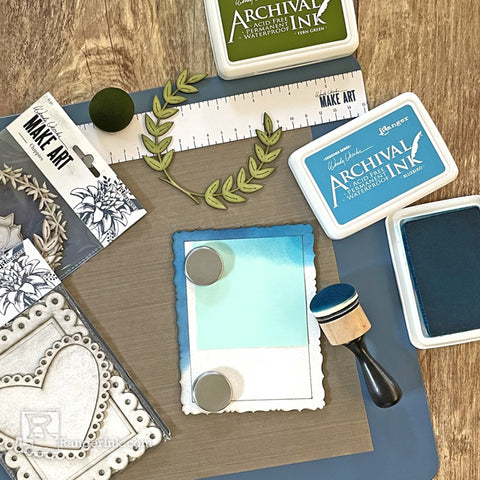
Step 7: Use a sticky note to carefully mask the center of the large, decoratively edged rectangular Chippie from the Bases and Frames Chippies set, and apply Bluebird Archival to the frame portion of the Chippie; then add a little bit of Night Sky Archival around the edges, if desired.
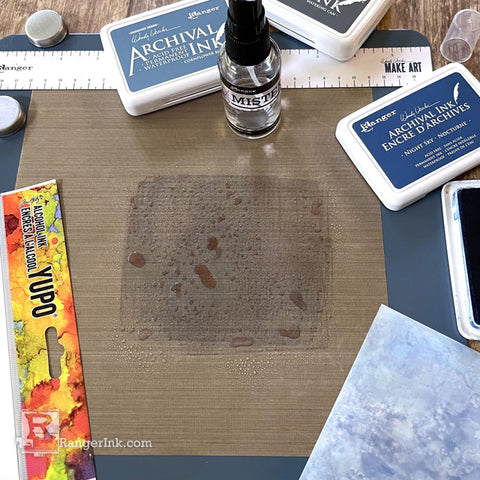
Step 8: Smoosh a Night Sky Archival Ink Pad onto the Craft Sheet of the Wendy Vecchi MAKE ART Stay-tion and spritz lightly with Isopropyl Alcohol. Dip a piece of Tim Holtz Translucent Alcohol Ink Yupo into the ink several times, changing directions each time. Add a little bit of Watering Can Archival to the Craft Sheet and repeat. Continue dipping the Yupo into the inks until you achieve a marble effect. Note that a more random and organic looking marble effect is achieved by lifting the Yupo straight up and down in the ink, rather than sliding it across the Craft Sheet.
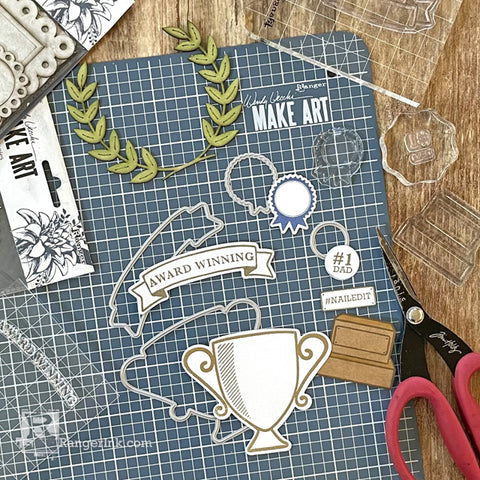
Step 9: Use the coordinating dies from the Award Winning set to diecut the trophy, the rosette, the rosette center and the Award Winning banner. Use scissors to fussycut neatly to the outlines of the trophy stand and the #nailedit plaque.
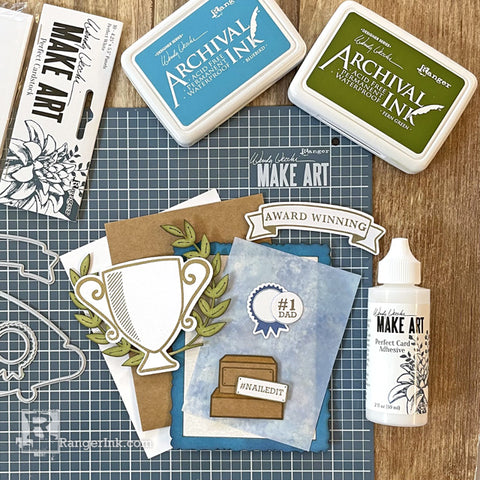
Step 10: Assembly: Trim the marbled Yupo panel to 3.25 x 4.5" and use Wendy Vecchi Perfect Card Adhesive to affix the panel to the center of the frame Chippie. Add the leaf garland Chippie towards the top of the panel. Add the trophy base towards the bottom of the frame Chippie, and place the trophy on top of the base. Adhere the banner to the trophy, using small pieces of Letter It White Foam Roll Tape, and attach the rosette in the same way. Mat the Chippie frame on a 4 x 5.25" piece of Dina Wakley Media Kraft Cardstock and mount the entire design panel on a Wendy Vecchi Perfect Cardstock white A2 card.
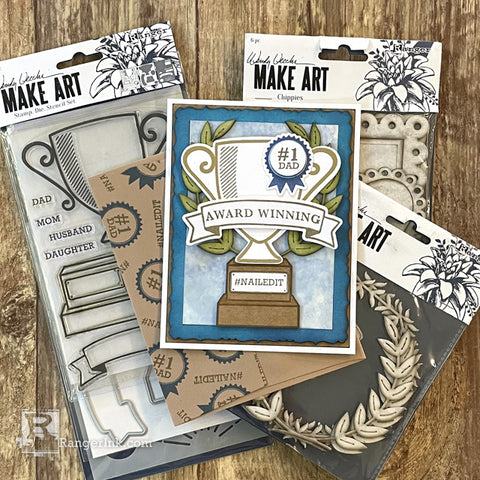
Step 11: Use the same stamps and inks to decorate an A2 envelope in coordinating colors; address the envelope to your dad, and write a greeting inside. Mail ASAP!


 My name is Lauren Bergold, and I live in central New Jersey with my husband of 30+ years and A LOT of art supplies! My favorite medium is paper, and I especially love making cards. I teach papercrafting classes, as well as collecting and compiling vintage and found papers. You can find me on my blog,
