


by Patti Behan

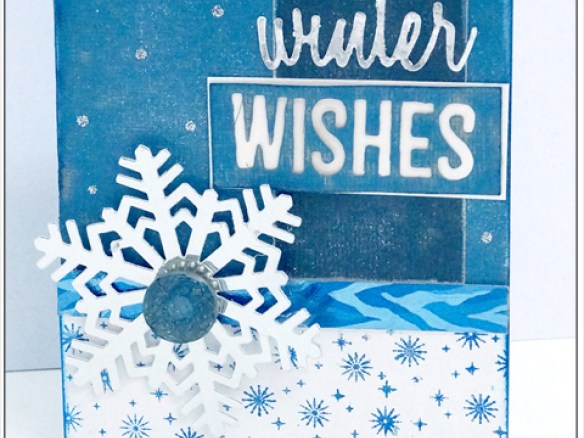
Winter Wishes Card by Patti Behan
- Materials
- Instructions
- Stickles™ Glitter Glue Silver
- Ranger Mini Blending Tool
- Tim Holtz® Alcohol Ink Sailboat Blue
- Tim Holtz Distress® Marker Spritzer
- Tim Holtz® Distress Marker Picket Fence
- Ranger Pigment Ink Pad Glacier White
- Ranger Wondertape™ 1/2
- Ranger Shiny Foil Transfer Sheets: Frozen
- Ranger Heat it™ Craft Tool
- Ranger Sticky Embossing Powder
- Ranger Non-Stick Craft Sheet™
- Ranger Specialty Stamping Paper
- Tim Holtz Idea-ology: Sanding Grip; Accoutrements, Fanciful
- Tim Holtz Alterations by Sizzix: Vagabond Machine; Thinlits: Paper Snowflakes, Holiday Words Script, Holiday Words Block; Die Pick
- Tim Holtz by Stampers Anonymous: Christmas Nostalgia
- Blue Cardstock, Navy Cardstock, Paper Trimmer
Instructions
 1. Cut a piece of Blue Cardstock to 8.5” x 11”. Score down the center and fold in half to make a 4.25” x 5.5” card. Cut a piece Specialty Stamping Paper to 4.25” to 2.25”. Cut a piece of Navy Card Stock to 1.75” x 3”. Set aside.
 2. Working on the Non-Stick Craft Sheet, stamp snowflakes onto Specialty Stamping Paper with Blue Ribbon ink.
 3. Place onto scrap paper and pour Sticky Embossing Powder over stamped image. Remove the excess Sticky Embossing Powder from the paper and pour back into the jar. Emboss with Heat it Craft Tool until powder is just melted. Do not overheat, as that will dry out the stickiness of the powder.
 4. Place a Silver Foil Sheet over the embossed image with the shiny side up. Rub your finger randomly over the foil to help it adhere to the stamped image.
 5. Repeat with the Blue bubbly foil.

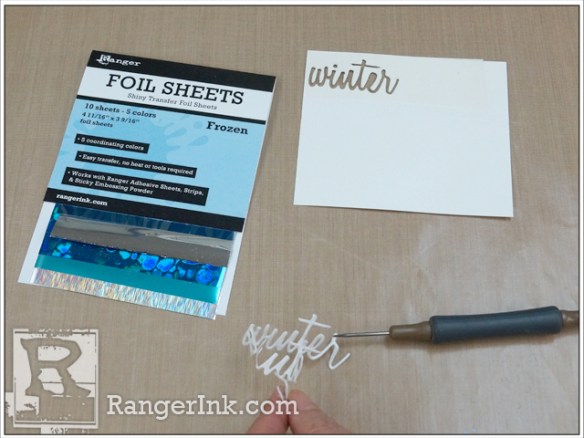 6. Place a strip of the Adhesive Sheet on a piece of Specialty Stamping Paper big enough to die cut the word Winter through the Vagabond Machine. After cutting, remove the protective paper with the help of a die pick.
 7. Place Silver Foil on top of the die cut with the shiny side up. Rub your finger over the foil to fully adhere it to the die cut.

 8. Cut a piece of Specialty Stamping paper that is 4.25” x 3”. Adhere Wonder Tape to the 4.25” edge. Remove the protective covering from the tape. Place the Blue wavy foil over the Wonder Tape with the shiny side up. Rub your finger over the foil to adhere it to the tape. Repeat until the entire strip is covered with foil. Cut foil strip from card and set aside.

 9. Using the Mini Ink Blending Tool with Foam, ink the edges of the card and snowflake image with Blue Ribbon Dye Ink.
 10. Ink the edges of the card and navy cardstock with Glacier White Pigment Ink using the Ink Blending Tool with Foam.
 11. Place Picket Fence marker into the Distress Spritzer and squeeze the bulb to apply sprinkles of ink over the top third of the card.
 12. Cut out the word Wishes from blue cardstock and trim to a 2.5” x 1” rectangle and mat with Specialty Stamping Paper. Adhere to card front along with the other pieces that are shown.
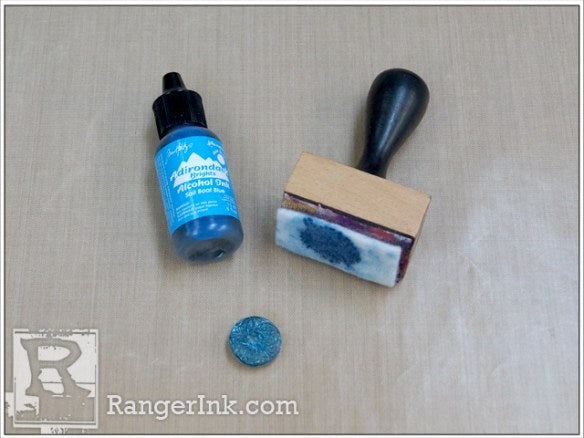 13. Color button with Sailboat Blue Alcohol Ink using the Ink Blending Tool and Felt.
 14. Die Cut Snowflake from Foil Cardstock. Adhere the snowflake to card front and glue on the button. Add dots of Silver Stickles randomly and let dry.
Related Posts

Dylusions Neon Ink Sprays Journal Page by Miranda van den Bosch
Neon color takes center stage on this eye-catching journal page by Miranda van den Bosch! The newest...
Read More
Tim Holtz Distress Paint Summer Card by Tami Bastiaans
Bring the beach to your craft table! Tami Bastiaans created this bright summer card using Distress Texture Paste, Paints,...
Read More